

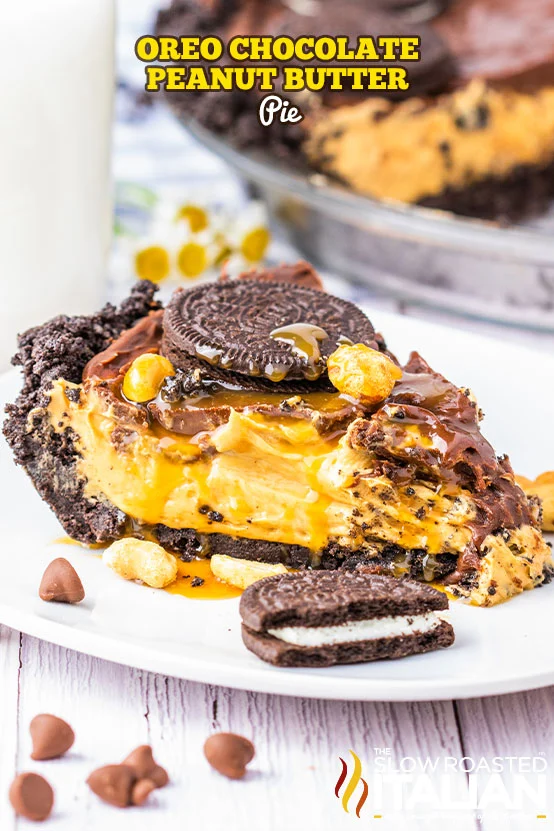
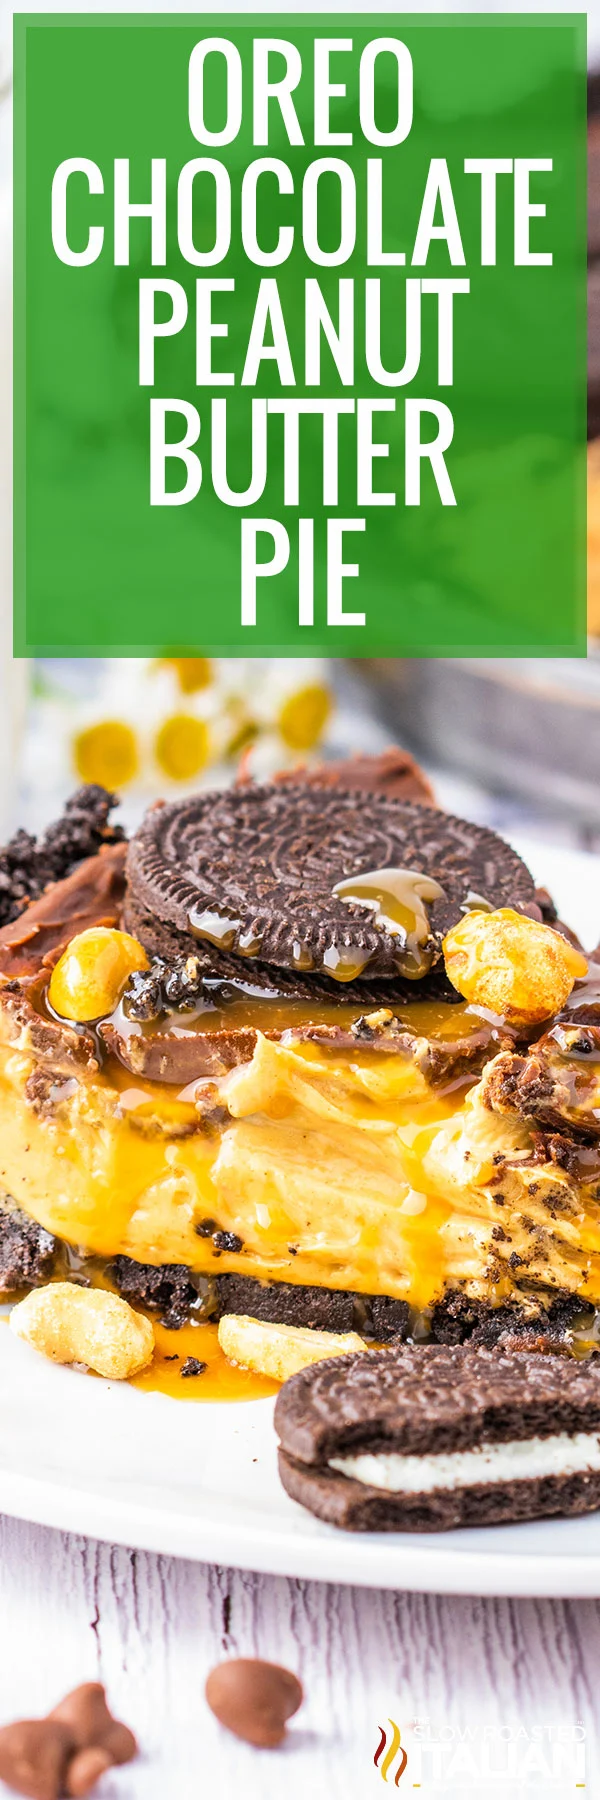
No Bake Oreo Peanut Butter Pie
Oreo Peanut Butter Pie is the ultimate no bake dessert! With a luscious peanut butter, chocolate chips, and a crunchy Oreo crust, it’s a sensational treat that’s sure to astound your guests. Plus, it’s actually incredibly easy to make! Prepare to be asked for the recipe… yes, it’s that divine!
Oreo Peanut Butter Pie
My chocolate peanut butter pie with Oreos has the best creamy peanut butter filling…it’s a peanut butter lover’s dream! You can’t forget about that super chocolatey, homemade Oreo crust, either.
Sooo, I guess that makes this both a PB and a chocolate lover’s delight!
Chocolate and peanut butter really is a flavor combination that just can’t be beat, isn’t it?
I can’t get enough of it myself… recipes like my Reese’s peanut butter pie, peanut butter brownie cookies, peanut butter caramel icebox cake, and Reese’s cheesecake salad are on rotation whenever I have people over.
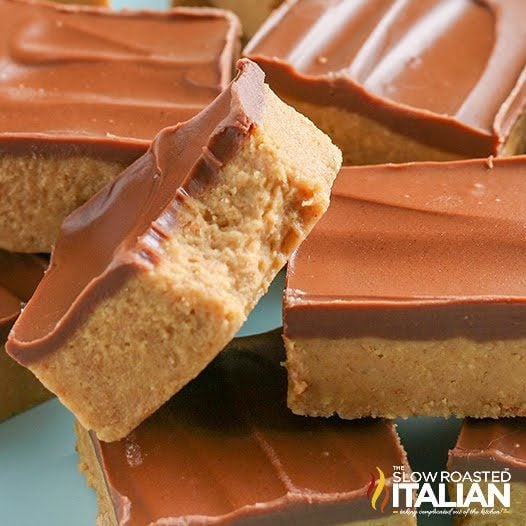
Featuring a velvety smooth peanut butter filling that’s studded with rich chocolate chips, all nestled on top of a crunchy cookie crust, means this no bake Oreo peanut butter pie is one for the books.
And maybe best of all, it’s so easy to make. After you’ve added the filling, all that’s left to do is have a little patience as it chills!
Need a peanut butter pie with Reese’s instead? I’ve got a recipe for that too!
Ingredient Notes and Substitutions
- Oreo Cookies – To make the pie crust! You can also use a store-bought crust here if you want to save a bit of time.
That said… homemade always tastes better! - Salted Butter – You’ll need this in the crust if you want to make it yourself, as well as in the creamy filling. I like using salted over unsalted as it adds more flavor.
- Creamy Peanut Butter – I went with creamy for this recipe. If you like the idea of crushed-up peanuts in the filling, you can always use crunchy PB instead!
- Chocolate Chips – I’m using semi-sweet, but you can certainly use dark chocolate chips if that’s more your style.
- Heavy Cream – Half-and-half or whole milk will work in a pinch, but do not try to use low-fat options. It affects the texture, not in a good way.
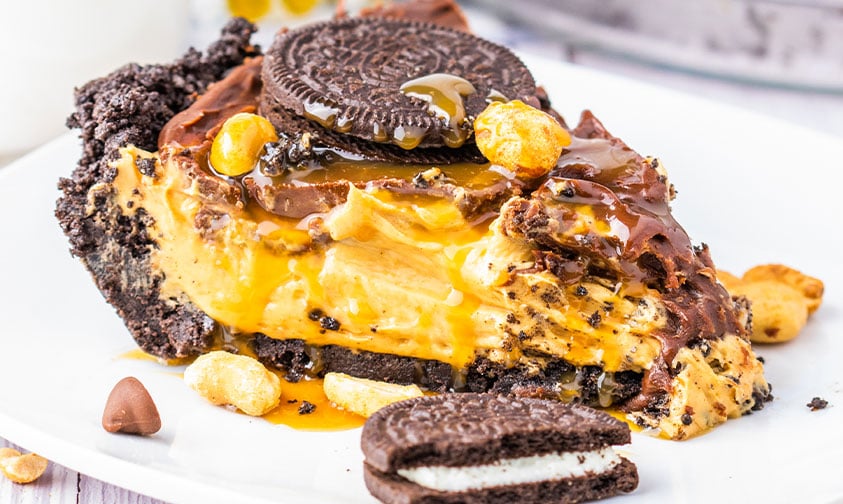
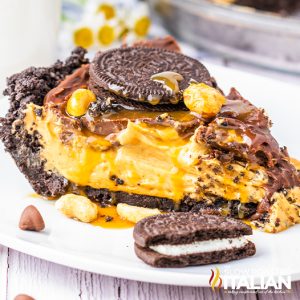
- Toppings – This Oreo chocolate peanut butter pie is just begging for a healthy helping of whipped cream, caramel sauce, and crushed peanuts on top.
You could also add uncrushed cookies as shown in some of the photos. YUM!!
Tips and Tricks to Make the Perfect Chocolate Peanut Butter Pie with Oreos
- Take your time with the crust.
I really can’t say enough good things about making the pie crust yourself! I think it always tastes so much better… plus, I don’t have to worry about any extra additives.
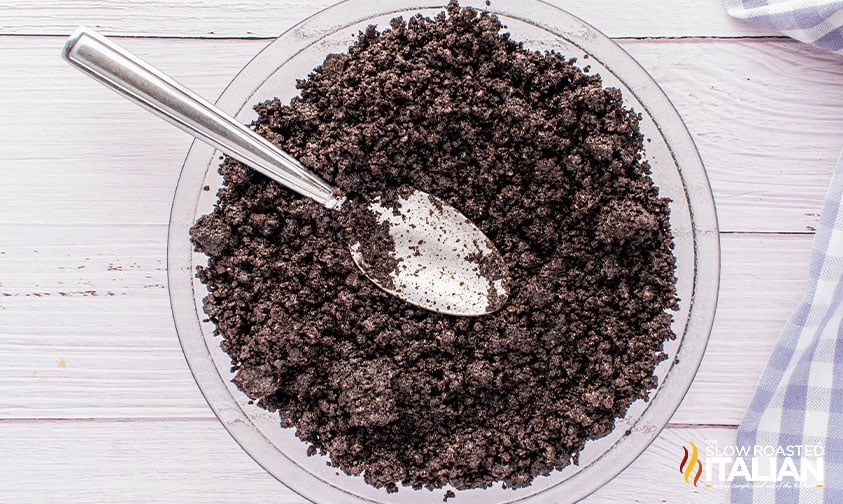
When preparing it, take care to crush the cookies finely before mixing them thoroughly with melted butter. A food processor would make this super easy.
Press the mixture firmly and evenly into the pie dish to ensure a sturdy base that holds together when slicing.
A well-executed crust sets the stage for a fantastic Oreo peanut butter pie!
- Use room temperature ingredients for the filling.
Make sure the softened butter and peanut butter are actually at room temperature before mixing to help everything blend smoothly without any lumps.
If they’re too cold, mixing and then spreading the filling onto the crust will be pretty tricky!
Pull them out of the fridge about 20-30 minutes before getting started and you shouldn’t run into that issue.
- Chill thoroughly.
Since this is a no bake Oreo peanut butter chocolate pie, there’s no need to stress about baking temps or times. That said, the chilling step is crucial!
Make sure to refrigerate it for at least 1 hour, though overnight is even better! This will allow the filling to set and the flavors to meld together.
When I make this for a party, I usually prep, assemble, and chill the night before so that it’s ready the next day. It holds up (and tastes!) so much better.
- Get creative with the toppings.
While the pie itself is delightful, consider adding some creative toppings to enhance its presentation and taste.
Sprinkle crushed peanuts or additional chocolate chips on top, drizzle with chocolate or caramel syrup, or add a dollop of whipped cream.
These extra touches will take your peanut butter pie with Oreos to the next level!!
Prep Ahead
- Bring butter and peanut butter to room temperature
- Crush the Oreos
- Form the pie crust
Kitchen Tools You’ll Need
- Pie Dish – I use this pie dish all the time. It’s simple enough for everyday use but pretty enough to serve this peanut butter pie with Oreos to guests!
- Mixing Bowls – This set has all of the sizes you could ever want.
- Food Processor or Rolling Pin for pulverizing Oreos for the crust.
- Electric Hand Mixer – I’ve had this one in my kitchen forever, and it still works great.
Fun Ways to Customize Peanut Butter Pie with Oreos
Use my recipe for Oreo peanut butter chocolate pie as a base to get creative! There are so many tasty variations to try:
- Make a Nutter Butter or graham cracker crust instead and save the Oreos as a garnish.
- I also love mixing crushed pretzels in with the Oreos for a salty-sweet twist for the crust!
- Mix mini chocolate chips, crushed Oreos, or chopped Reese’s into the pie filling for a more indulgent bite.
- Crushed salted peanuts in the filling would be even crunchier than using crunchy PB!
- Add some sea salt flakes on top of the chocolate ganache layer before chilling to enhance its flavor.
- Or, try some espresso powder in the chocolate layer to make your Oreo chocolate peanut butter pie taste even richer!

Storing and Freezing
Store this no bake peanut butter dessert in an airtight container or tightly wrapped in plastic in the refrigerator. It will keep for 3-5 days.
To freeze your peanut butter creation, make sure that it is completely set before wrapping it tightly in a few layers of plastic wrap and aluminum foil to prevent freezer burn.
It will be good for up to 3 months. Let it thaw in the fridge overnight before digging in.
Oreo Chocolate Peanut Butter Pie FAQ
You can, but keep in mind that it will change the overall flavor and texture of this dessert — it won’t be an Oreo peanut butter pie anymore, after all!
I recommend trying almond or cashew butter if you really want to switch things up.
Absolutely! That’s one of the great advantages of a no-bake pie. You can prepare it ahead of time, refrigerate it, and serve it when ready.
Y’all know I love a bite-sized dessert, so the answer here is a resounding YES! Use small tart pans, ramekins, or even muffin tins instead of a pie dish.
It’s a fun and convenient way to portion out the dessert for individual enjoyment or serving at parties!

Enjoy!
With love, from our simple kitchen to yours.
Don’t miss a thing! Follow us on
Facebook | Twitter | Pinterest | Instagram
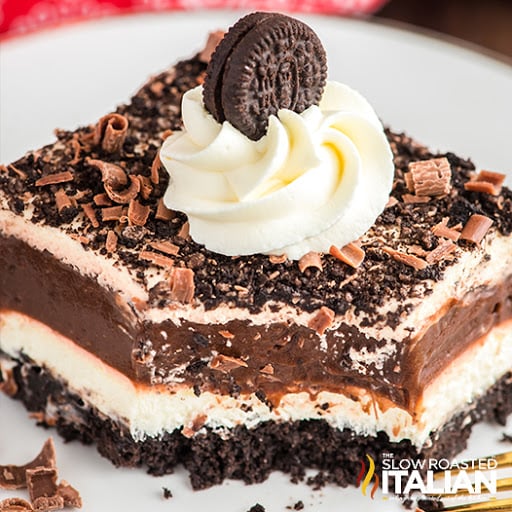
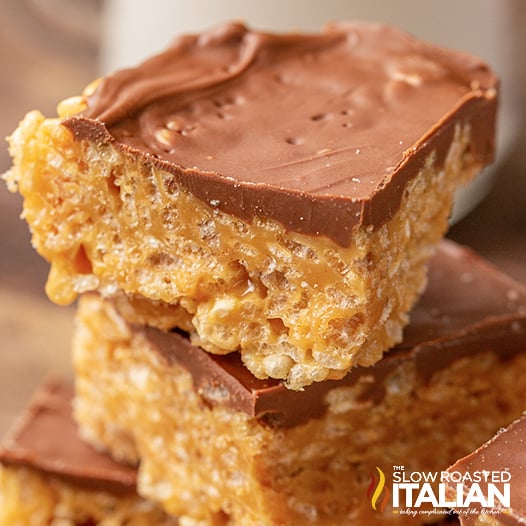
Other No Bake Recipes

No Bake Oreo Peanut Butter Pie
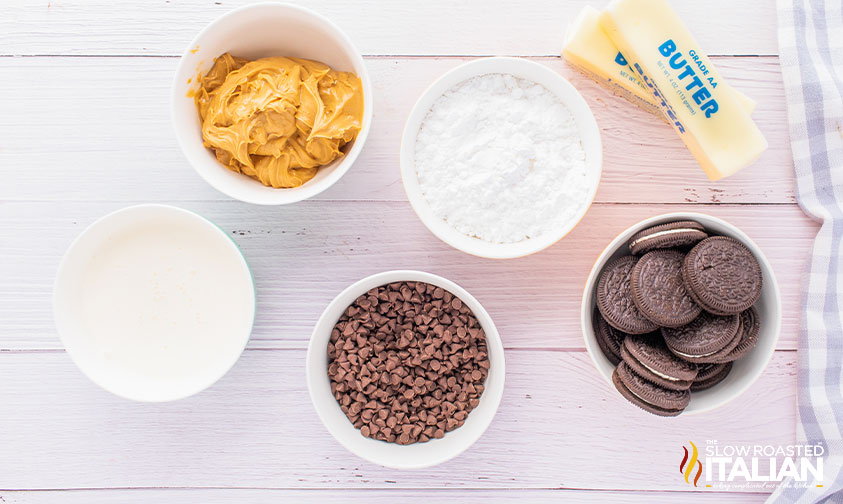
Ingredients
- 1 package Oreo cookies, about 36
- 1 cup salted butter, ½ cup melted, ½ cup softened, divided
- 1 1/2 cups + 2 tablespoons creamy peanut butter, divided
- 1 cup powdered sugar
- 1 1/4 cup semi-sweet chocolate chips
- 3/4 cup heavy cream
- Peanuts, caramel or whipped cream to garnish (optional)
Instructions
- Crush the Oreos in a food processor, or in a plastic bag. Stir crumbs together with 1/2 cup melted butter until well combined. Press into the bottom and sides of a pie pan. Place the crust in the freezer for 10 minutes until set.
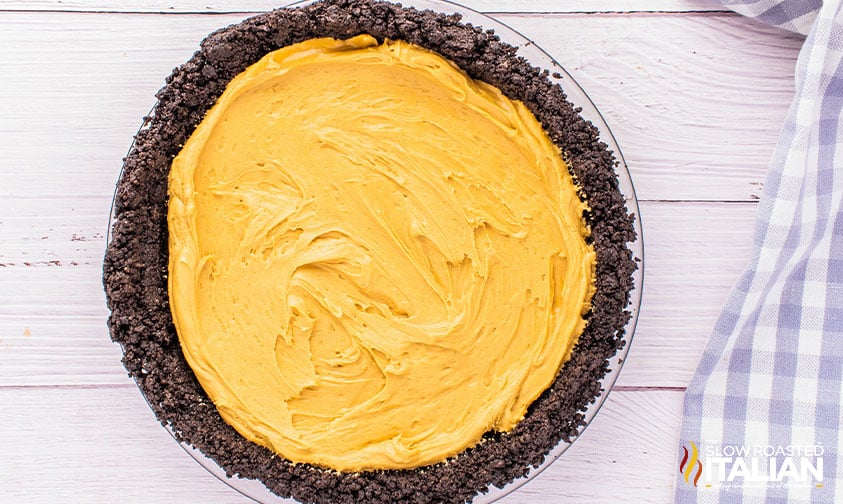
- Meanwhile: Reserve the 2 tablespoons of peanut butter. Add the remaining 1/2 cup of softened butter, remaining 1 1/2 cups peanut butter, and 1 cup powdered sugar to a large mixing bowl.
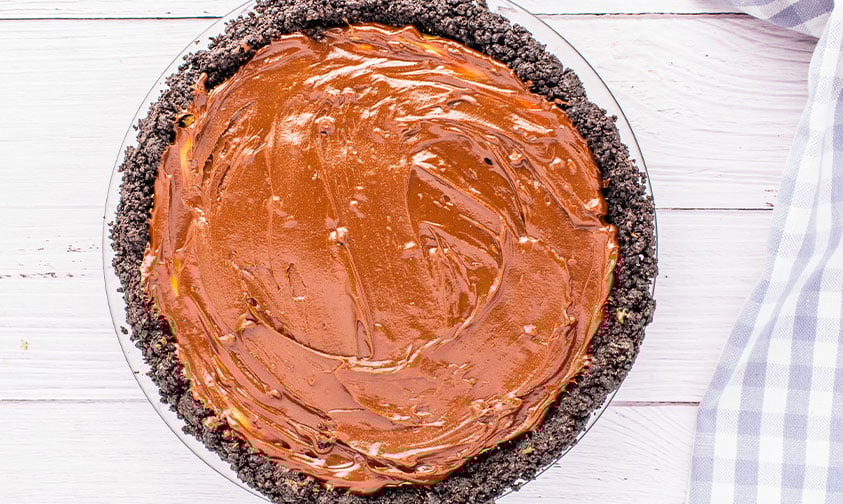
- Cream together on low speed until smooth and creamy. Spread the peanut butter mixture over the crust into a smooth layer. Place the pie back in the freezer for 30 minutes.
- Place the chocolate chips and reserved 2 tablespoons of peanut butter in a medium heat-proof bowl. Heat the cream in a microwave-safe bowl for 1-2 minutes (until steaming hot) in the microwave. Pour the cream over the chocolate chips and let sit for 5 minutes, then whisk until smooth. Pour the chocolate mixture over the peanut butter layer and spread evenly. Refrigerate,covered, at least 1 hour.
- Garnish with Peanuts, Caramel and Whipped Cream.
Nutrition
All nutritional information is based on third party calculations and is only an estimate. Each recipe’s nutritional value will vary depending on the ingredients used, measuring methods, and portion sizes.
Originally published June 2023, updated and republished July 2025
Disclosure: Posts may contain affiliate links. If you purchase a product through an affiliate link your price will remain the same and The Slow Roasted Italian will automatically receive a small commission. Thank you for supporting us, it helps us keep creating new recipes.


Welcome!
We’re Donna and Chad, the dream team behind The Slow Roasted Italian. Our focus is on taking complicated OUT of the kitchen. Life is busy enough, making meals should be fast and easy, to help make your life as simple as possible. Read More >>


This Oreo Chocolate Peanut Butter Pie recipe from Donna and Chad’s The Slow Roasted Italian website is a delightful treat! It’s super easy to make and incredibly delicious.
Hi Jolie!
We’re so glad you enjoyed this recipe.
TSRI Team Member,
Devlyn