

Nanaimo Bars (No-Bake Canadian Chocolate Bars)

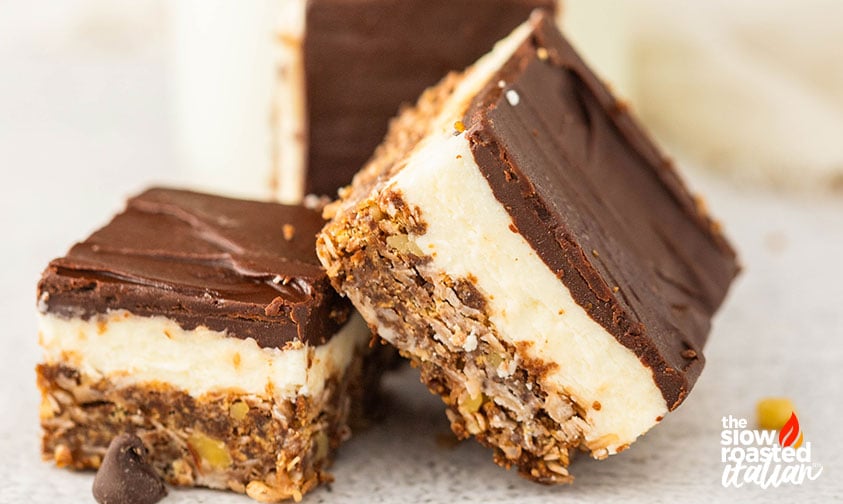
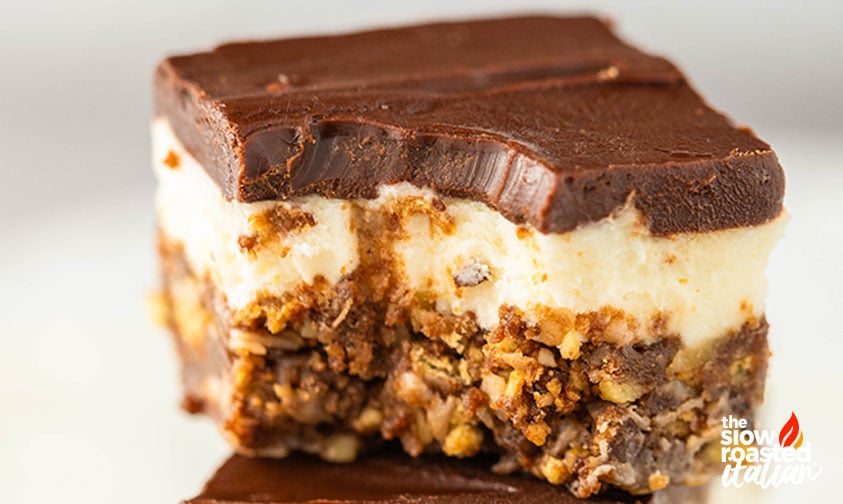
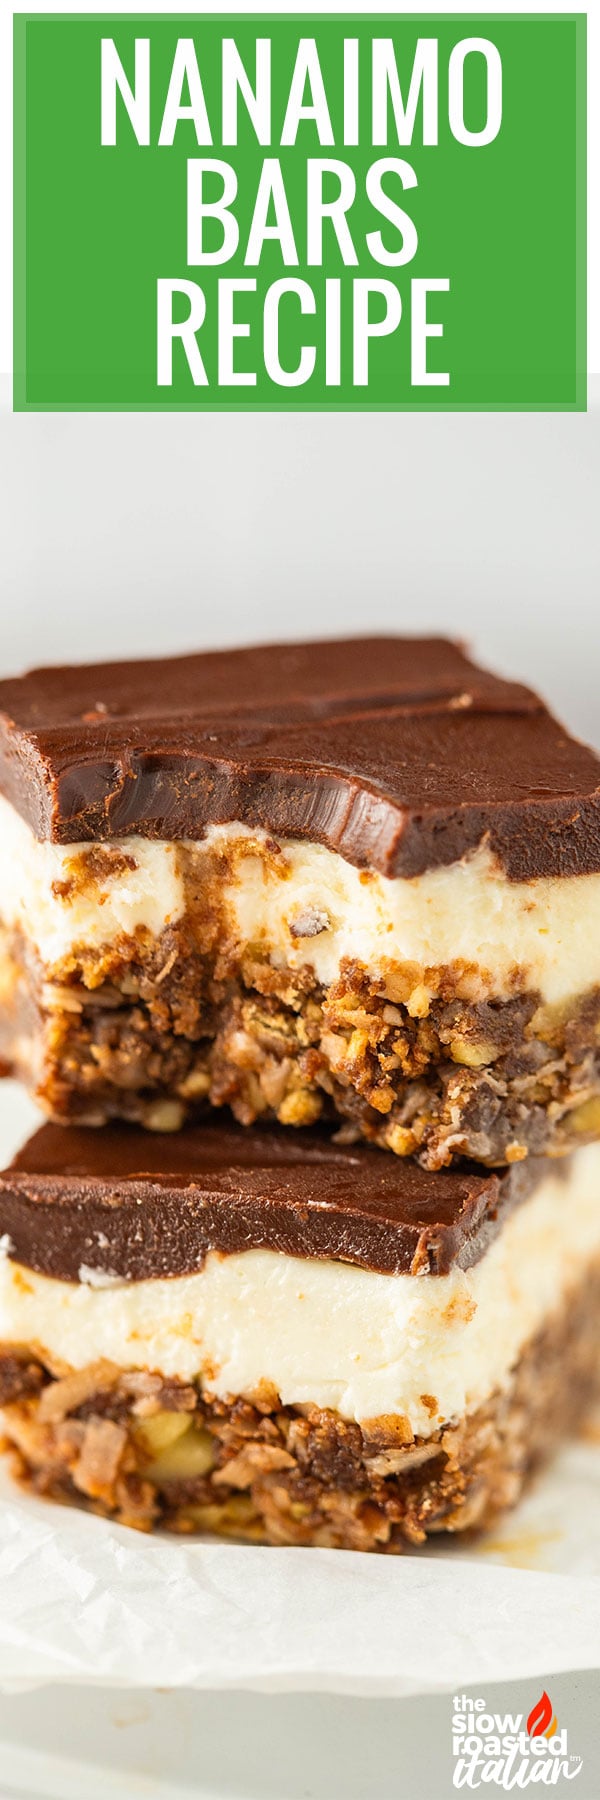
Nanaimo bars are pure, no-bake bliss stacked three layers high: a chewy, chocolatey coconut and walnut base, a thick, velvety cloud of sweet white chocolate cream, and a rich blanket of chocolate that snaps under your teeth. One bite and you’ll understand why an entire country went crazy for these little squares.
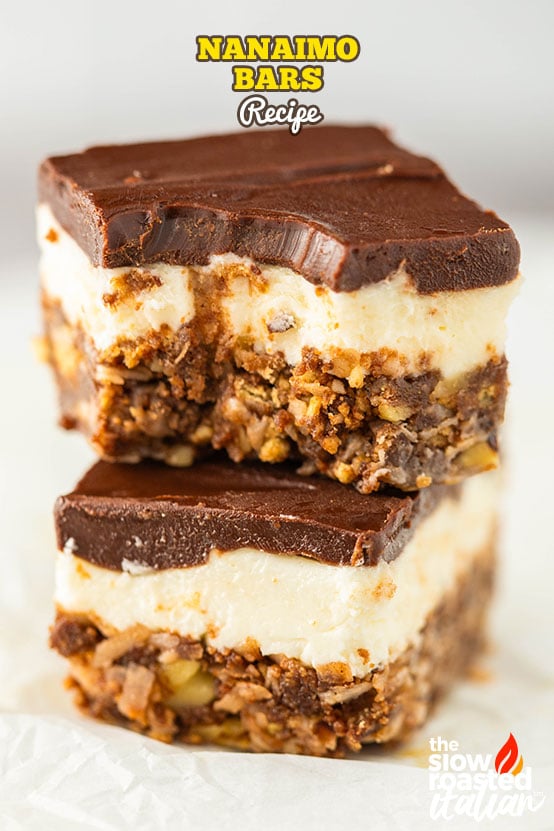
And you never even turn on the oven!
Why You’ll Love It
- Three layers, three textures, and every square slices clean.
- No baking at all, just a quick stir on the stove for the base.
- They make the prettiest addition to a holiday cookie tray.
These Nanaimo bars are a nod to all of our Canadian friends and readers. They’re named for Nanaimo, British Columbia, and they are one of Canada’s most beloved treats. We see you, and we love you!
Donna’s Pro Tips for Nanaimo Bars
- Measure out just 2 tablespoons of pudding mix. That’s all the filling needs, so save the rest of the box for another treat.
- Bring the filling butter to soft room temperature. Softened butter whips up fluffy and smooth, with no lumps in your filling.
- Make them a day or two ahead. They keep for up to a week in the refrigerator, which takes one thing off your list before a party, and they look gorgeous on a cookie tray next to my Pizzelle Recipe (Classic Italian Waffle Cookies) and Chocolate Pinwheel Cookies.
Here’s what makes these work. The base gets one egg, which you whisk into the warm chocolate a little at a time and cook just until it turns thick and glossy.
That’s the glue that holds the graham crumbs, coconut, and walnuts together, so your bottom layer stays put when you cut.
That dreamy filling gets its magic from white chocolate instant pudding mix, straight off your grocery store shelf, so you can be slicing into a pan of these beauties tonight.
Every layer gets a chill before the next one goes on. A firm base means the filling spreads smooth instead of dragging up crumbs.
A firm filling plus slightly cooled chocolate means the top glides on in a clean, even layer instead of melting into the middle. (Chocolate lover? My Hot Fudge Recipe is calling your name.)
Ingredient Notes
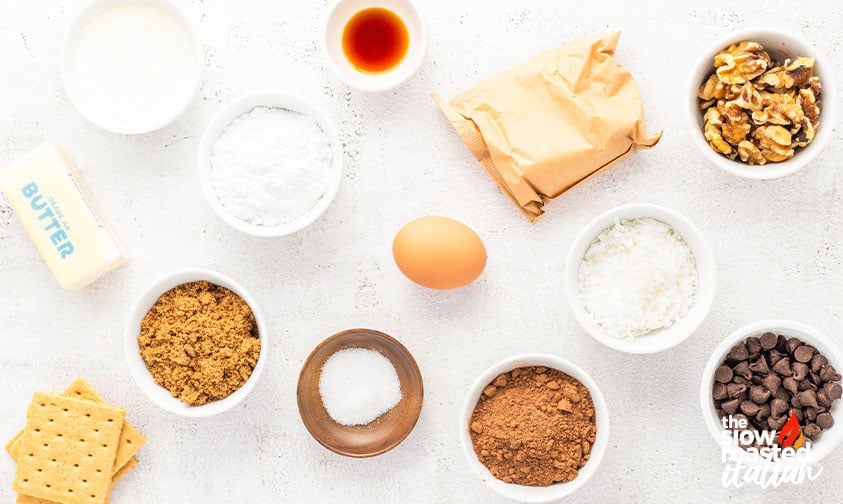
- White chocolate instant pudding mix: Look in the baking aisle near the gelatin. A 3.3 ounce box is plenty, since you only use 2 tablespoons.
- Graham cracker crumbs: Buy them already crushed, or pulse whole graham crackers in a food processor until fine.
- Sweetened shredded coconut: It keeps the base chewy and moist.
- Semi sweet chocolate chips: They melt smooth with the butter and set into a firm top that snaps when you bite.
Variations
- No walnuts? Pecans or almonds work in the same amount.
- Mint Nanaimo bars: Beat about 1 teaspoon peppermint extract into the filling, plus a drop of green food coloring if you love that holiday look. Mint chocolate fans, my Mint Chocolate Brownie Recipe is calling your name too.
- Peanut butter Nanaimo bars: Beat about 1/2 cup creamy peanut butter into the filling, with a splash more cream if it gets too thick to spread.
- Mocha Nanaimo bars: Stir 2 teaspoons instant espresso powder into the heavy cream until it dissolves, then make the filling as usual.
- Cherry Nanaimo bars: Fold 1/3 cup finely chopped, well-drained maraschino cherries into the finished filling.
Frequently Asked Questions About Nanaimo Bars
What are Nanaimo bars?
A Nanaimo bar is a three-layer, no-bake dessert from Canada: a chocolate, graham, coconut, and nut base, a creamy custard-flavored filling, and a chocolate top. In the US, they go by the same name.
What can I use instead of custard powder?
Instant pudding mix! This recipe uses 2 tablespoons of white chocolate instant pudding mix, which gives the filling that same creamy, sweet flavor and you can find it in almost any grocery store.
Do Nanaimo bars need to be baked?
Nope. The base cooks for just 1 to 2 minutes on the stove to set the egg, and the rest happens in the freezer and refrigerator.
Can you freeze Nanaimo bars?
Yes, and they freeze beautifully. Freeze the cut bars in a single layer until firm, then stack them with parchment between the layers for up to 3 months. Thaw them in the refrigerator.
How do you cut Nanaimo bars without cracking the chocolate?
Let the chilled slab sit for 5 to 10 minutes, then use a sharp knife dipped in hot water and wiped dry. Re-warm and wipe the knife between cuts for smooth, clean edges.
Enjoy!
With love, from our simple kitchen to yours.
Don’t miss a thing! Follow us on
Facebook| X | Pinterest| Instagram
Nanaimo Bars
Ingredients
For the Bottom Layer
- 6 tablespoons unsalted butter , (3/4 stick)
- 1/3 cup packed light brown sugar
- 3 tablespoons unsweetened cocoa powder
- 1/8 teaspoon kosher salt
- 1 large egg
- 1 tablespoon pure vanilla extract or vanilla bean paste
- 3 1/2 ounces graham cracker crumbs, about 1 cup
- 4 ounces sweetened shredded coconut, about 1 1/3 cups
- 1 1/4 ounces walnuts, chopped, (about 1/3 cup)
For the Filling
- 5 tablespoons unsalted butter, softened, (1/2 stick plus 1 tablespoon)
- 1/4 cup heavy cream
- 2 tablespoons white chocolate instant pudding mix, from a 3.3 ounce box
- 8 ounces powdered sugar, about 2 cups
For the Chocolate Topping
- 6 ounces semisweet chocolate chips, about 1 cup
- 4 tablespoons unsalted butter, 1/2 stick
- 1/8 teaspoon kosher salt
Instructions
- LINE THE PAN: Line an 8×8 inch baking pan with parchment paper, leaving about 2 inches hanging over two opposite sides. Those flaps are your handles for lifting the bars out in one piece.
- COOK THE CHOCOLATE BASE: In a small saucepan over medium-low heat, melt 6 tablespoons unsalted butter . Take the pan off the heat and whisk in 1/3 cup packed light brown sugar, 3 tablespoons unsweetened cocoa powder, and 1/8 teaspoon kosher salt until blended. Let it cool for about 5 minutes, until the side of the pan feels warm but no longer hot. In a small bowl, beat 1 large egg with a fork. Drizzle the egg into the chocolate mixture a little at a time, whisking the whole time, so it blends in smooth instead of cooking into bits. Return the pan to medium heat and stir constantly for 1 to 2 minutes, until the mixture thickens and turns glossy, like pudding. Remove the pan from the heat.
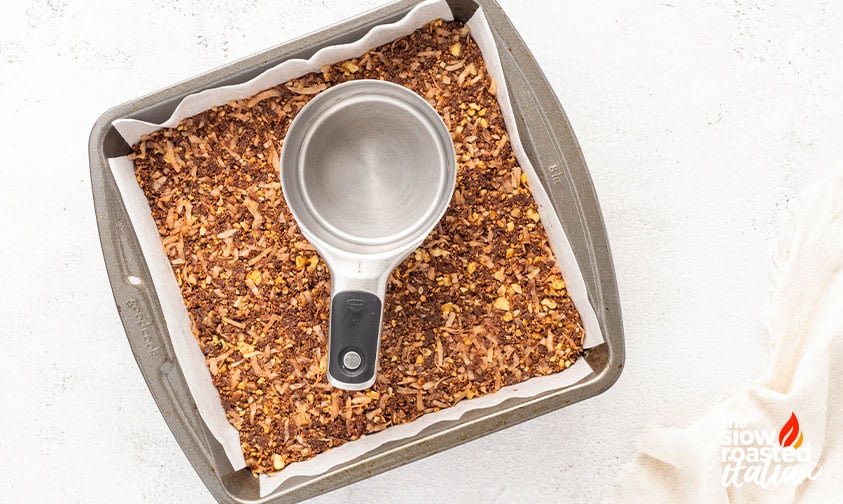
- PRESS IN THE BASE AND FREEZE: Stir 1 tablespoon pure vanilla extract or vanilla bean paste, 3 1/2 ounces graham cracker crumbs, 4 ounces sweetened shredded coconut, and 1 1/4 ounces walnuts, chopped into the chocolate mixture until every crumb is coated. Spoon it into the lined pan and press it down firmly and evenly with the bottom of a measuring cup. A firmly packed base holds together when you cut the bars. Cover with plastic wrap and freeze for 20 minutes, until firm to the touch.
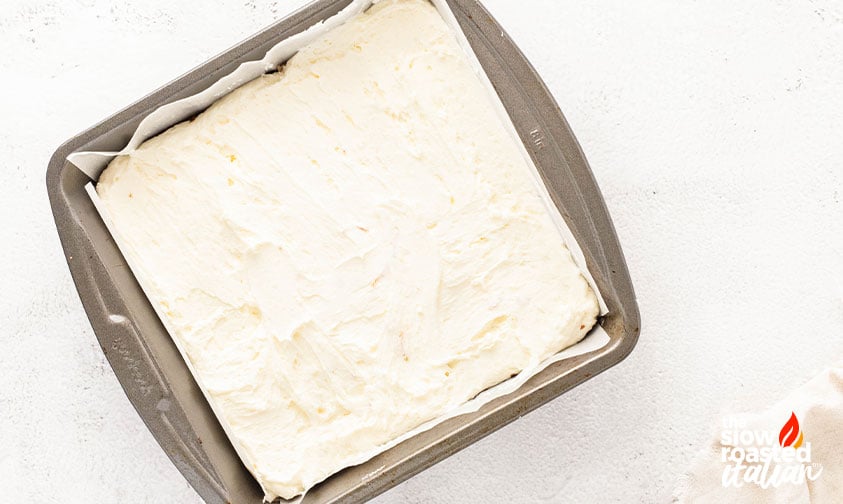
- MAKE AND SPREAD THE FILLING: In a medium bowl, beat 5 tablespoons unsalted butter, softened with an electric mixer on medium speed until smooth and creamy, about 1 minute. Beat in 1/4 cup heavy cream and 2 tablespoons white chocolate instant pudding mix until smooth. Add 8 ounces powdered sugar and beat on low until it is mixed in, then on medium until the filling is thick, fluffy, and easy to spread, like frosting. Spread it evenly over the frozen base. Cover and return the pan to the freezer for 15 minutes, until the filling is firm to the touch.
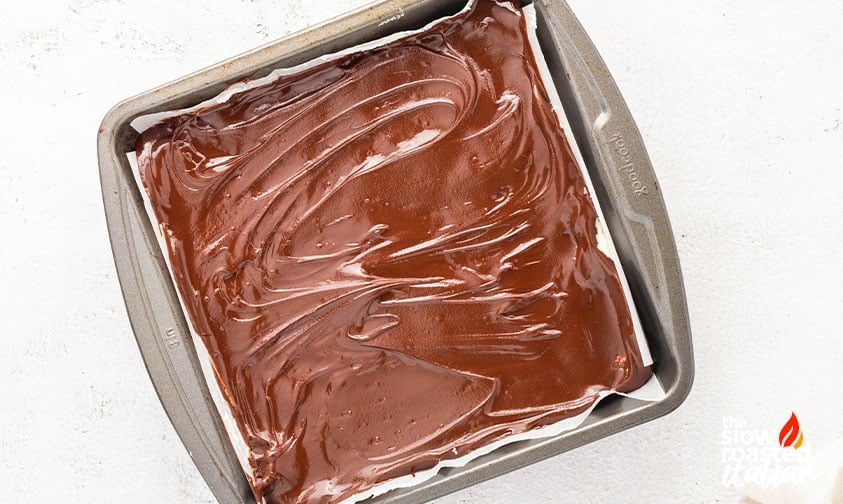
- MAKE AND SPREAD THE TOPPING: In a microwave-safe bowl, heat 6 ounces semisweet chocolate chips, 4 tablespoons unsalted butter, and 1/8 teaspoon kosher salt in 20 second bursts, stirring after each one, until melted and smooth, about 1 to 2 minutes total. Let it sit 2 to 3 minutes, until warm rather than hot, so it spreads over the filling without melting it. Spread the chocolate evenly over the filling. Cover and refrigerate for 30 minutes, until the chocolate is set, firm, and no longer shiny.
- CUT THE BARS: Lift the bars out with the parchment handles and let them sit on a cutting board for 5 to 10 minutes. Dip a sharp knife in hot water, wipe it dry, and cut into 16 squares, wiping and re-warming the knife between cuts. A warm knife slices through the chocolate cleanly so the top stays smooth.
Donna’s Notes
Nutrition
All nutritional information is based on third party calculations and is only an estimate. Each recipe’s nutritional value will vary depending on the ingredients used, measuring methods, and portion sizes.
Originally published October 2026
Disclosure: Posts may contain affiliate links. If you purchase a product through an affiliate link your price will remain the same and The Slow Roasted Italian will automatically receive a small commission. Thank you for supporting us, it helps us keep creating new recipes.


Welcome!
We’re Donna and Chad, the dream team behind The Slow Roasted Italian. Our focus is on taking complicated OUT of the kitchen. Life is busy enough, making meals should be fast and easy, to help make your life as simple as possible. Read More >>








This dessert looks AMAZINGLY delicious. My question is. Can this recipe be doubled for a 13×9 baking pan?