

How to Make Ice Cream in a Bag Recipe + Video
Learn How to Make Ice Cream in a Bag in just 10 minutes! All you need is milk, cream, sugar, and vanilla — plus salt and ice to make the magic happen. Even the kids can help make rich and creamy homemade ice cream when there’s no machine required!
Forget about the ice cream machine or fancy ice cream maker, and give this delicious homemade ice cream recipe a try!
Eating a bag of ice cream might sound unique, but I promise you it’s such a fun way to make summer-y ice cream recipes like this!
And while you actually don’t eat this easy homemade ice cream out of the bag, it’s a fun way to show the kids that simple ingredients can literally turn into an amazing homemade dessert.
Gather the basic ingredients needed to make this treat – and have the kids join in the fun. It’s so much fun to create a simple ice cream base – it can even be an edible science experiment for a hot summer day.
This is a great way to make the perfect treat and learn at the same time!
If you want to make your own ice cream easily, this is a personal favorite in my house! You can also try our birthday cake ice cream!
How to Make Ice Cream in a Bag
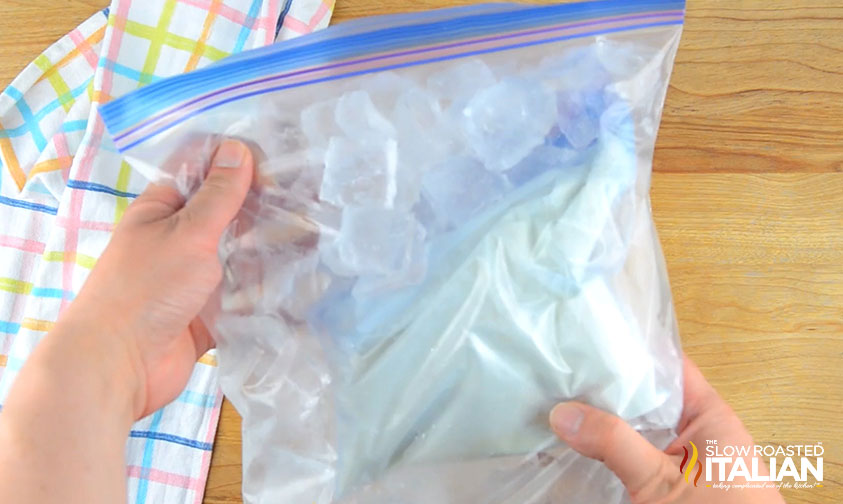
Have you ever wondered how to make ice cream in a bag? It’s as easy as it sounds!
You simply put ice and salt in a large freezer bag. Then, you fill a smaller sandwich bag with all of the ingredients.
A little while later, you have ice cream!
Kids will enjoy seeing how easy it is to make ice cream in a bag. And, it’s a fairly mess free way to get them interested in helping in the kitchen.
Recipe Video
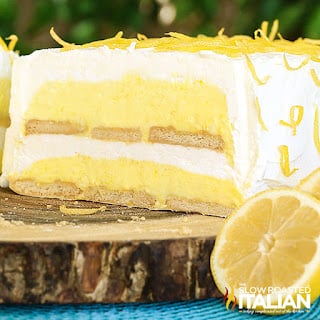
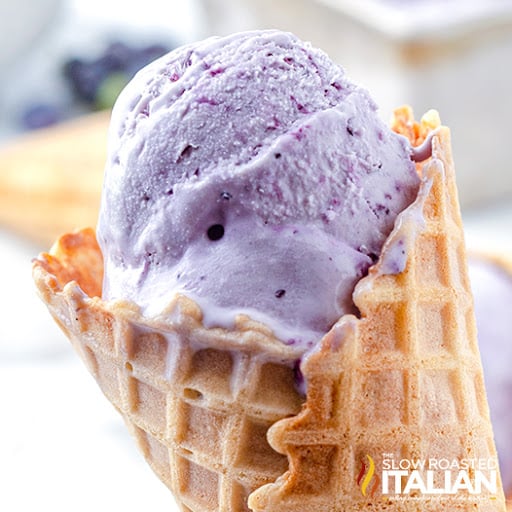
Along with this no-churn vanilla ice cream, I have recipes for strawberry and blueberry flavors — stack a scoop of each for a patriotic dessert!
Craving more grown-up flavors? You’ll have to try peaches and cream, strawberry shortcake, and maple bacon instead!
Ingredient Notes and Substitutions
- Heavy Cream and Milk – These make up the dairy base for your homemade ice cream in a bag.
You could use all cream for an extra rich dessert, or use all milk for a lighter version. Opt for whole milk for the right amount of fat. - Vanilla – Use more or less extract to achieve just the right flavor. You could also use vanilla bean paste if you prefer, as long as it’s whisked into the milk really well.
- Sugar – Regular granulated sugar is best for this ice cream in a bag recipe.
- Ice and Salt – These two ingredients make the magic happen! You will need whole ice cubes, not crushed ice.
Tips for Making Homemade Ice Cream in a Bag
- Let everyone make their own.
Keep in mind that this recipe makes enough for one person. So, if more than one person wants ice cream, they can each work on their own bag.
- Put the salt in the outer bag.
The salt goes with the ice, while the ice cream ingredients go in the inner bag.
You want the contents of each bag to remain separate — otherwise, you’ll have salty ice cream!
Make sure you buy name-brand locking freezer and sandwich bags to be safe.
Generic bags may not seal as tightly, which will allow everything to mix together in the worst way.
- Avoid frozen hands.
Smaller hands are more sensitive to cold, and things can get pretty frosty when you’re shaking everything up!
Winter gloves are an easy solution, though oven mitts will work in a pinch.
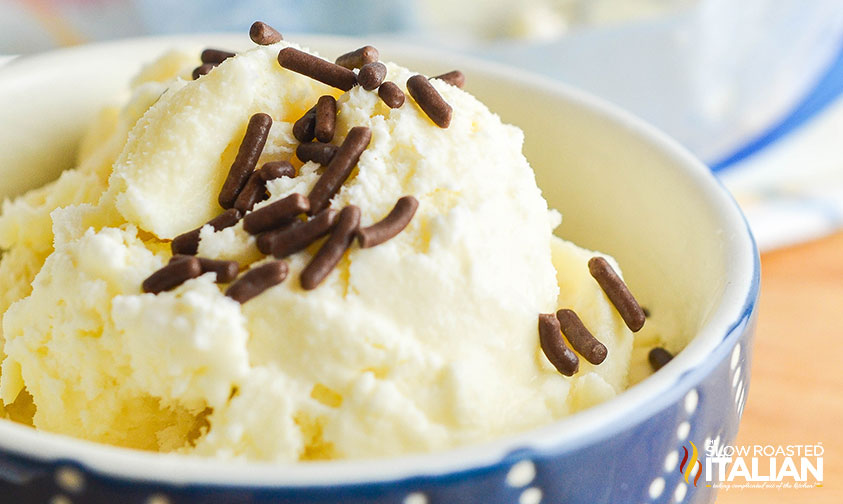
- Don’t forget your favorite toppings!
Fresh fruit or chocolate chips are always a favorite with no-churn vanilla ice cream. In fact, you can toss them right in the bag if you’d like!
This ice cream mixture is versatile, and adding toppings just makes it even more of a fun activity for the kids!
While you’re at it, add some mint extract and green food coloring with the chocolate chips for mint chip ice cream. Different flavors are always better!
Otherwise, squeeze the finished product into a bowl and go to town with your favorites: rainbow sprinkles, caramel sauce, strawberry topping, crushed cookies, and more! You can even add whipped cream.
Ice Cream in a Bag Recipe FAQ
Basically, the salt lowers the melting point of the ice just like it does when we put salt on the roads in the winter.
In order for the ice to melt, it has to pull the heat from somewhere. In this case, it’s the cream.
The salt pulls the heat away from the cream to melt the ice, which turns the ice, cream, and sugar into homemade ice cream in a bag!
There’s a very easy way to transform this no-churn vanilla ice cream into chocolate.
Simply add two tablespoons of cocoa powder or chocolate milk powder to the ingredients before you put them in the bag.
You will want to use a whisk to make sure the mixture is well blended before you start. Then, proceed with the ice cream in a bag recipe.
When you’re done, you can also add chocolate syrup or sprinkles for extra chocolatey goodness!
Yes, you can use regular salt to make ice cream in a bag. Or, if you have it, sea salt or kosher salt will work as well.
While many traditional recipes call for rock salt, you don’t have to have rock salt for this project to work.
Enjoy!
With love, from our simple kitchen to yours.
Don’t miss a thing! Follow us on
Facebook| X | Pinterest| Instagram
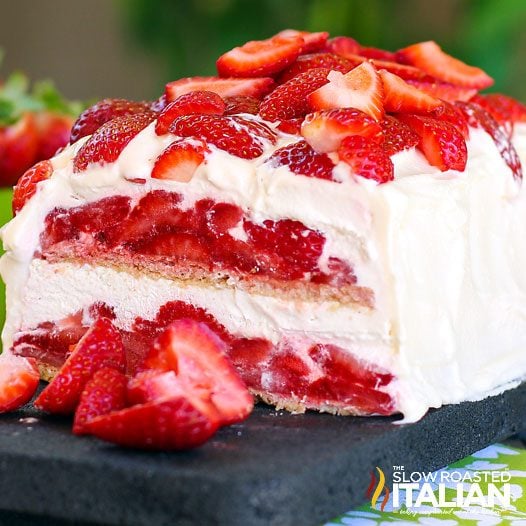
Other Frozen Dessert Recipes


How to Make Ice Cream in a Bag
Ingredients
- 2/3 cup heavy cream
- 1/3 cup whole milk
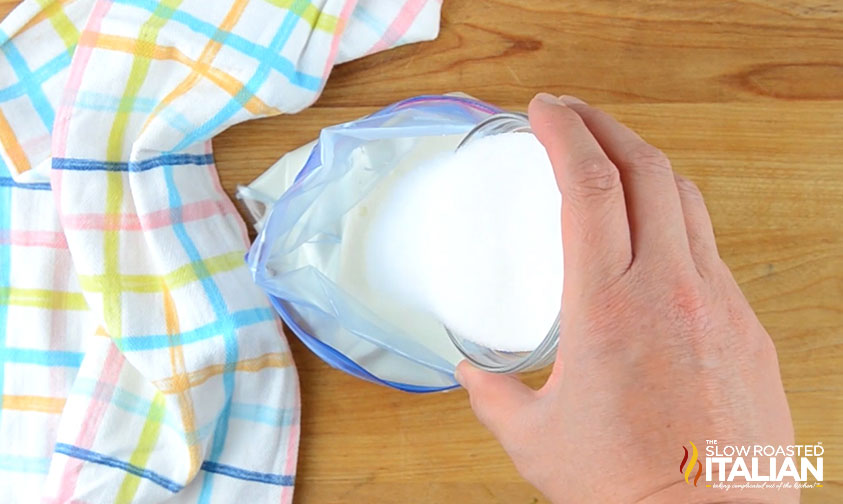
- 1/4 cup granulated sugar
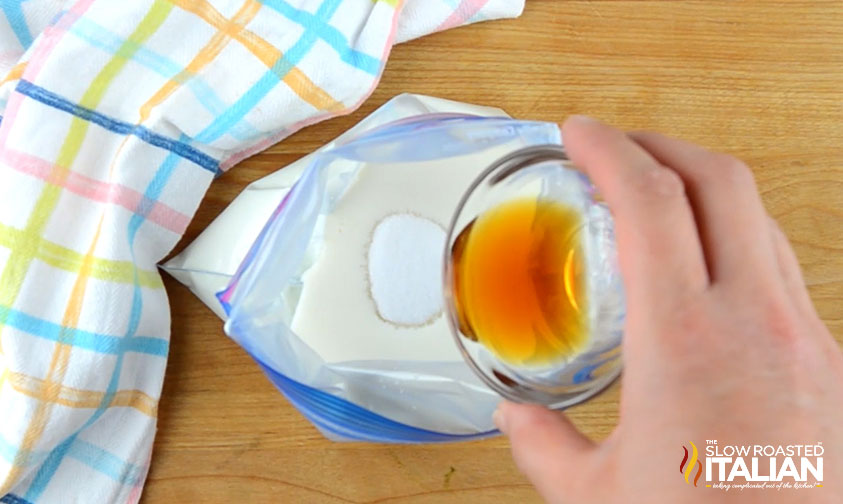
- 2 teaspoons pure vanilla extract, or vanilla bean paste
- 4 cups ice cubes, about half a gallon-size bag
- 1/4 cup ice cream salt or kosher salt
- Optional Toppings: Rainbow sprinkles, jimmies, crushed cookies, fresh fruit, mini candies, crushed candy canes, hot fudge, marshmallows, crushed cereal, caramel sauce
Instructions
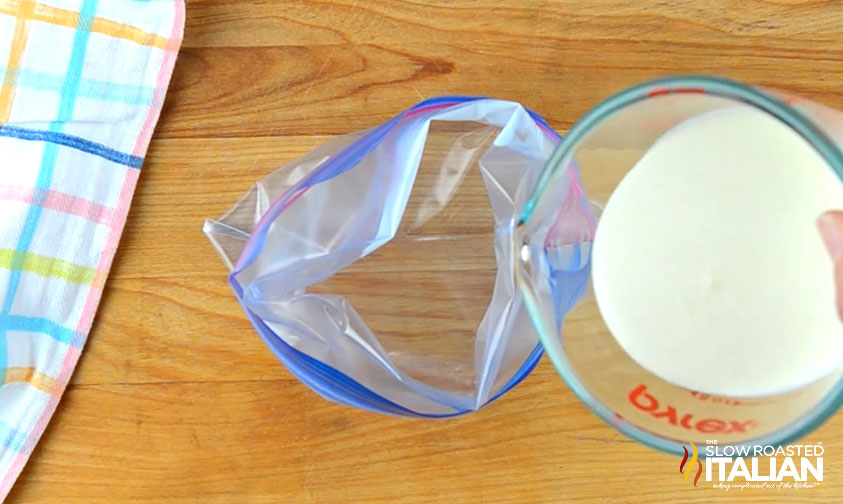
- MIX THE BASE: Pour 2/3 cup heavy cream, 1/3 cup whole milk, 1/4 cup granulated sugar, and 2 teaspoons pure vanilla extract (or vanilla bean paste) into a quart-size freezer bag. The mixture will look pale and thin at this stage. Press the bag flat to push out as much air as possible, then seal it tightly.
- DOUBLE BAG: Place the sealed quart bag inside a second quart-size freezer bag. Press the air out again and seal. The double layer keeps the salt water from sneaking into your ice cream base and gives you a smooth, clean flavor.
- BUILD THE ICE BATH: Pour about 2 cups of the 4 cups ice cubes into a gallon-size freezer bag. Add 1/4 cup ice cream salt or kosher salt directly over the ice. Set the double-bagged cream mixture on top of the ice, then add the remaining 2 cups of ice cubes on top so the cream bag is fully surrounded. Seal the gallon bag. The salt will start melting the ice right away, and the bag will feel intensely cold to the touch within seconds.
- SHAKE IT: Grab the gallon bag with both hands and shake it vigorously for 7 to 10 minutes. Use gloves, a kitchen towel, or oven mitts because the bag gets freezing cold fast. You will feel the cream mixture firming up inside the smaller bag as you shake. The bag gets heavier and the sloshing slows down as the ice cream thickens. Keep shaking until the mixture feels solid and holds its shape when you press the small bag with your fingers.
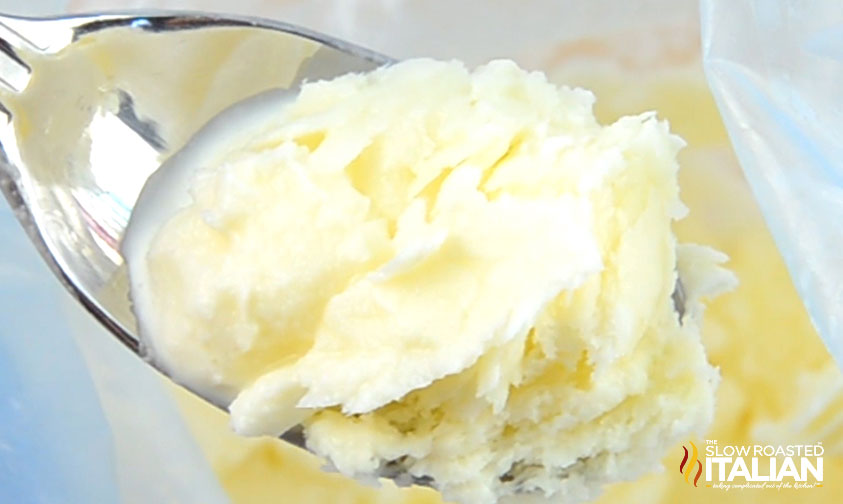
- REMOVE AND SERVE: Pull the quart bags out of the gallon ice bag. Wipe any salt water off the outer quart bag so it stays out of the ice cream. Remove the inner quart bag. The ice cream inside will look thick, creamy, and pale white. Snip off one corner of the bag and squeeze the ice cream into a bowl, or open the bag and scoop it out. If the texture is still slightly soft, place the inner bag in the freezer for 10 to 15 minutes until it firms up to your liking.
Video
Donna’s Notes
Nutrition
All nutritional information is based on third party calculations and is only an estimate. Each recipe’s nutritional value will vary depending on the ingredients used, measuring methods, and portion sizes.

Originally published May 2020, updated and republished June 2025
Disclosure: Posts may contain affiliate links. If you purchase a product through an affiliate link your price will remain the same and The Slow Roasted Italian will automatically receive a small commission. Thank you for supporting us, it helps us keep creating new recipes.


Welcome!
We’re Donna and Chad, the dream team behind The Slow Roasted Italian. Our focus is on taking complicated OUT of the kitchen. Life is busy enough, making meals should be fast and easy, to help make your life as simple as possible. Read More >>


How many servings will this make?
2 servings.
My kids loved this! It was such a fun project and I gave them flavors to choose from. Each one made their own. needless to say, this will be something we do for years to come.
This ice cream in a bag recipe is pure genius! So easy, even my 8-year-old niece could make it.
Hi Aniyah!
We’re so glad that you enjoyed our recipe!
TSRI Team Member,
Devlyn