

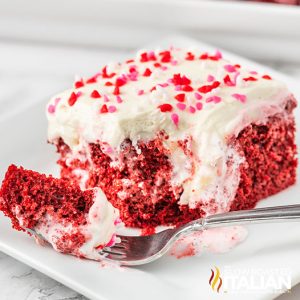
Red Velvet Poke Cake Recipe with Easy Frosting
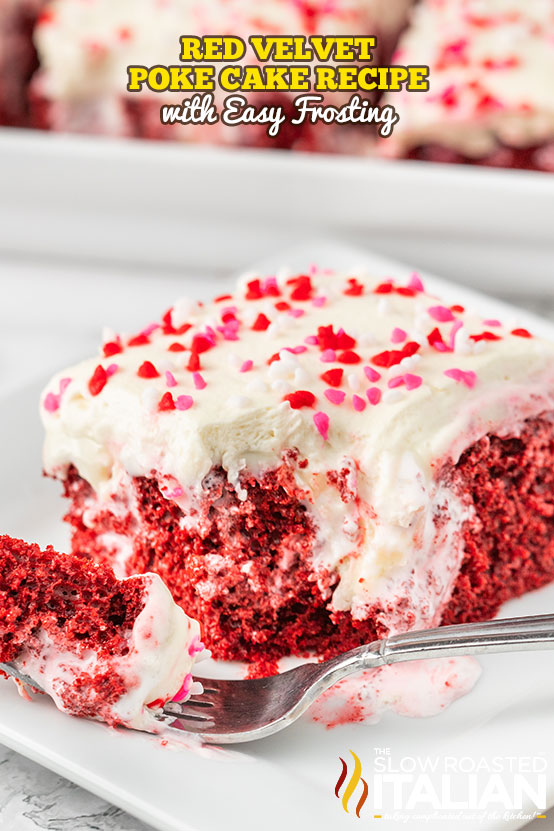
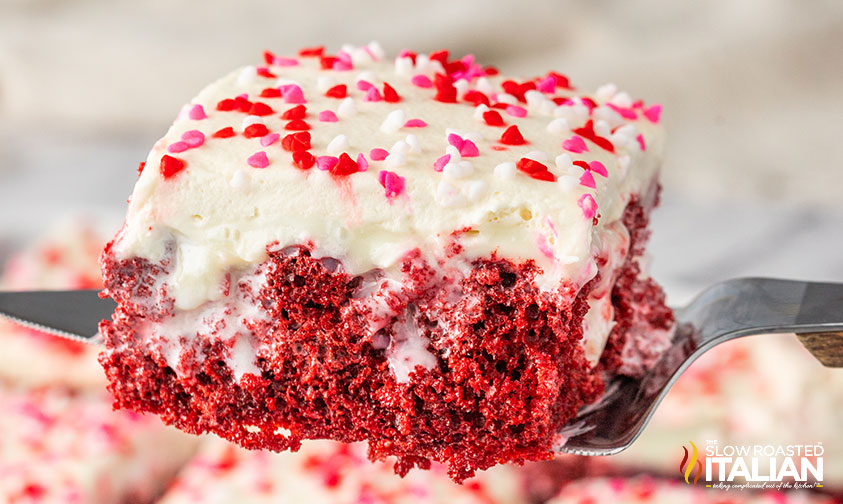
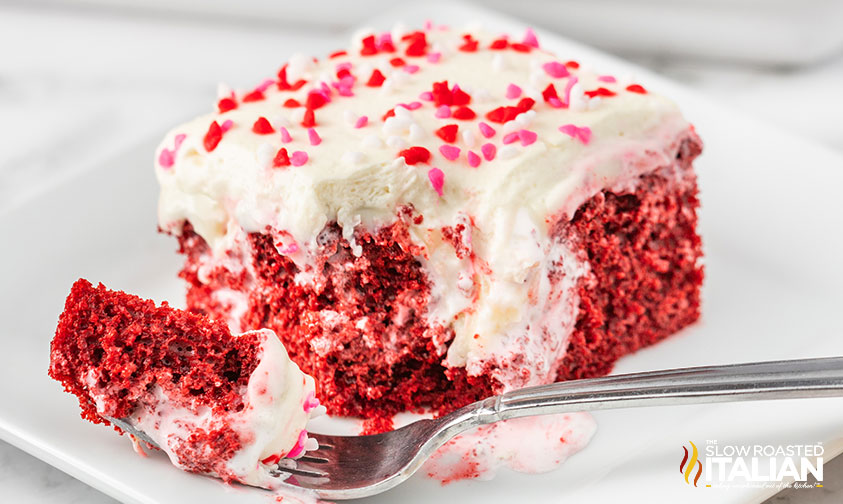
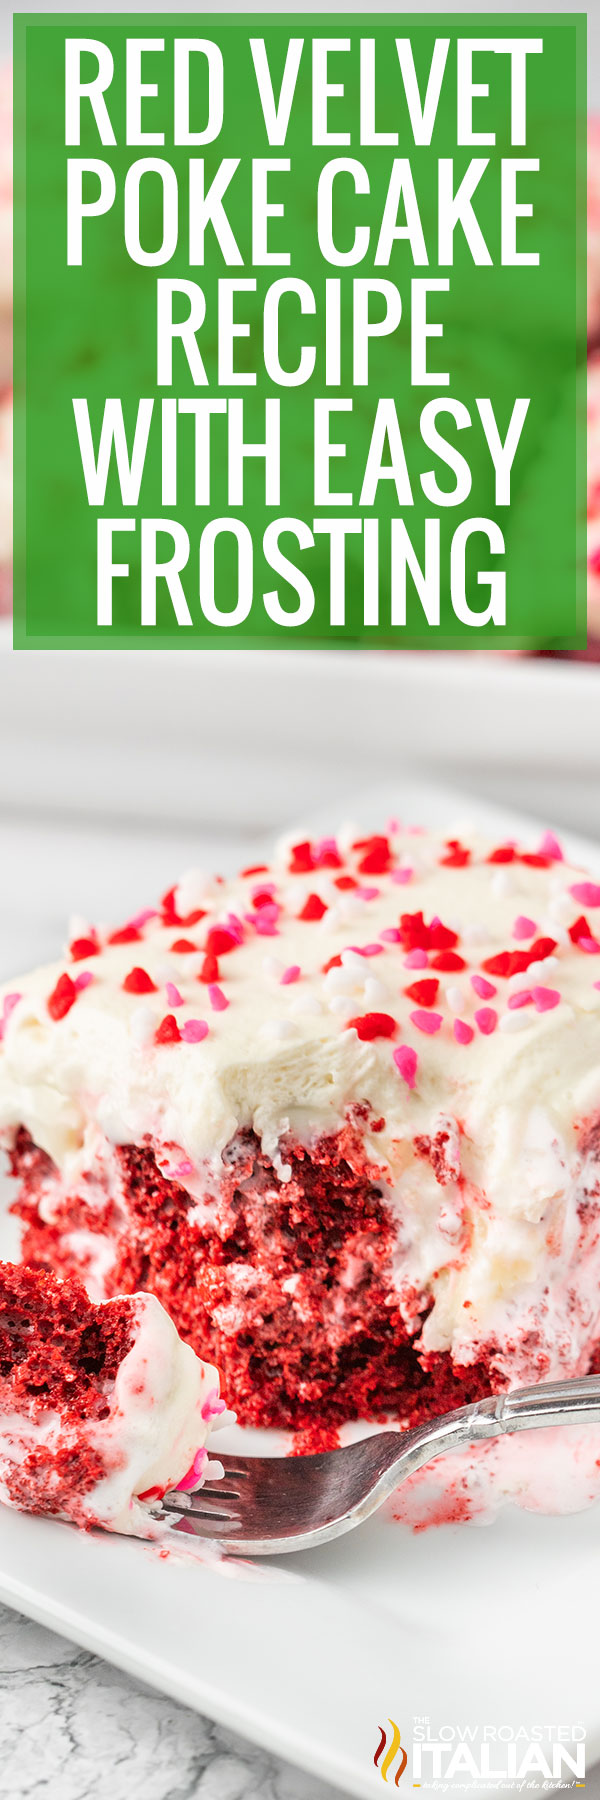
Red Velvet Poke Cake is incredibly indulgent and easy to make!! I use cake mix as a shortcut, and add both a white chocolate and marshmallow filling to make things even more decadent! It’s all topped with homemade whipped topping and sprinkles. Make this festive cake for Valentine’s Day… or whenever the craving strikes!
This red velvet dessert is my go-to easy poke cake recipe. It’s also a fun spin on a classic dessert that all red velvet fans will love!
You can whip this up for the holiday season or keep this decadent dessert for special occasions.
When I have an easy dessert that tastes this good, I’m all about making and sharing! Adding a bunch of holes in the baked cake creates the perfect moist red velvet cake.
And yes, you can easily add homemade cream cheese frosting to the top or buy your favorite cream cheese frosting from the grocery store.
Red velvet recipes like this are perfect for family gatherings – it’s sure to be the best dessert on the table!
Check out the printable recipe card below for all the easy steps to make this moist red velvet poke cake recipe!
Red Velvet Poke Cake
Red velvet cake is notorious for being indulgent — and I’m here for it! Listen, I’ve never met a chocolate cake I didn’t like, so it should come as no surprise that I love red velvet cake too.
Did you know that red velvet is a version of chocolate cake? Well, now you do!
The chocolaty flavor is a lot more subtle than, say, my Triple Chocolate Cake, but it’s definitely still there!
This recipe for red velvet poke cake combines chocolate with my other love: poke cakes.
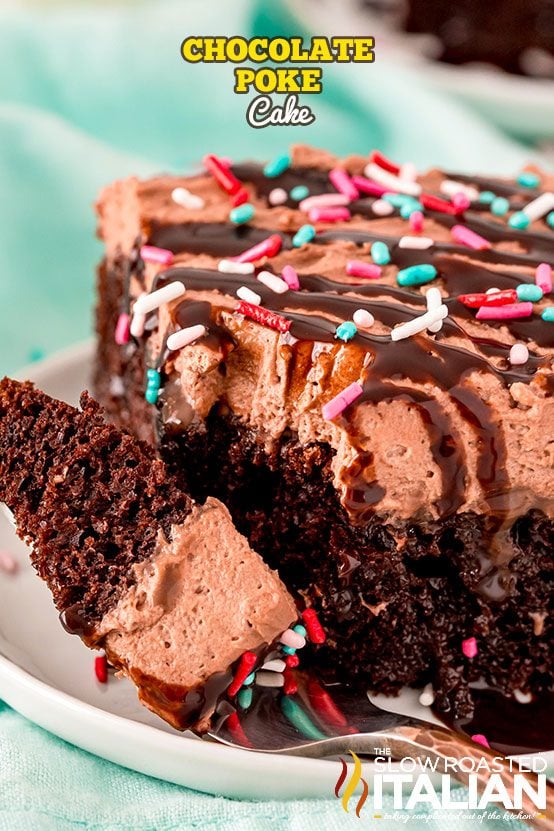
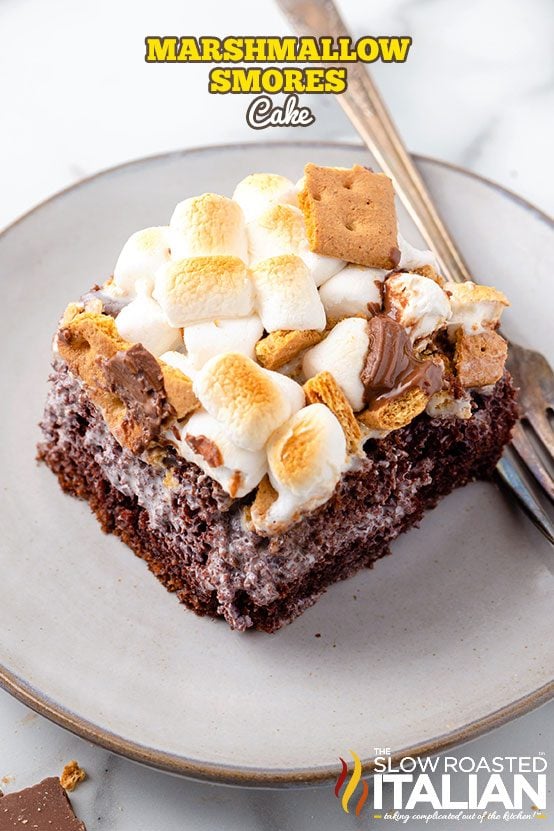
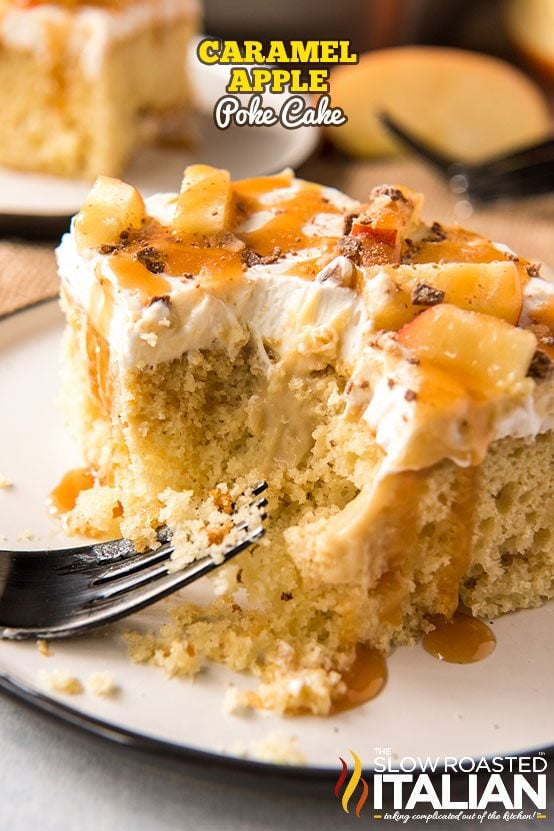
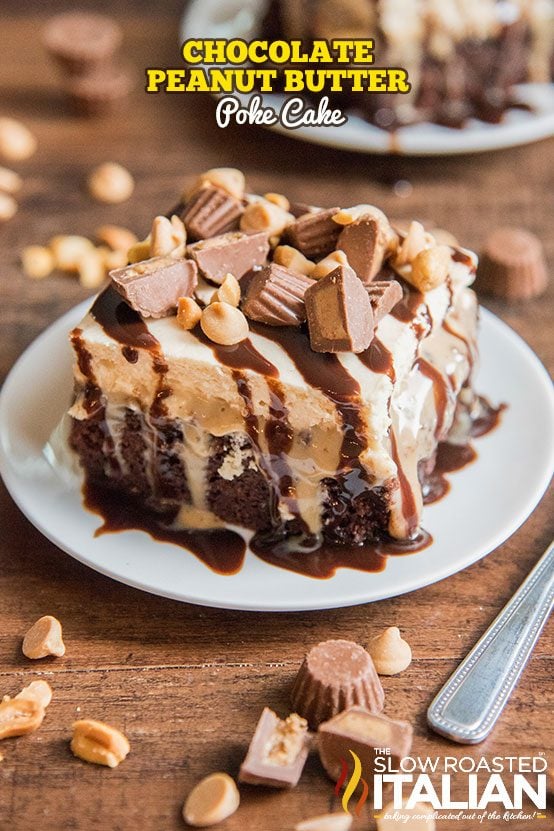
I’ve already shared my classic chocolate poke cake, this mint chocolate version, another that’s bursting with peanut butter, and fruity caramel apple. I told you I love these things!
The concept is simple. Once the cake is done baking, you “poke” holes in it. Here’s where the magic happens — you can fill the holes with a variety of different fillings.
For this easy red velvet cake recipe, I’m using a delicious combination of white chocolate and marshmallows. There’s also an easy frosting on top. YUM.
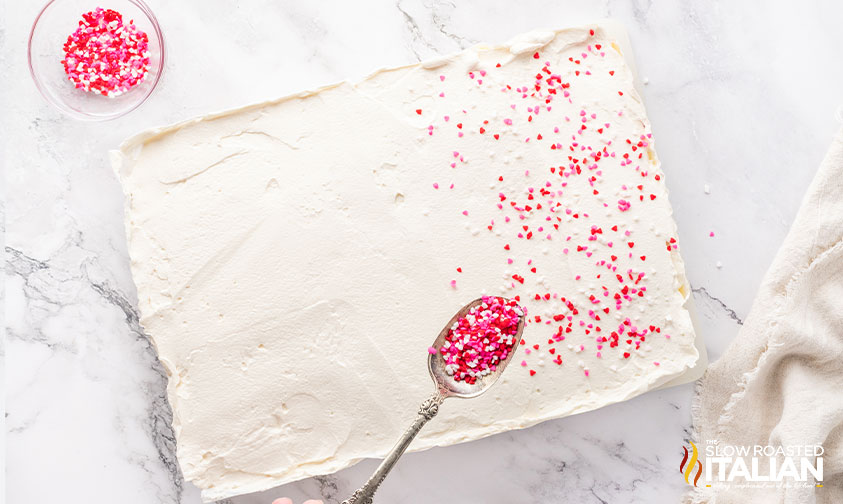
I decorated mine with some fun red, pink, and white sprinkles in honor of Valentine’s Day, but you can make this red velvet poke cake recipe any time of year!
Try my indulgent chocolate caramel Better Than Sex Poke Cake next!
Ingredient Notes and Substitutions
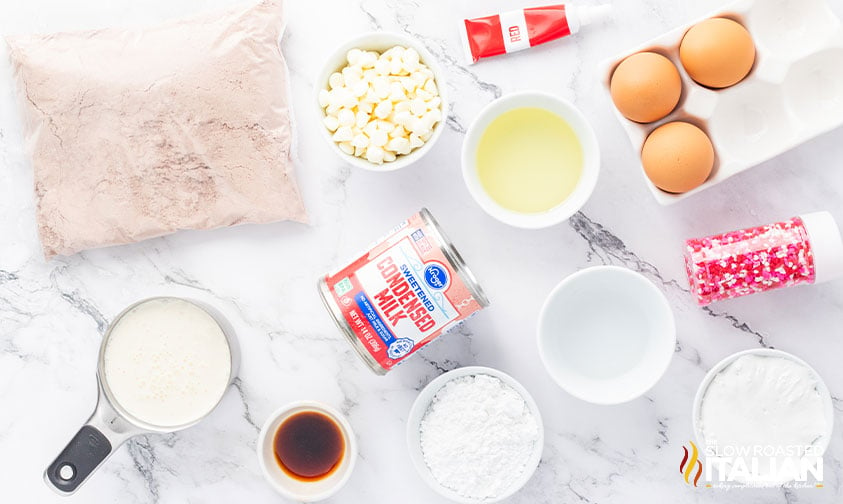
- Red Velvet Cake Mix – There’s no need to reinvent the wheel for this red velvet poke cake recipe — I’m using cake mix as a shortcut, and it’s super delicious!
If you’re feeling ambitious, you can use this recipe to make it yourself.
Otherwise, any brand of red velvet cake works. If you can’t find it, use a white cake mix and add red food coloring to the batter. - Eggs & Oil – Most boxed cake mixes call for eggs and oil, and sometimes water. Follow the instructions on the box to determine what you’ll need.
You may also be able to use applesauce or yogurt instead — check out the alternative instructions on the cake mix box to determine what’s possible. - Marshmallow Fluff – For the creamy and sweet marshmallow filling!
If you can’t find it, make a super simple marshmallow cream by melting regular marshmallows with a bit of cream. - White Chocolate Chips – You guessed it, needed for the white chocolate filling.
I like white chocolate chips, but you could also use milk or dark chocolate chips for a different flavor profile. - Sweetened Condensed Milk – Another key ingredient in the white chocolate filling. Opt for sweetened — you want the extra sweet flavor.
- Heavy Whipping Cream – To make the white chocolate filling and the homemade whipped topping.
For a lighter version, use half & half or milk, though keep in mind the consistency will be less creamy. - Confectioner’s Sugar – Also for the whipped topping! I like using confectioner’s sugar instead of granulated as it lends a smoother texture.
- Vanilla – A touch of warm vanilla in the whipped topping pulls everything together.

Tips and Tricks to Make a Perfect Red Velvet Poke Cake Recipe
- Enhance that red velvet flavor.
I’m using boxed cake mix for convenience, but there are a few ways you can elevate the red velvet flavor!
Consider adding a teaspoon of vanilla extract or a small amount of cocoa powder (both present in homemade recipes!).
It will deepen the overall flavor profile of your red velvet poke cake and make the chocolate really come through.
- Use the handle of a wooden spoon for even “pokes.”
The easiest way to get evenly sized poke holes is to use a wooden spoon.
You may not think it’s important, but hear me out: it will help the fillings distribute evenly throughout the cake.
That ensures that every bite will be full of all of the wonderful flavors in this easy red velvet cake recipe!
- Chill between layers.
You’ll likely be tempted to add all of the various layers one after the other without pausing to chill the cake.
Don’t make that mistake! It’s important to be patient and let each component of your red velvet poke cake set before adding the next layer.
Yes, it means that this recipe will take longer to make, but it’s so worth it!
- Feel free to get creative!
There are plenty of opportunities to make this easy red velvet cake recipe your own.
Add a layer of crushed nuts or shredded coconut between the white chocolate filling and the whipped topping for added texture and flavor!
Prep Ahead
- Spray the baking pan with nonstick cooking spray or add a layer of parchment paper
- Preheat your oven
Kitchen Tools You Will Need
- 9×13 Baking Dish – This set is one of my favorites! It comes with a lid for easy storage and is great for casseroles as well as baking.
- A Sturdy Wooden Spoon – Preferably one with a rounded handle. It creates properly sized holes for grabbing that gooey filling!
- Microwave-Safe Bowl – Not only does it make melting marshmallows and chocolate easier, but you can use it to quickly steam vegetables too!
- Electric Hand Mixer – I’ve had this one in my kitchen forever, and it still works beautifully.
Serving Suggestions
For an added touch of elegance, I sometimes serve this easy red velvet poke cake recipe with a drizzle of raspberry sauce or a few fresh berries on top!
You can also decorate the cake with some pretty edible flowers, sliced fruit, or chocolate shavings.
There are so many ways to make the presentation even more beautiful! Have fun with this delicious dessert – it’s a great way to gain confidence baking in the kitchen, and easy recipes like this make it a breeze!
Storage and Make-Ahead Tips
Store leftovers in an airtight container in the fridge, where they will keep for about 5 days. The fillings will meld together beautifully as the cake sits!
This is one of those rare recipes that tastes even better after a few days.
You can make this easy red velvet cake recipe up to a day in advance if you want to save time before a party.
Just add the whipped topping before serving to keep it as fresh and fluffy as possible!
Red Velvet Poke Cake FAQ
Red velvet cake is made with cocoa powder, butter, sugar, buttermilk, eggs, and red food coloring. As mentioned, it boasts a slight chocolate flavor thanks to the added cocoa, but it’s not as intense as some other chocolate cake recipes.
The key is to wait for the cake to cool before you add the holes. Make sure to also use a gentle touch when using the wooden spoon — work carefully and you won’t have to worry about the cake falling apart.
Yes! This cake freezes really well. Wrap individual slices or the entire cake tightly in layers of plastic wrap and aluminum foil.
When properly stored it will keep for up to 3 months in the freezer. Remember to thaw in the fridge overnight before serving.
Enjoy!
With love, from our simple kitchen to yours.
Don’t miss a thing! Follow us on
Facebook| X | Pinterest| Instagram
Red Velvet Poke Cake Recipe with Easy Frosting
Ingredients
Red Velvet Cake
- 1 box Red Velvet Cake Mix
- 1 cup water, or amount on box directions
- 3 large eggs, or amount on box directions
- 1/2 cup vegetable oil, or amount on box directions
- red food coloring, optional
Marshmallow Filling
- 2 1/2 cups marshmallow fluff
- 2 tablespoons water
- White Chocolate Filling
- 1 3/4 cups white chocolate chips
- 14 ounce can sweetened condensed milk
- 3 tablespoons heavy whipping Cream
Whipped Topping
- 2 cups heavy whipping cream
- 1/4 cup confectioners’ sugar
- 1 teaspoon vanilla extract
- sprinkles, as desired
Instructions
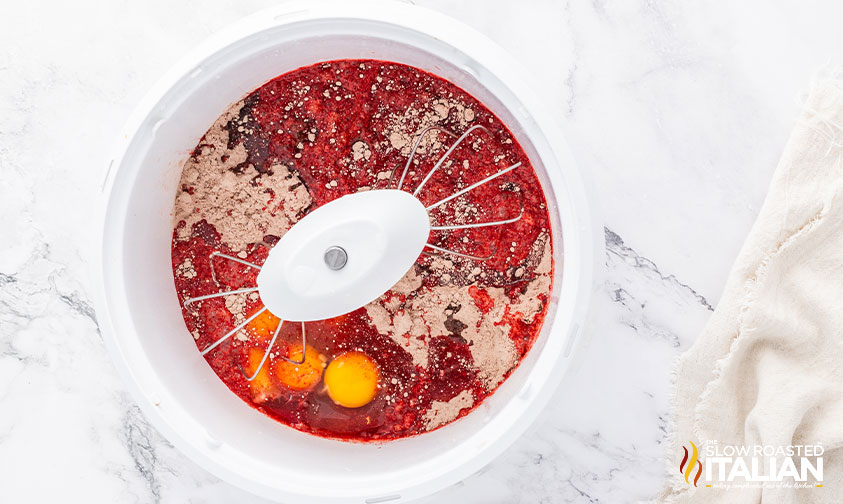
- PREPARE THE CAKE: Mix the Devil’s Food Cake Mix, Water, Eggs and Oil together, and pour into a sprayed 9×13 baking pan (or lined with parchment paper for ease in removing it from pan). Bake according to the directions on the box. Allow to cool on a cooling rack for 20 minutes.
- POKE THE CAKE: Using the round handle of a wooden spoon, poke holes the cake, making the holes about an inch apart. Poke about 2/3 deep, not all the way to the bottom
- MARSHMALLOW FILLING: Place Marshmallow Fluff and Water in a microwave-safe bowl. Microwave in 20-second bursts, stirring each time, until melted and blended (about 1 minute).
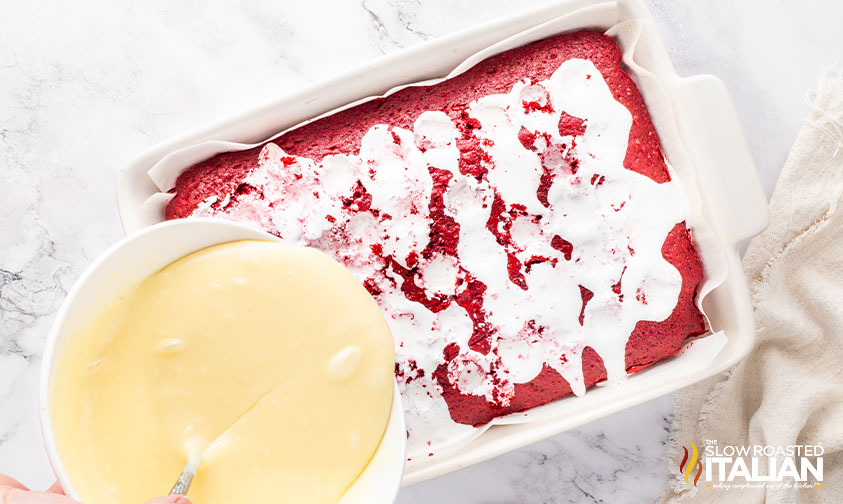
- FILL WITH MARSHMALLOW: Pour fluff mixture into a piping bag (or a plastic bag with the corner snipped off) and pipe it into the holes. Spread remaining fluff across top. Place in the fridge to chill.
- WHITE CHOCOLATE FILLING: Place White Chocolate Chips, Sweetened Condensed Milk and Cream in a microwave safe bowl. Microwave in 20-second bursts, stirring each time, (about 2-3 minutes) until melted.
- COVER THE CAKE: Spread the filling over the cake, and chill until the filling is cooled completely.
- WHIPPED TOPPING: Beat Cream, Confectioners’ Sugar and Vanilla with an electric mixer until stiff peaks form. Spread over the chilled cake. Garnish with Sprinkles. Chill until ready to serve.
Donna’s Notes
– Cake Mix: Any brand of red velvet cake mix works. If unavailable, use a chocolate cake mix with additional red food coloring. – Eggs/Oil/Water: Follow the alternative instructions on the cake mix box if you prefer a different variation (like using applesauce or yogurt). – Marshmallow Fluff: If unavailable, make a simple marshmallow cream by melting regular marshmallows with a bit of cream. – White Chocolate Chips: Can be substituted with milk or dark chocolate for a different flavor profile. – Heavy Whipping Cream: For a lighter version, use half-and-half or milk, though the consistency will be less creamy. Make-Ahead Tips: You can prepare the cake a day in advance. Just add the whipped topping before serving to keep it fresh and fluffy. Serving Suggestion: For an extra touch of elegance, serve with a drizzle of raspberry sauce or a few fresh berries. Variations: Feel free to add a layer of crushed nuts or shredded coconut between the cake and the whipped topping for added texture and flavor. Decoration Ideas: Apart from sprinkles, try edible flowers, fruit slices, or chocolate shavings for a beautiful presentation.
Nutrition
All nutritional information is based on third party calculations and is only an estimate. Each recipe’s nutritional value will vary depending on the ingredients used, measuring methods, and portion sizes.
Originally published January 2024, updated and republished December 2024
Disclosure: Posts may contain affiliate links. If you purchase a product through an affiliate link your price will remain the same and The Slow Roasted Italian will automatically receive a small commission. Thank you for supporting us, it helps us keep creating new recipes.


Welcome!
We’re Donna and Chad, the dream team behind The Slow Roasted Italian. Our focus is on taking complicated OUT of the kitchen. Life is busy enough, making meals should be fast and easy, to help make your life as simple as possible. Read More >>


Hi Donna. I was just wondering if you could clarify – in the description of the recipe it says the cake has cream cheese frosting, but I don’t see cream cheese listed in the frosting ingredients. I’m looking forward to making this for a treat for my coworkers! Thanks!
Hi Brandi,
I’m sorry for the mixup. We ended up not using cream cheese frosting and instead went with an easy whipped topping. I edited the post to reflect that.
Thanks so much! Happy cooking. Let us know how it goes.
made this for my kiddo for her birthday and it came out amazing!!
This red velvet poke cake is a total showstopper!
Hi Rowan,
We’re so glad that you enjoyed the recipe.
TSRI Team Member,
Devlyn