

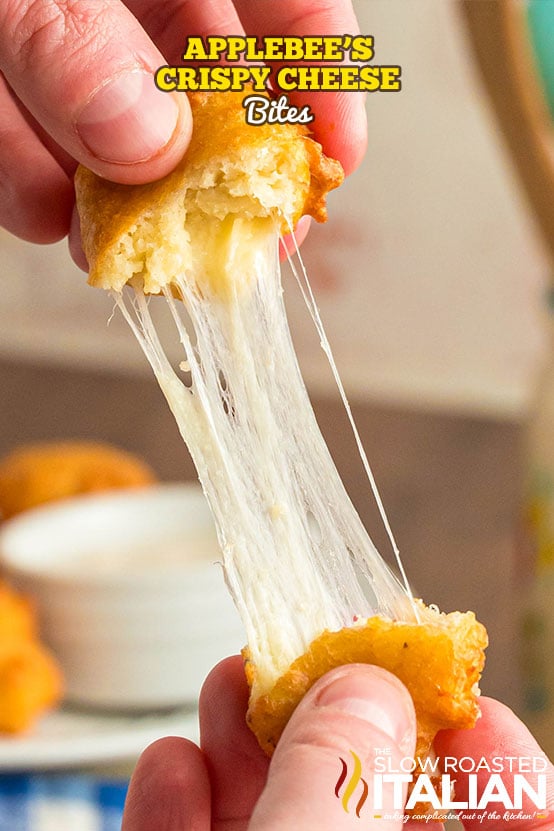
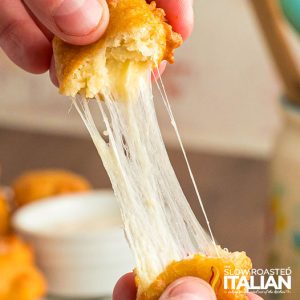
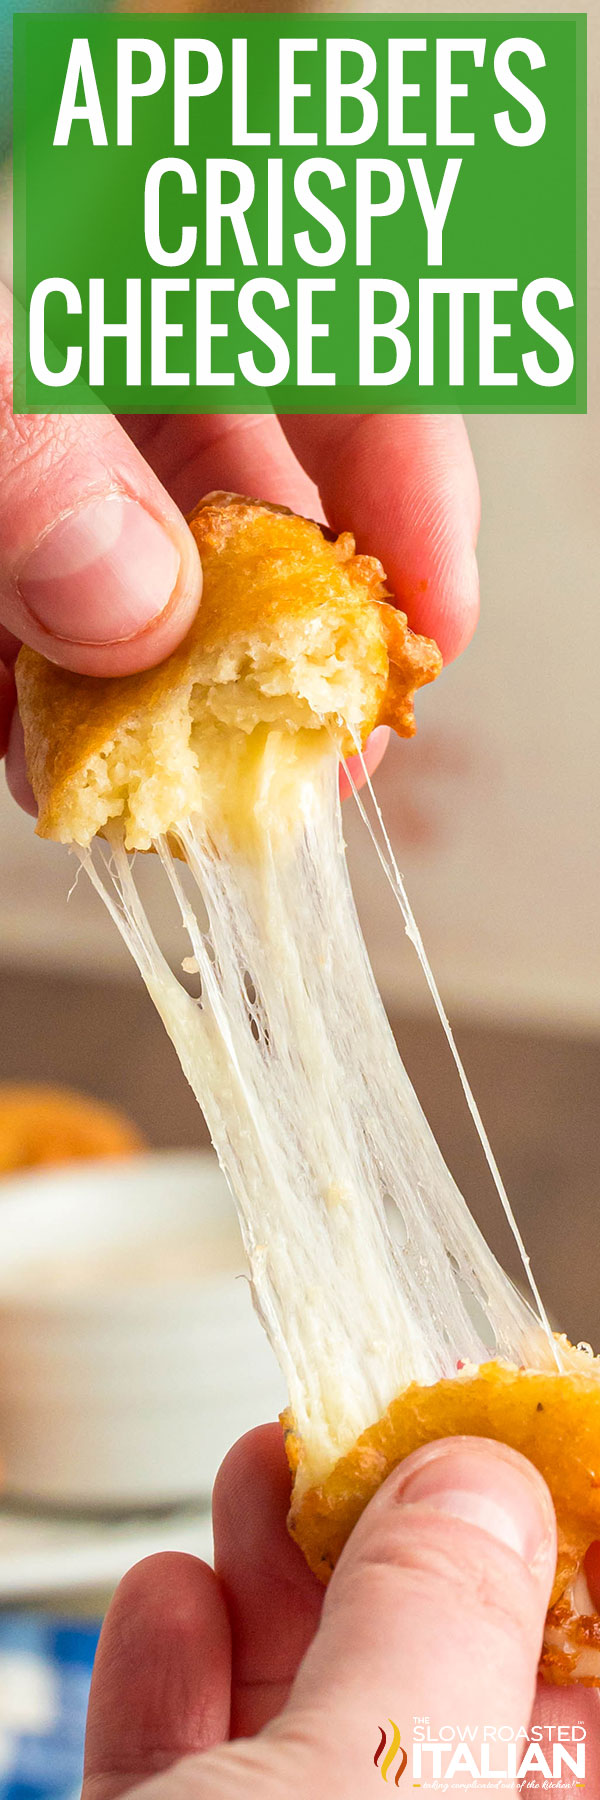
Crispy Cheese Bites (Applebee’s Copycat Recipe!)
My Crispy Cheese Bites are just like Applebee’s! Skip the restaurant and recreate them yourself at home for a fraction of the price. Made with just a handful of easy ingredients and about 30 minutes, you’ll have a hot batch of Applebee’s crispy cheese bites ready to serve and enjoy! This recipe makes great grub!
Are you a fan of melty cheese? Do you love cheesy appetizers? If so, then these fried cheese bites are for you!
The best part is that you can make these cheesy bites for your next party or as delicious treats for your own mouth and no one else.
There are just a few simple steps to whip up this amazing food, and it’s really perfect for movie night or an easy snack when that cheesy craving hits.
For the full recipe to make these delicious fried cheese balls, see the recipe card below!
Crispy Cheese Bites
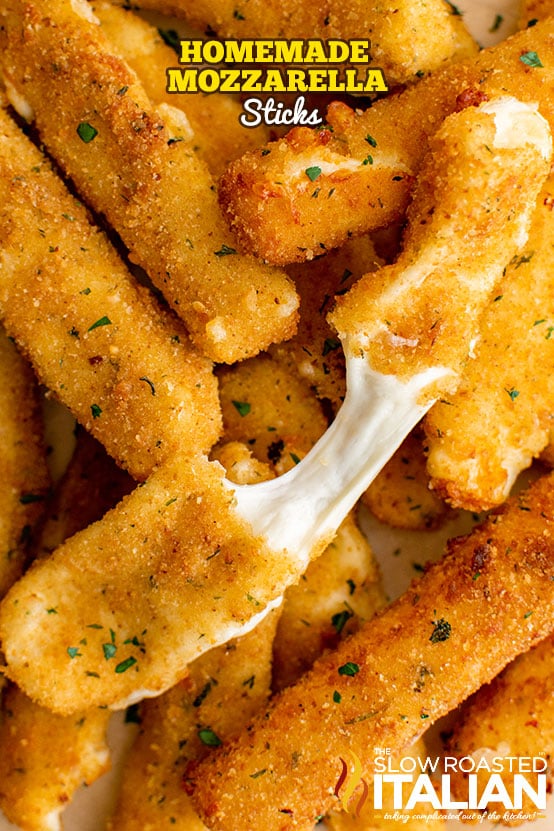
Fried cheese, is there anything better?! Mozzarella sticks, fried mac and cheese balls, fried mozzarella…
I have a ton of options on the site already, but there’s always room for more!
The Crispy Cheese Bites at Applebee’s are one of my favorite apps to grab when Chad and I have a date night.
And, when we go as a family, Munchkin could honestly scarf down an entire plate! I usually limit her to a few because, well, we want some too!
As always, once I try a dish out at a restaurant, the first thing I want to do is recreate it myself at home.
I figured fried cheese balls couldn’t be too hard to make, and boy, was I right!
After a bit of experimenting in the kitchen, I came up with the perfect copycat recipe. It’s quick, it’s easy, and comes together with simple ingredients.
You guys are going to love this one!! I mean, who doesn’t love fried cheese?
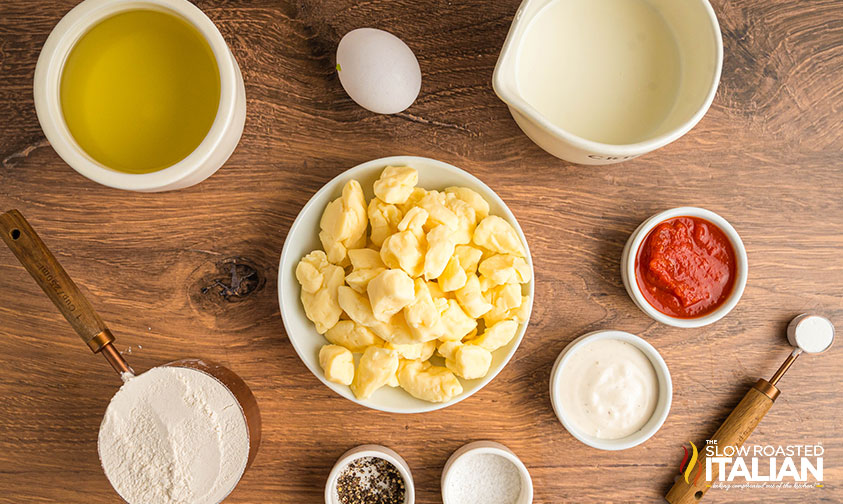
Ingredient Notes and Substitutions
- Cheese Curds – If you’ve never worked with cheese curds before you’re in for a treat — these small, fresh chunks of cheese are perfect for this appetizer!
You should be able to find them in the specialty cheese section at your local grocery store. You can use fresh or slightly aged curds for this recipe! - All-Purpose Flour – To create the batter, you’ll have to set up your standard dredging station.
I use all-purpose flour for frying because I always have some on hand. If you’re GF, use your preferred 1:1 flour. - Baking Powder – Helps create a light yet crispy outer crust on your crispy cheese bites like Applebee’s!
- Milk – I like whole milk to create the batter as well as its higher fat content has better flavor and texture.
- Egg – The final ingredient needed to set up your dredging station! An egg helps bind everything together.
- Vegetable Oil – For frying. I usually use canola oil or peanut oil for their high smoke point and neutral flavor.
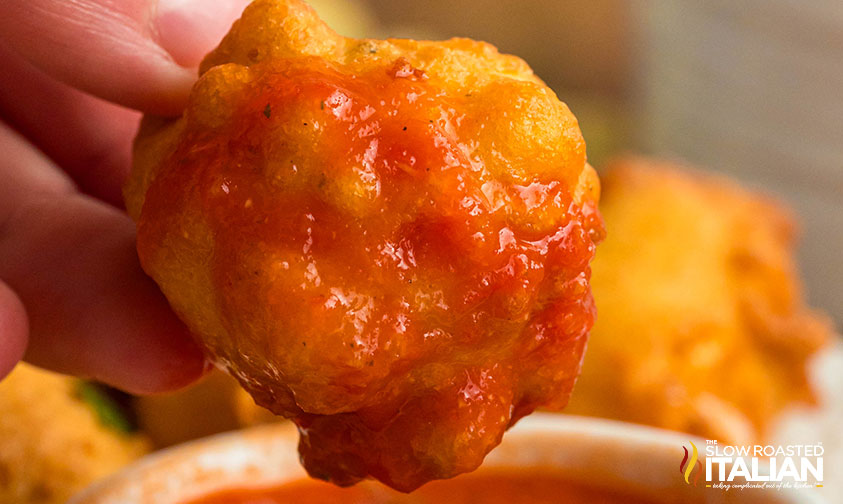
- Dipping Sauces – Get creative here! Applebee’s crispy cheese bites are typically served with a side of marinara sauce and ranch dressing, but you can use your favorites!
And if you don’t want to dip these little bits in sauce, you don’t have to! You can easily top with some cayenne pepper, or eat each little bite just like they are.
Tips and Tricks to Make Perfect Applebee’s Crispy Cheese Bites
- Test the temperature.
There are a couple of things to keep in mind before you fry up your cheese curds.
First, the oil must be at the correct temperature to get the crispy results you’re aiming for. Plus, it helps ensure even cooking.
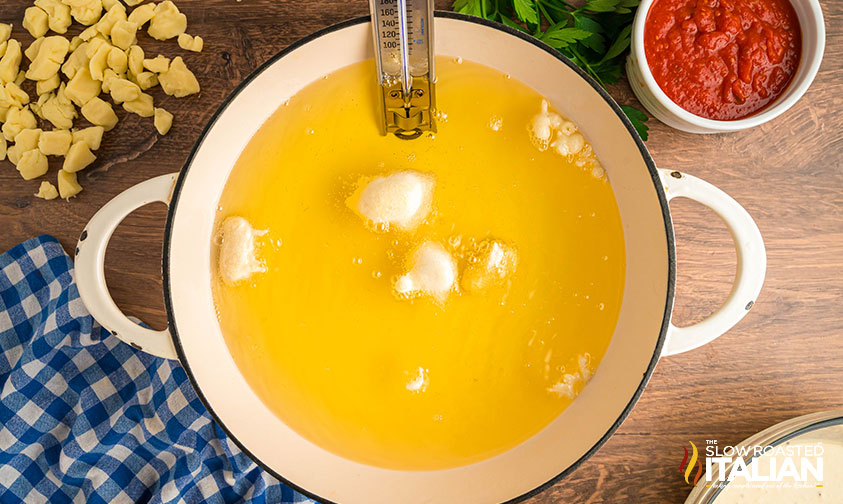
Use a candy thermometer to test the oil. It needs to be 375°F.
- Fry in batches.
You also need to fry the cheese curds in small batches.
If you overcrowd the pan, the oil temperature will go down, which can result in undercooked cheese bites that aren’t very crispy!
- Drain excess oil.
Have a paper towel-lined plate handy. It’s important to drain any excess oil from the cheese bites to keep them light and crunchy.
If you find the paper towel becomes too greasy, don’t hesitate to change it for a new one.
- Double fry for an extra crunchy exterior.
One of my favorite things about crispy cheese bites from Applebees is that extra crispy exterior.
The last time I was at the restaurant, I was racking my brain on how they did it when I realized… duh! They must double-fry them.
You can do the same at home! Let the cheese bites cool completely and then fry them again. You’ll get super crunchy results every time!
Prep Ahead
- Set up your dredging station
- Place paper towels on a plate
Kitchen Tools You Will Need
- Mixing Bowls – I like to have a variety of sizes on hand, and this set has them all. You definitely need to have a medium bowl or large bowl, for coating these cheese cubes.
- 4 Quart Stock Pot – Great for soups, roasts, frying, and more! This is a staple in my kitchen.
- Candy Thermometer – To check the oil temp.
- Slotted Spoon – To remove the crispy cheese bites from the hot oil.
Serving Suggestions
This crispy cheese bites Applebee’s copycat is best served hot with your favorite sauces.
Remember that marinara and ranch are standard, but you can experiment with other flavors! Honey mustard or even copycat blooming onion or Big Mac sauce would taste great.
To create an Applebee-inspired appetizer spread perfect for game day or the holidays, pair your cheese bites with spinach artichoke dip, spicy queso blanco, and a big bag of tortilla chips!
And if you’re in the mood of something else, Applebee’s has many more great appetizers, like their chicken wonton tacos!

Storing and Reheating Leftovers
Just like the crispy cheese bites from Applebees, my recipe is best enjoyed fresh. If you do have some leftovers, you can store them in an airtight container in the fridge for up to 3 days.
Bring them back to life in your air fryer! 3-5 minutes at 350°F is all they need.
Crispy Cheese Bites FAQ
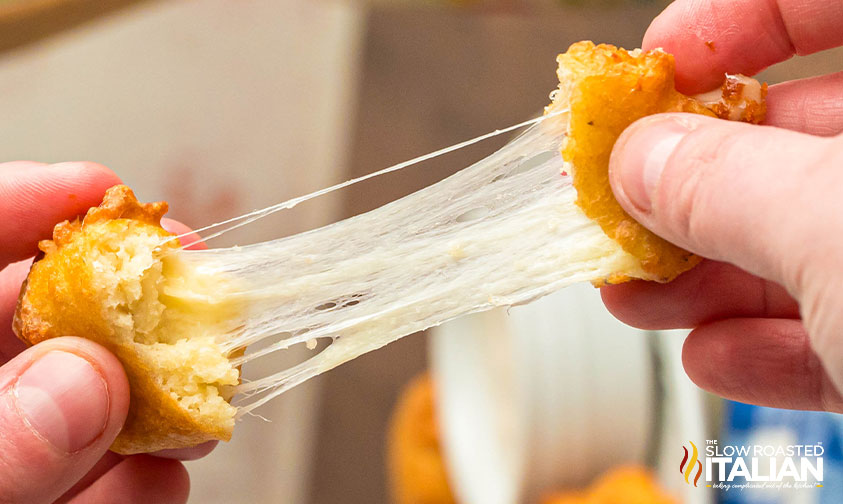
I tried out a couple of different options for my copycat recipe, and cheese curds were the clear winner. They melt slightly when heated, but still maintain their shape. This type of cheese can withstand the heat of deep frying without turning into a melted mess!
You need to make sure that the crispy cheese bites are fully coated in the batter before frying! If cheese leakage is a big concern, you can also freeze the cheese curds for 10-15 minutes before you get started. It’s a quick hack that can be super helpful!
If you want that perfectly crispy exterior deep frying is your best bet. But, if you don’t want any of that excess oil, you could use your air fryer!
Preheat to 375°F and place the cheese curbs in a single layer in the basket. Air fry for 6-8 minutes, or until they turn golden brown.
They may not come out as crunchy as deep-fried, but they’re still just as good!
Enjoy!
With love, from our simple kitchen to yours.
Don’t miss a thing! Follow us on
Facebook| X | Pinterest| Instagram


🍔 Copycat Creations Vol 1
Craving your favorite restaurant meals at home? This exclusive ebook has the boldest, most requested copycat recipes — from fast food faves to sit-down classics.
👉 Buy your copy now and start cooking the meals you love!
Crispy Cheese Bites (Applebee’s Copycat Recipe!)
Equipment
Ingredients
- 1 pound cheese curds
- 1 cup all-purpose flour
- 1 teaspoon baking powder
- 1/2 teaspoon kosher salt
- 1/4 teaspoon black pepper
- 1 cup whole milk
- 1 large egg
- vegetable oil, for frying
- marinara sauce or ranch dressing, for dipping (optional)
Instructions
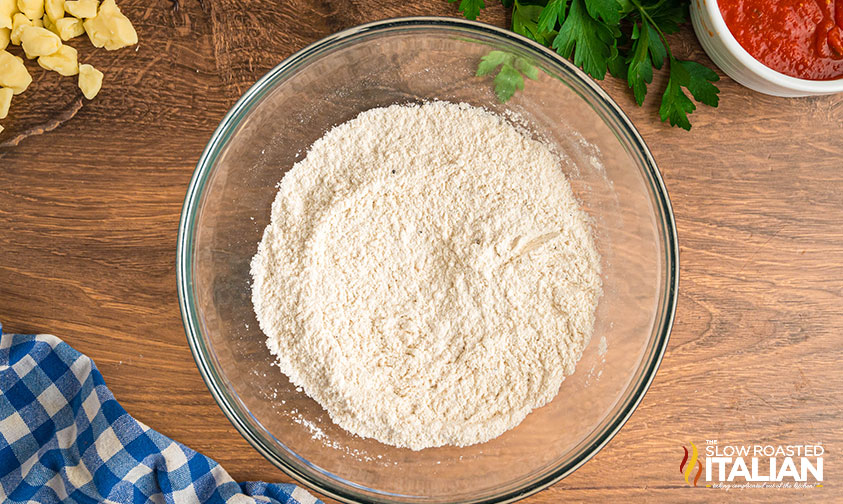
- In a medium-sized bowl, whisk together the flour, baking powder, salt, and black pepper.
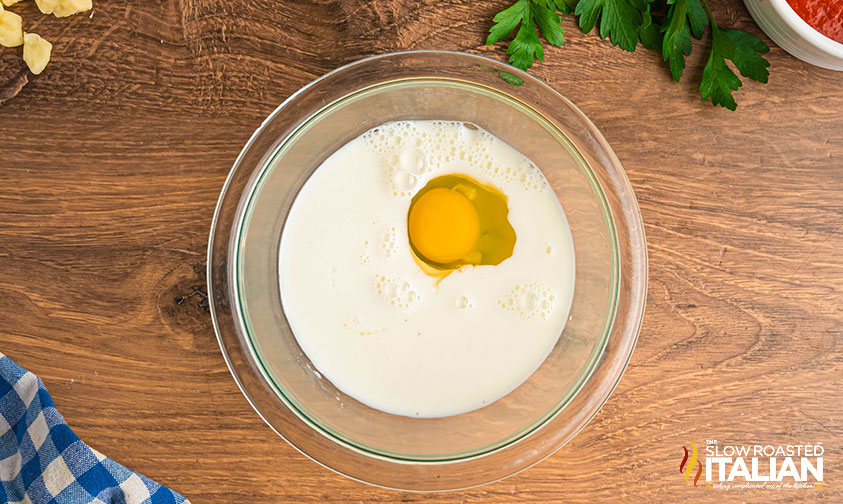
- In a separate bowl, whisk together the milk and egg until well combined.
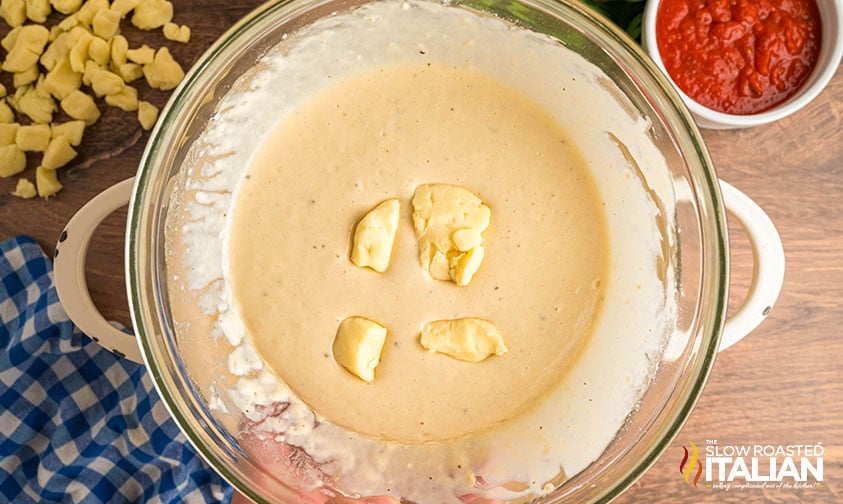
- Pour the milk and egg mixture into the dry ingredients. Stir until a smooth batter forms. The batter should be thick enough to coat the cheese curds.
- Heat vegetable oil in a deep pot or skillet to approximately 375°F (190°C).
- Drop a few cheese curds into the batter, making sure they are well coated. Use a fork or slotted spoon to transfer the cheese curds from the batter to the hot oil, allowing any excess batter to drip off.
- Fry the cheese curds in small batches for about 2-3 minutes, or until they turn golden brown and crispy. Flip them occasionally for even cooking.
- Using a slotted spoon, remove the fried cheese curds from the oil and transfer them to a paper towel-lined plate to drain excess oil.
- Repeat the process with the remaining cheese curds, ensuring the oil has returned to the proper temperature before adding each new batch.
- Serve the batter fried cheese curds while they’re still warm and crispy. They can be enjoyed on their own or served with marinara sauce or ranch dressing for dipping. Enjoy!
Donna’s Notes
Nutrition
All nutritional information is based on third party calculations and is only an estimate. Each recipe’s nutritional value will vary depending on the ingredients used, measuring methods, and portion sizes.
Originally published April 2024, updated and republished March 2025
Disclosure: Posts may contain affiliate links. If you purchase a product through an affiliate link your price will remain the same and The Slow Roasted Italian will automatically receive a small commission. Thank you for supporting us, it helps us keep creating new recipes.


Welcome!
We’re Donna and Chad, the dream team behind The Slow Roasted Italian. Our focus is on taking complicated OUT of the kitchen. Life is busy enough, making meals should be fast and easy, to help make your life as simple as possible. Read More >>


This recipe was so easy to follow, I made these for a family lunch as an easy appetizer and let me tell you, I have never had anything like it before. The batter was delicious, the cheese was gooey and although I was afraid they would be oily, they were not at all. Thank you for such and easy and delicious recipe that my whole family loved!
Hi Becky!
We’re so glad you enjoyed the recipe!!
TSRI Team Member,
Devlyn
Wow this recipe is absolutely amazing so easy to make and incredibly delicious too the whole family loved it!
Hi Indie!
We’re so glad that you enjoyed the recipe.
TSRI Team Member,
Devlyn