Halloween Cake Pops (How to Make Easy Recipe)
This post may contain affiliate links. Please read my disclosure policy.
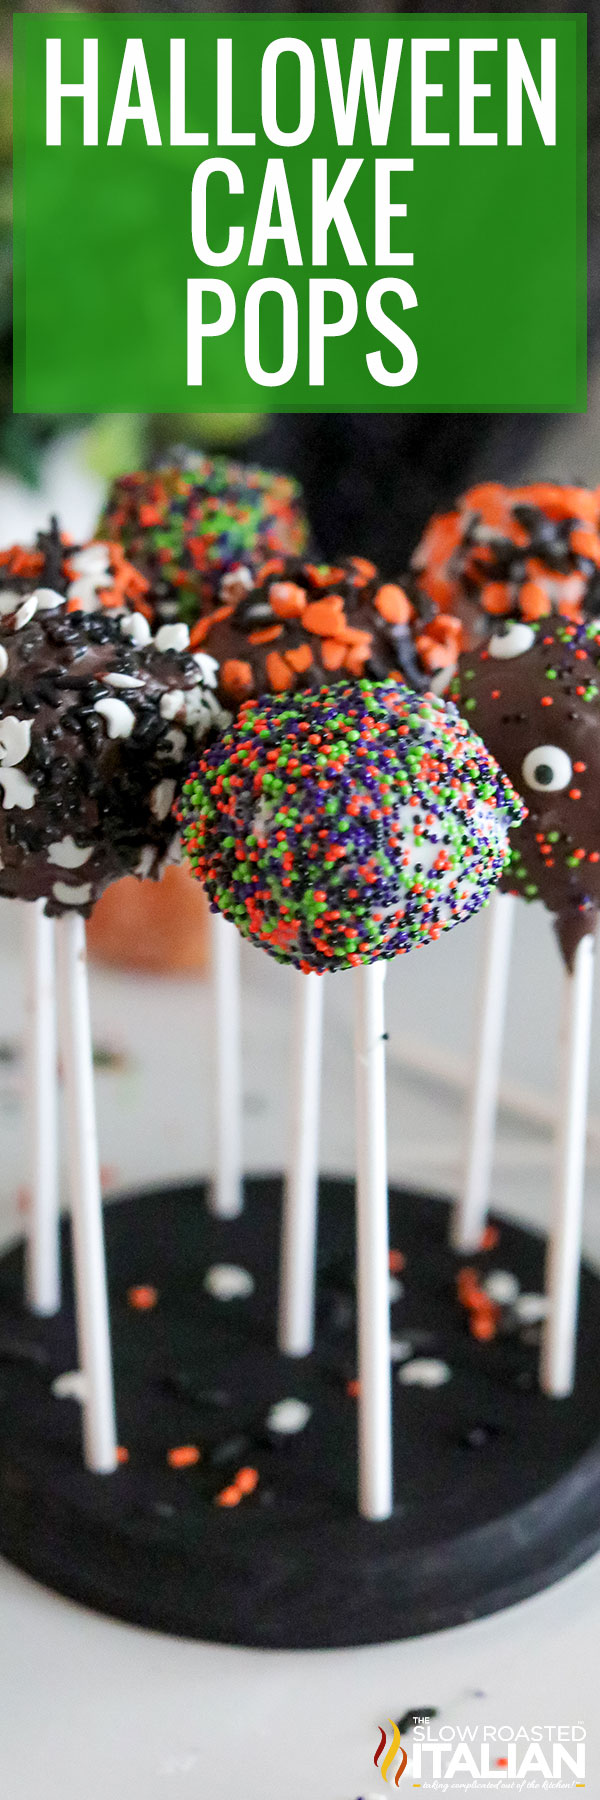
Halloween Cake Pops are one of the simplest but most scrumptious homemade Halloween treats ever!! These little bites of chocolate covered cake are decorated with festive Halloween sprinkles. They’re as much fun to make as they are to eat, and you only need 3 ingredients!! Everyone will love these spooky cake pops!
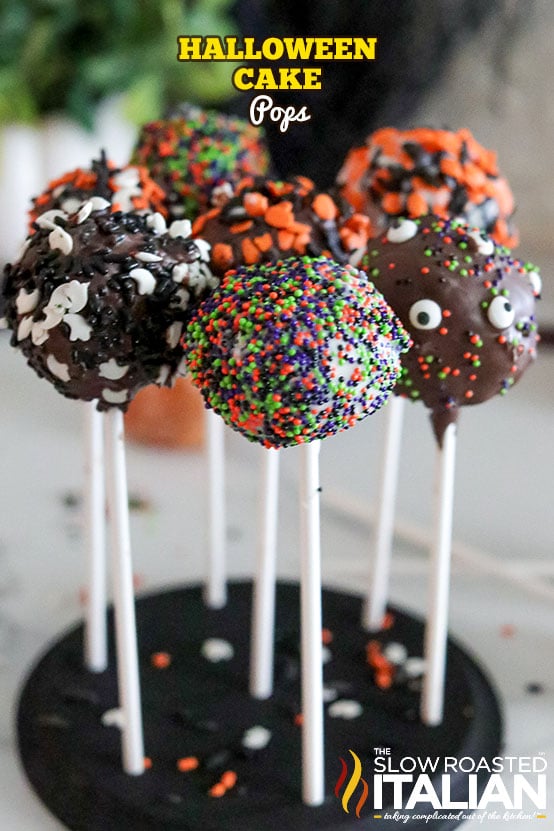
All the little ghouls will love these delicious Halloween cake pops! The chocolate coating and melted candy melts make these treats so much fun to eat!
While must people make cake pops with crumbled cake or boxed cake mixes, I like to shake things up and use donut holes!
They’re the perfect 1-inch balls that you can melt candy melts on top, creating the best snack or treat for your next Halloween party!
Don’t forget to have fun with the black sprinkles! Spooky season is all about an easy recipe like this!
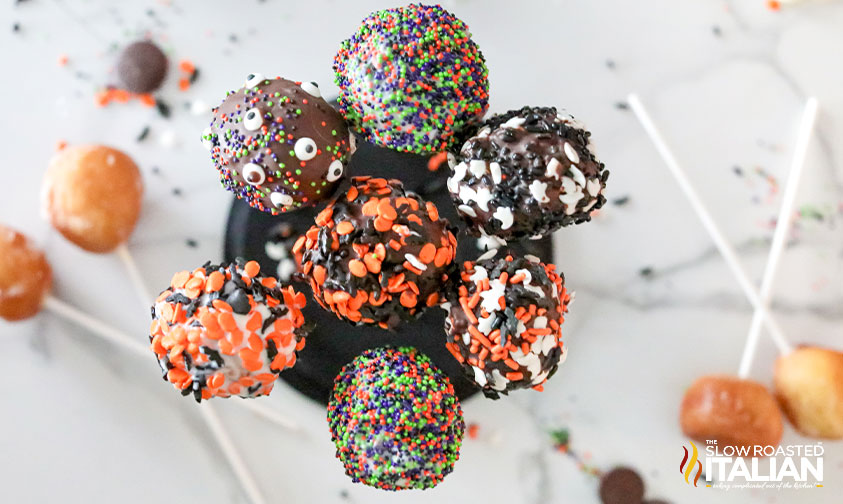
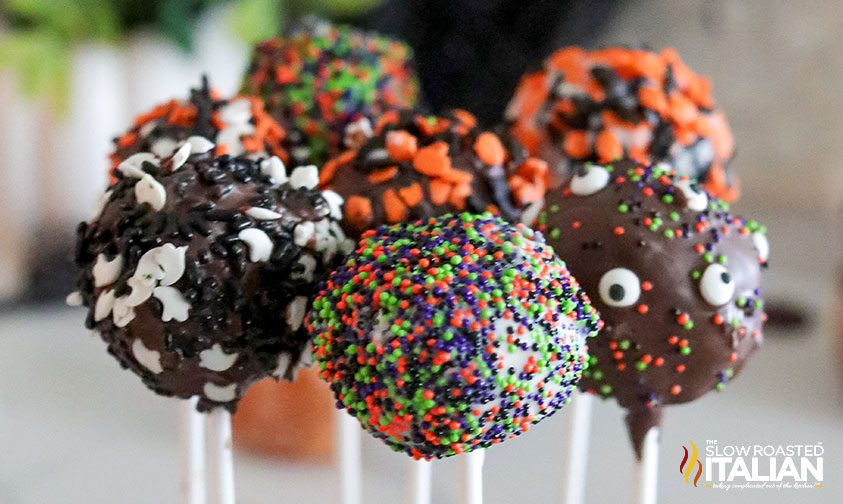
You can easily add candy eyes or candy eyeballs or make white lines on them to look like mummy cake pops.
The black candy melts and orange candy melts are the perfect Halloween colors, but you can also use green candy melts and various colors of gel food coloring, too.
You can also use chocolate chips on the small balls to make decorative dots with white candy melts. The coated donut at the end of a lollipop stick gives you tons of great options!
Be artistic and do your best to create ghost cake pops, Frankenstein cake pops, and more!
Be sure to grab some cake pop sticks and wax paper from the store – and you’re well on your way to making these coated cake balls!
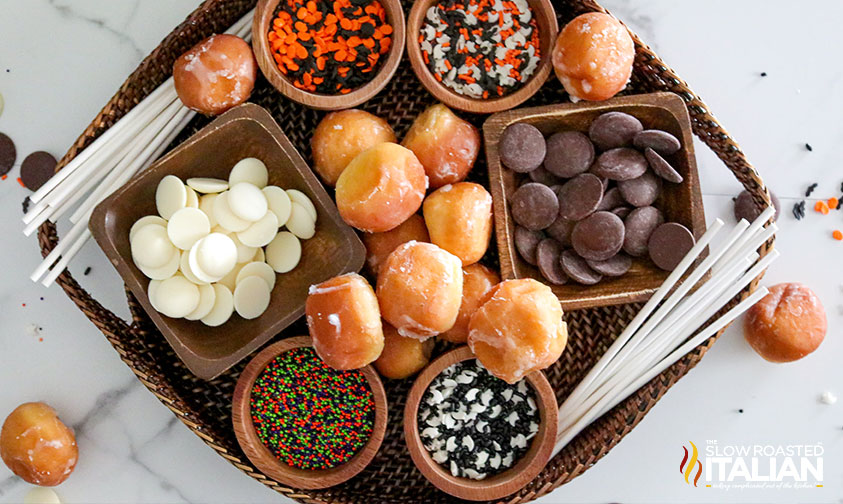
Halloween Cake Pops
As a mom, I can’t wait for the holiday season — and for me, it starts in October!
I’m always thinking of new Halloween dessert ideas to try to steer away from the same old candy.
But with all the costumes, decorations, and prep going on, I don’t always have time to make something from scratch. That’s where this Halloween cake pops recipe comes in!
A soft, fluffy donut hole is hidden beneath a rich chocolate shell… and covered with fun and tasty sprinkles!
Cake pops for Halloween are always a favorite, whether served at a party or dropped into treat bags.
Kids can even help make these 3 ingredient cake pops — so count it as a holiday craft too!
And be sure to check out all of my best Halloween party tips and ideas for an unforgettable night!
Ingredient Notes and Substitutions
- Donut Holes – Instead of Halloween cake balls, grab your favorite flavor of donut holes!
It saves so much prep time and you won’t have to worry about the texture coming out wrong. - Chocolate and White Chocolate Melts – I like to use both regular and white chocolate melts, but you can use one or the other.
White chocolate is easier to add food coloring to for more colorful Halloween cake pops.
If you have more time available, freeze the donut holes and coat them with Magic Shell! - Sprinkles – All the better to decorate with! An assortment of Halloween sprinkles with bats, ghosts, and pumpkins are always fun.
Shop around and see what you can find!
Tips when Making Cake Pops for Halloween
- Make Decorating Easy
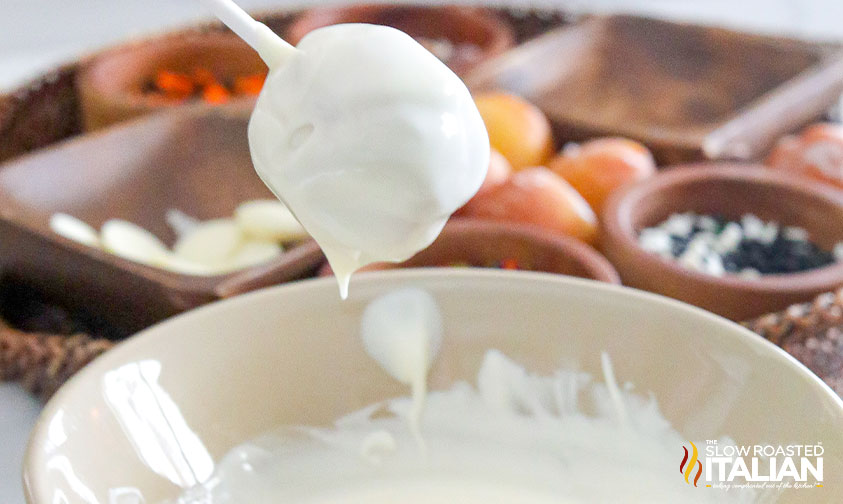
A small spoon will help you roll the donut holes in the chocolate and sprinkles, helping you hit every last bit of the cake!
You can also transfer the melted chocolate to a tall, narrow glass and dip the pop right in. Gently swirl on the way back out to remove excess and get a smoother finish.
- Slow and Steady
If you want a ton of chocolate on your Halloween cake pops, be sure to do it layer by layer, letting the chocolate solidify a bit before you go for the next round.
- Great for Any Occasion!
Break out this Halloween cake pops recipe for any holiday! They make sprinkles in every shape, size, and color you can think of.
Why not try green and red for Christmas, pink and red for Halloween, or red, white, and blue for the 4th of July?
Storing and Serving Halloween Cake Balls
Your Halloween cake pops will need to be refrigerated and covered to prevent the chocolate from cracking and the centers from drying out.
Stored properly, they’ll last you for up to 2 days. They also freeze really well for a couple of months!
Considering that this 3 ingredient cake pops recipe uses premade donut holes, I don’t see the benefit of freezing, but you’re more than welcome to.
Display Idea
Halloween Cake Pops Recipe FAQ
2 days beforehand is your best bet, but they’re truly at their best right after preparation.
Some homemade cake pops benefit from chilling for a day or so, letting the frosting sort of seep into the cake to make them more moist.
But since our Halloween cake balls are actually made with donut holes, they’re tastiest served right away.
So, any longer than a day or two in advance is a no-go! They’ll be mushy, messy, and not at all the cute Halloween treat we’re going for.
There are a couple of ways to make decorating cake pops easier. One way is to fill a tall glass with the icing or melted chocolate and dip the cake right in.
Personally, I don’t like this method. You end up wasting quite a bit of your icing!
Instead, I pour a bit into a small spoon and roll the cake pop that way. You save icing, time, and dishes!
Yes! If you’re preparing a homemade cake, then it absolutely needs to chill before attempting to roll in frosting or chocolate sauce.
Or, it at least needs to be room temperature — otherwise, the coating will melt right off!
This isn’t a concern with this easy 3 ingredient cake pops recipe. We’re using premade donut holes! They’re already solid and ready to go.
Enjoy!
With love, from our simple kitchen to yours.
Don’t miss a thing! Follow us on
Facebook | Twitter | Pinterest | Instagram
Other Scrumptious Sweets on a Stick
Halloween Cake Pops (How to Make Easy Recipe)
Ingredients
- 12 donut holes, any unglazed flavor
- 5 ounces chocolate melts
- 5 ounces white chocolate melts
Instructions
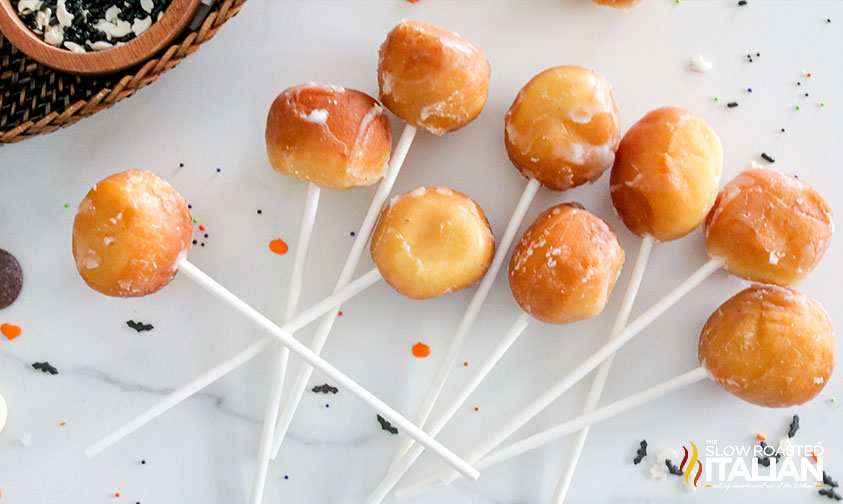
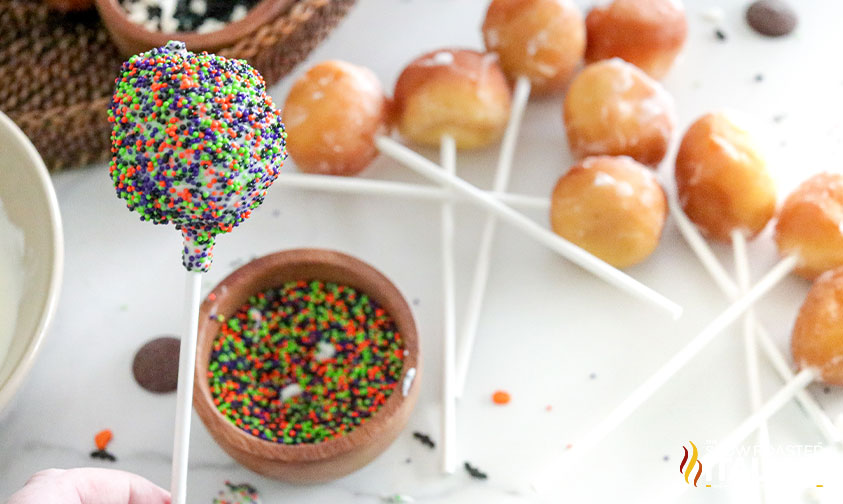
- Place one donut hole on its own cake pop stick, being careful not to poke the stick completely through the donut hole. Set aside.
- Add sprinkles to small bowls that are large enough to roll the cake pops in. Set aside.
- In two other small bowls, melt the milk chocolate and white chocolate melting wafers, per the package instructions.
- Working quickly to avoid the melts from hardening, dip each donut hole in melted chocolate of choice. Immediately roll in sprinkles, covering the chocolate completely. *See Notes. Place the cake pop in a slot on the cake pop stand. Allow chocolate to harden for 10 minutes.
- Meanwhile, repeat steps with remaining donut holes.
- Serve immediately, or refrigerate in an airtight container for up to 2 days.
Donna’s Notes
Nutrition
All nutritional information is based on third party calculations and is only an estimate. Each recipe’s nutritional value will vary depending on the ingredients used, measuring methods, and portion sizes.
Originally published September 2022, updated and republished September 2024
Disclosure: Posts may contain affiliate links. If you purchase a product through an affiliate link your price will remain the same and The Slow Roasted Italian will automatically receive a small commission. Thank you for supporting us, it helps us keep creating new recipes.


Did these as a test for my Halloween Party and they came out so cute! I may even make some to take to my work. They taste amazing too!