

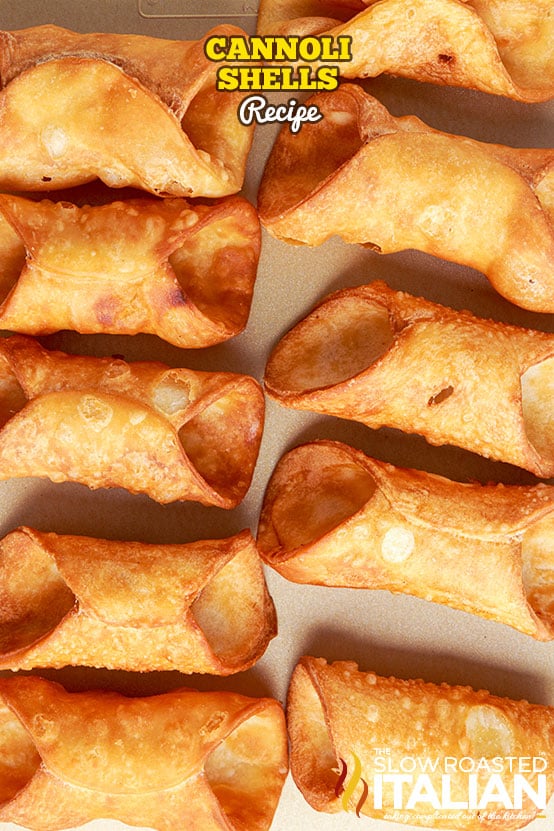
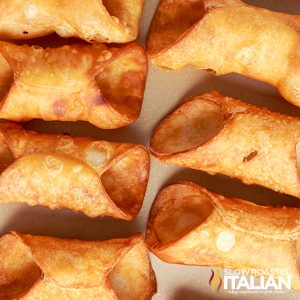
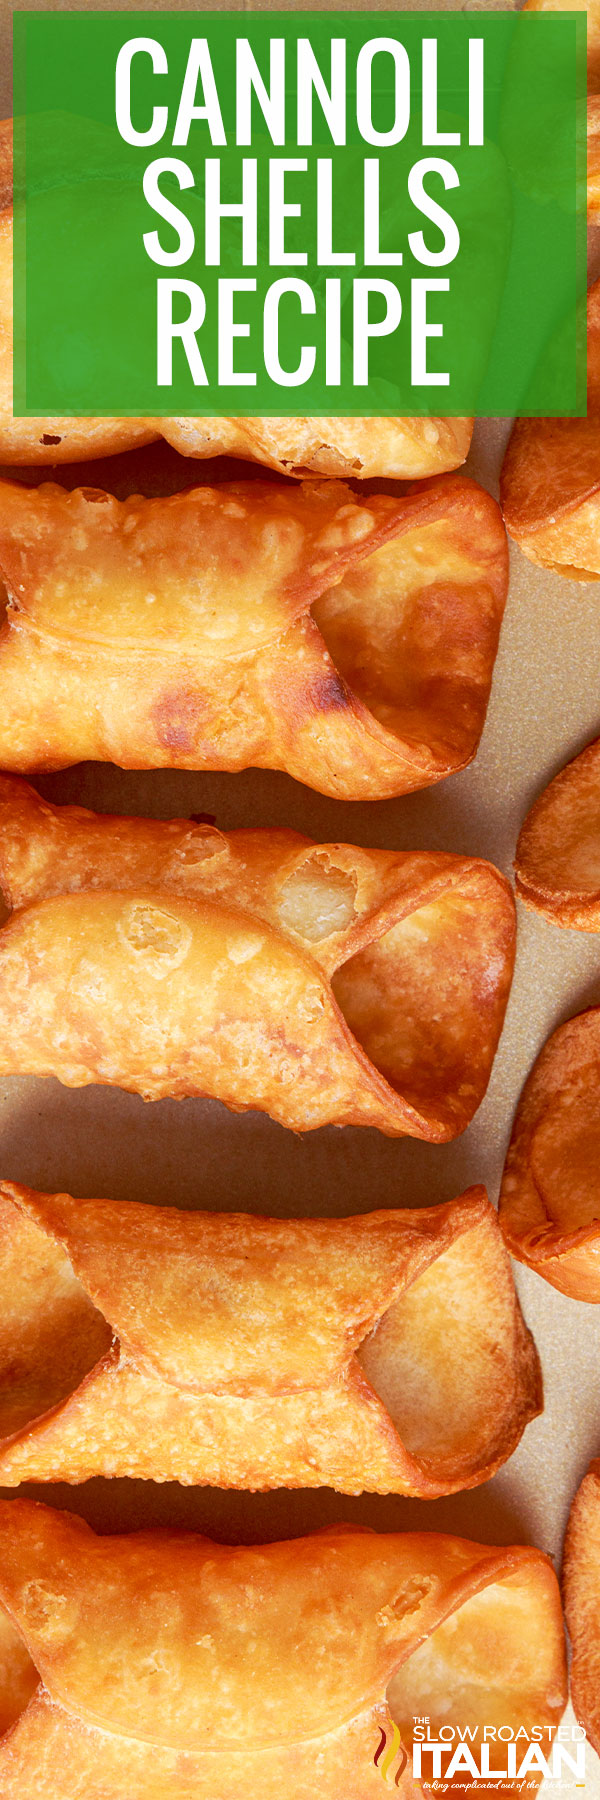
Cannoli Shells
These homemade Cannoli Shells are the start of a fabulous Italian dessert! Light, crisp, and perfectly golden, they are ready to be filled with your favorite sweet ricotta or mascarpone filling. Whether you’re making a special holiday treat or throwing an Italian-themed dinner party, this cannoli recipe is easy to make and guarantees a showstopper!
WHY YOU’LL LOVE CANOLI SHELLS
- Simple ingredients
- Easy to make from scratch
- Crispy, buttery, flaky goodness
- Each batch makes 20 shells
Cannoli Shells
Cannoli are one of my absolute favorites. But let me be clear, you don’t get a great cannoli without the perfect shell.
I’m talkin’ crispy, golden, delicate-but-strong, and just the right amount of bubbly magic that shatters ever so slightly when you take that first bite.
Sure, the filling gets all the glory, but the shell? She’s the unsung hero, and if you ask me, she deserves a standing ovation.
This cannoli recipe is easy to make and delivers that bakery-worthy texture that actually holds up to filling without going soggy. Because let’s be real, we didn’t come all this way for a floppy cannoli!

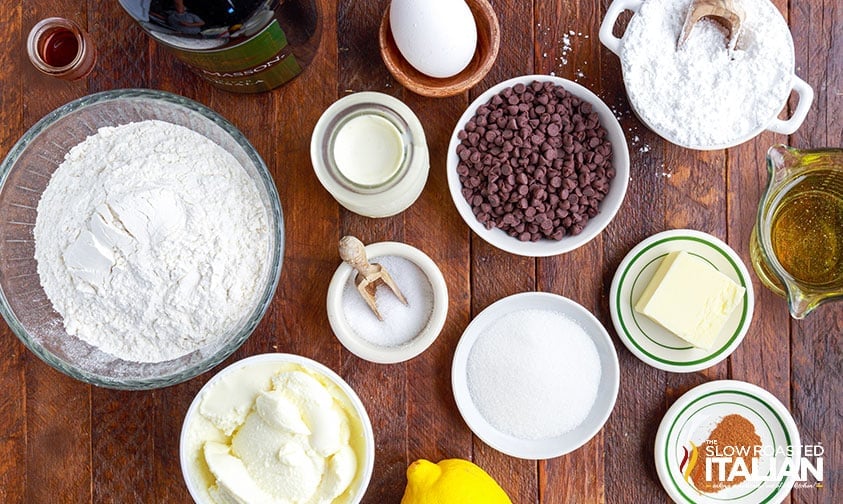
INGREDIENT NOTES
- All Purpose Flour: Keep it simple! Italian 00 flour, a very finely ground Italian flour, is the most traditional option, but unbleached AP flour is also quite similar.
- Granulated Sugar: We specifically use white sugar to get a crumbly shell with a sturdier texture… not necessarily a soft, tender one.
- Cold Unsalted Butter: The butter definitely has to be cold to achieve that light, flaky texture!
- Marsala Wine: Gives the dough its signature flavor and does its fair share of tenderizing too. Dry marsala is best, though any white wine or sherry will do, as long as it is not too sweet.
- Egg Yolk and White: We use the whole egg for this cannoli shell recipe, just in different ways. So, don’t toss the white after separating the yolk!
Brushing a bit of the egg white along the seam when sealing the dough will prevent the total disaster of the shells popping apart while you’re trying to fry them.
Use sparingly… less is more here. - Frying Oil: Vegetable, canola, or peanut oil are all good options for deep frying.
VARIATIONS
Flavor Twist: Add 1 teaspoon cinnamon or cocoa powder to the dough.
Citrus Boost: Mix up to 1 tablespoon lemon or orange zest into the cannoli dough.
Lighter Options: Substitute white wine for the marsala.
Chocolate-Dipped Cannoli Shells: Melt chocolate chips, then dip each end of the shells and let them dry on a wire rack before filling.
Add Some Color: Fill bowls with colorful sanding sugar and dip each end while it’s still hot from the oil.
Extra Crunch: Roll chocolate-dipped shells in shredded coconut, finely chopped nuts, or sprinkles.
SERVING SUGGESTIONS
- Keep It Classic: Pipe homemade cannoli filling into the shells and dust the tops with powdered sugar.
- Jazz Them Up: Add mini chocolate chips, crushed pistachios, or chopped maraschino cherries where the filling peeks out on the ends.
- Add A Drizzle: Once filled, drizzle hot fudge or melted white chocolate over the tops of the shells.
- Use Up Extras: Too many shells and not enough filling? Crush them up and sprinkle them over ice cream or yogurt. Or break them into smaller pieces and scoop up a sweet dip!
CANNOLI SHELL RECIPE FAQ
Left unfilled, the fried, dried, and cooled shells will keep for up to 3 days in an airtight container. Add a paper towel to absorb excess moisture.
And you might think they would freeze fairly well, but they actually get pretty soggy after just a week or two.
It’s best to wait and prepare the pastry pretty close to frying and to store them at room temperature. Again: unfilled! Wait until you’re ready to bite down to add the filling.
Line softer pastry shells on a wire rack set inside a baking sheet and bake them at 250°F until crisp, about 5-10 minutes.
Only do this when they’re unfilled! You’ll end up with a runny mess if you try to bake them with the cheesy filling in the middle.
That said… if you ensure your dough is rolled thin enough and the oil is at the right temperature, you’ll avoid this problem entirely!
Italian cream horns are made with a light and fluffy puff pastry. Instead, cannoli pastry shells are hard and brittle, breaking apart with each bite.
The filling of the cream horn also tends to be light and fluffy as opposed to the rich, creamy filling found in most cannolis.
You’ll notice that a golden cannoli will also typically have chocolate chips or other additions in the homemade shells. Both can be dusted with powdered sugar, and both are golden brown in color… but only one will have toppings inside the crunchy pastry shells.
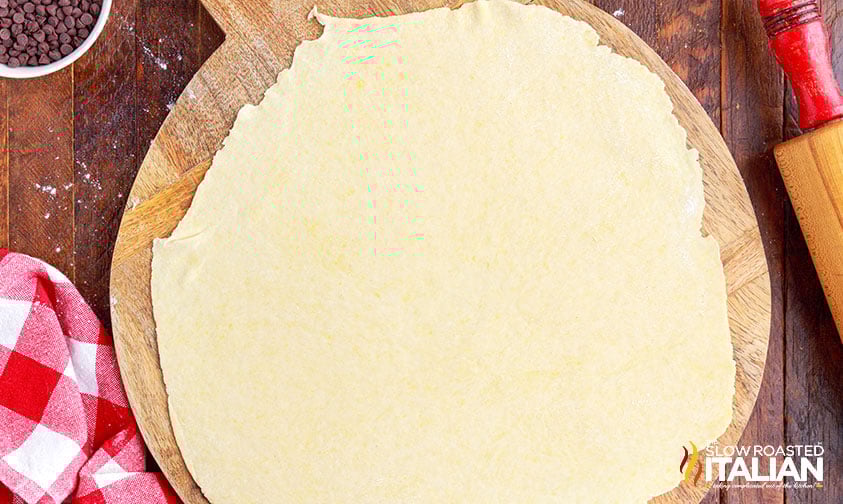
Over many years of developing this cannoli shell recipe, I’ve found that the biggest difference between flop and fabulous comes down to two things: the dough thickness and your oil temp.
Too thick? You’ll bite into a doughy log. Too thin? You risk rips. Just right? You get a crispy, light, perfectly blistered cannoli shell.
Also, that Marsala wine? It’s not optional. It’s the soul of the shell.
And trust me: removing the molds while the shells are still warm is non-negotiable. Wait too long, and you’ll be chiseling them out of the form like a fossil. Ain’t nobody got time for that.
DONNA’S PRO TIPS
- Get an ultra-crisp shell: Roll the dough as thin as humanly possible. Aim for 1/16 inch.
- Keep your oil temp consistent: Fluctuations will cause soggy or burned canoli shells.
- Fry in small batches: Overcrowding will cause the oil temp to dip and cause uneven frying.
- Don’t stress over sticking: A metal straw works surprisingly well to gently push stubborn molds out.
- Keep canoli shells crispy: Store unfilled shells with a paper towel in the container to absorb excess moisture.
- Assemble just before serving: If you add the filling too soon, the shells will lose their crunch.
TOOLS NEEDED
- Food Processor: The quickest and easiest way to get a consistent dough.
- Rolling Pin: Getting the right thickness is key to perfect pastry shells.
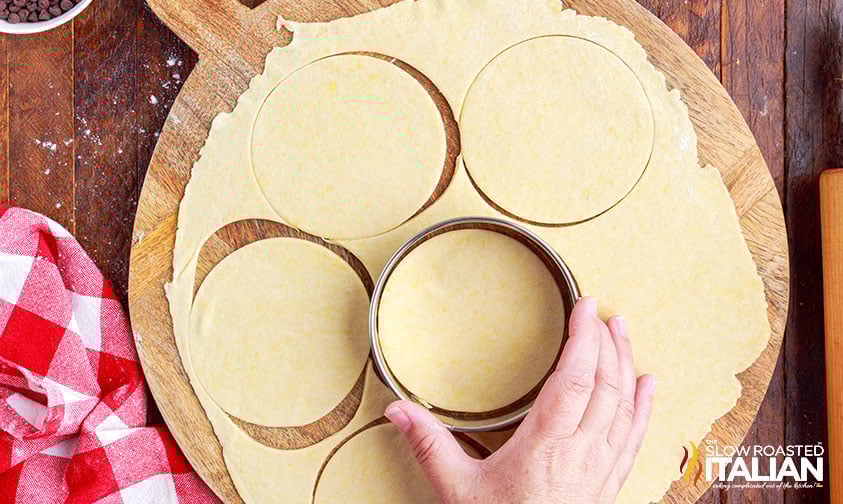
- 4 ½-inch Biscuit Cutter: Remove the guesswork and get perfect circles every time!
- Cannoli Molds: These metal tubes make shaping the dough a snap.
- Dutch Oven or Heavy-Bottomed Pot: For frying the shells.
- Candy/Deep Fry Thermometer: Makes it easy to monitor the oil temperature.
- Tongs: For removing shells from the hot oil and the molds from the dough.
- Wire Cooling Rack: So the fried dough stays crispy!
- Kitchen Towel: Protects your hand from getting burned when sliding off each shell.
- Plastic Wrap: Keeps the dough from drying out while it rests.
Enjoy!
With love, from our simple kitchen to yours.
Don’t miss a thing! Follow us on
Facebook| X | Pinterest| Instagram
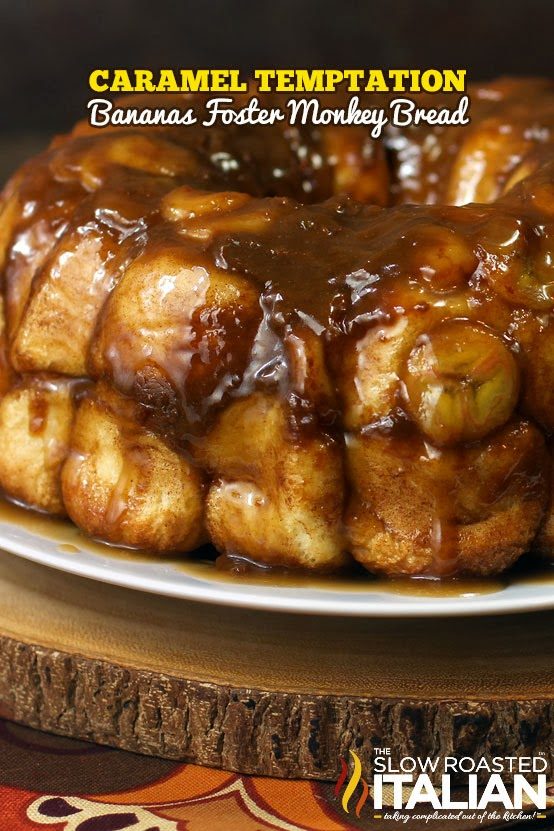
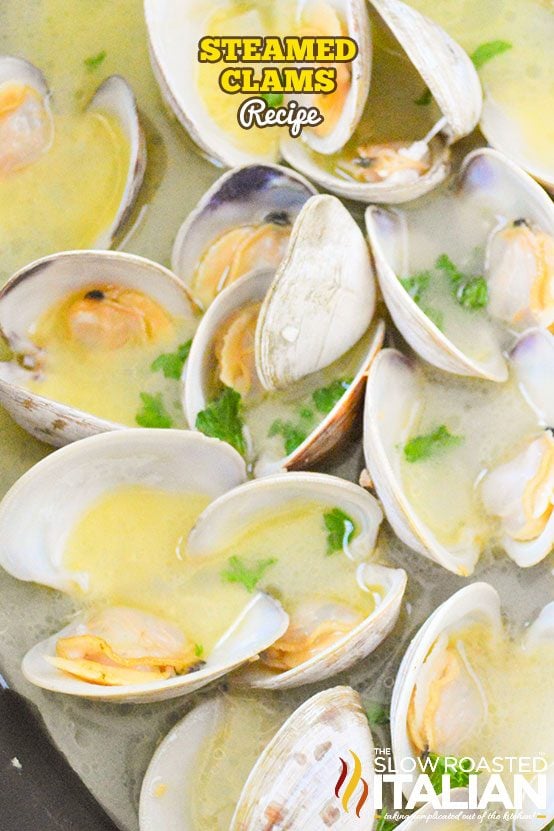
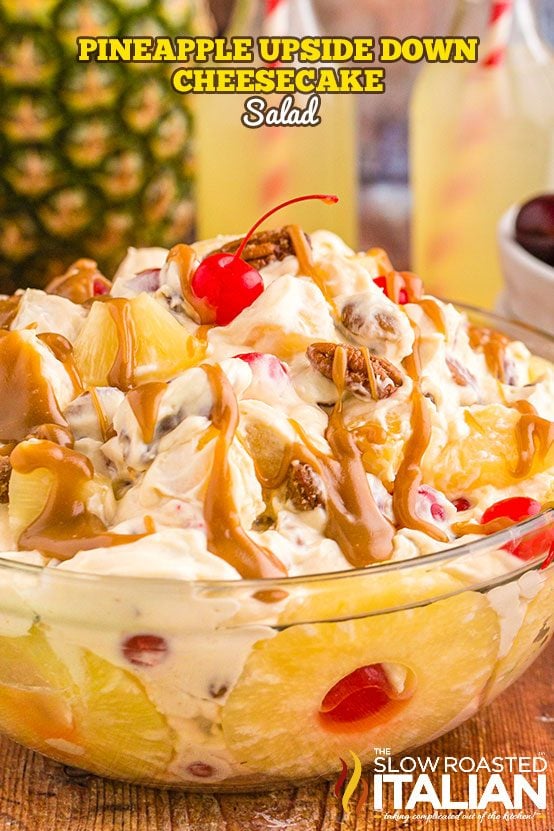
Other Classic Italian Desserts
Cannoli Shells
Ingredients
- 2 cups all-purpose flour
- 2 tablespoons granulated sugar
- 1/4 teaspoon kosher salt
- 2 tablespoons unsalted butter, cold and cubed
- 1 large egg yolk, reserve the white in a small bowl
- 1/3 cup marsala wine
- Vegetable oil, for frying
- Nonstick spray, for coating cannoli molds
Instructions
- Mix the Dry Ingredients: In the bowl of a food processor, pulse the 2 cups all-purpose flour, 2 tablespoons granulated sugar, and 1/4 teaspoon kosher salt until combined.
- Cut in the Butter: Add 2 tablespoons unsalted butter, cold and cubed and pulse several times, until the mixture resembles coarse sand.
- Add Wet Ingredients: Add 1 large egg yolk and 1/3 cup marsala wine. Pulse until the dough starts to form large clumps.
- Knead the Dough: Turn out the dough onto a lightly floured surface. Knead for 3 to 4 minutes, until it becomes smooth and pliable.
- Rest the Dough: Shape the dough into a disc, place it in a bowl, and cover tightly with plastic wrap. Let rest at room temperature for 30 to 60 minutes. This allows the gluten to relax, making the dough easier to roll out.
- Heat the Oil: Fill a Dutch oven or heavy-bottomed pot with 5 to 6 inches of Vegetable oil. Heat over medium-high until the temperature reaches 350°F to 360°F. Use a thermometer and adjust the heat as needed to maintain a consistent temperature.
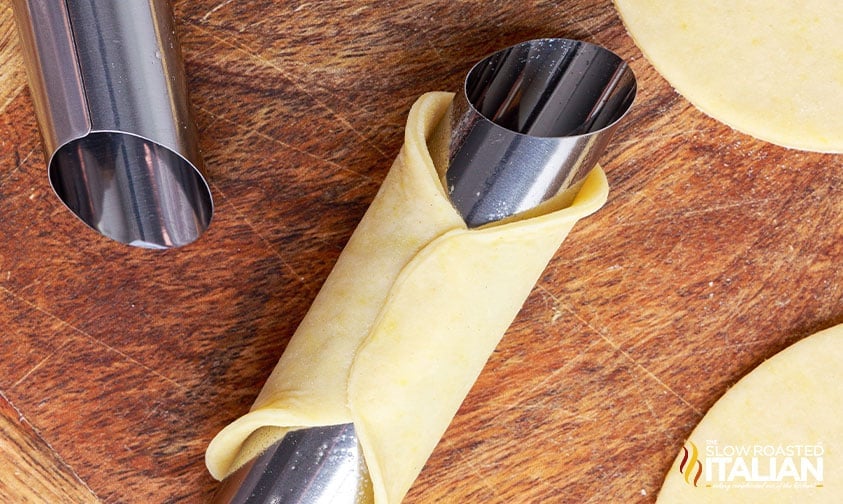
- Prepare the Cannoli Forms: Spray each metal cannoli mold with Nonstick spray to prevent sticking.
- Roll and Cut the Dough: Divide the dough into 2 or 3 pieces. Roll out one piece at a time on a lightly floured surface until very thin (about 1/16-inch thick). Cut into 4 1/2-inch circles using a biscuit cutter. Re-roll scraps to cut more circles.
- Wrap Around Forms: Wrap each circle of dough around a prepared cannoli form. Brush one edge lightly with the reserved egg white, then press the opposite edge firmly over it to seal. Only one side needs egg wash to avoid the dough popping apart during frying.
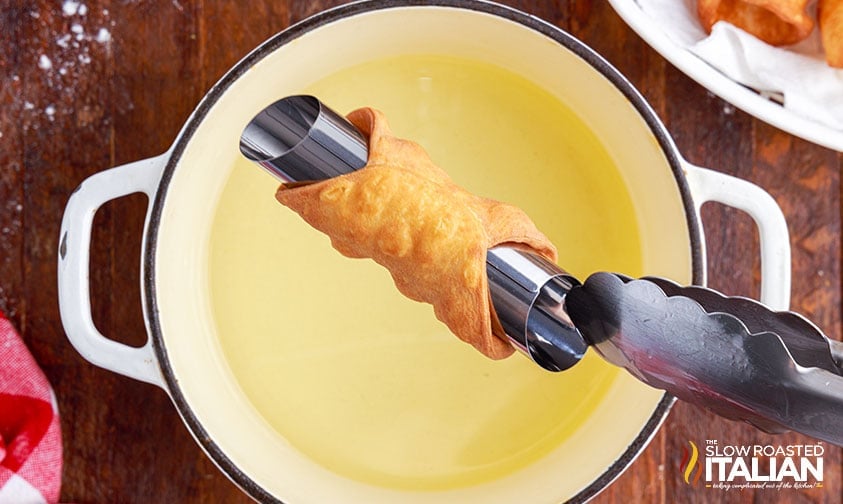
- Fry the Shells: Lower a few cannoli molds at a time into the hot oil. Fry, gently turning with long tongs to ensure even browning. Fry for 1 to 2 minutes or until golden brown.
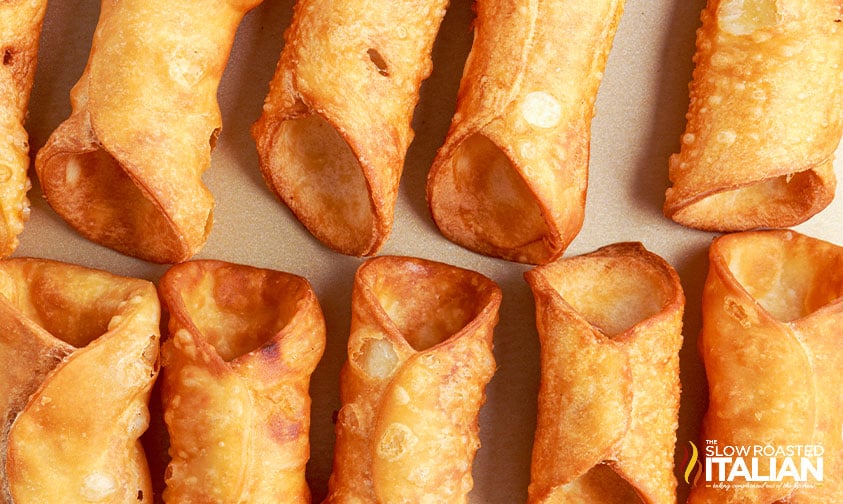
- Remove from Molds: While still warm, grip the mold with tongs and carefully slide the shell off using a kitchen towel. Transfer to a wire rack to cool completely.
- Repeat and Cool: Continue until all shells are fried and removed from the molds. Allow all shells to cool fully before filling.
Donna’s Notes
Nutrition
All nutritional information is based on third party calculations and is only an estimate. Each recipe’s nutritional value will vary depending on the ingredients used, measuring methods, and portion sizes.
Originally published October 2022, updated and republished September 2025
Disclosure: Posts may contain affiliate links. If you purchase a product through an affiliate link your price will remain the same and The Slow Roasted Italian will automatically receive a small commission. Thank you for supporting us, it helps us keep creating new recipes.


Welcome!
We’re Donna and Chad, the dream team behind The Slow Roasted Italian. Our focus is on taking complicated OUT of the kitchen. Life is busy enough, making meals should be fast and easy, to help make your life as simple as possible. Read More >>


Definitely drank some of the wine while making these, and they still came out great! I’ve tried other cannoli shell recipes and none are as flaky and crunchy as these.
How much egg would I use in half this recipe?
If halving the recipe, you may try using a small egg ‘s yolk or, if none are available I would try a smallish medium egg.
These cannoli shells by Donna and Chad are out of this world! Super easy to make, and they taste like heaven. 5 stars!
Hi Sarah!
We’re so glad you enjoyed!!
TSRI Team Member,
Devlyn
This cannoli shell recipe is a winner! I added a pinch of cinnamon to the dough for some extra flavor. Turned out fantastic!
I made these for my daughter’s 18th birthday party which was an Italian dinner theme. I made them dough the day before and let it rest over night. I did have to add some extra liquid as my dough was too stiff at first. The first attempt at frying they opened up so I rolled the remaining even thinner and really pressed the seam tightly and they stayed rolled, thank goodness. These were delicious even unfilled (I got to eat the opened ones!).