

Starbucks Double Chocolate Brownie Copycat Recipe

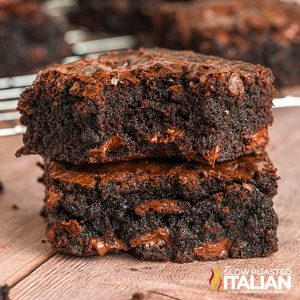
Enjoy a chewy Starbucks Brownie without ever leaving your house, thanks to this easy copycat recipe! You can make an entire pan of brownies from scratch in under an hour and nosh on a square while it’s still hot from the oven. Doesn’t get much better than that!!
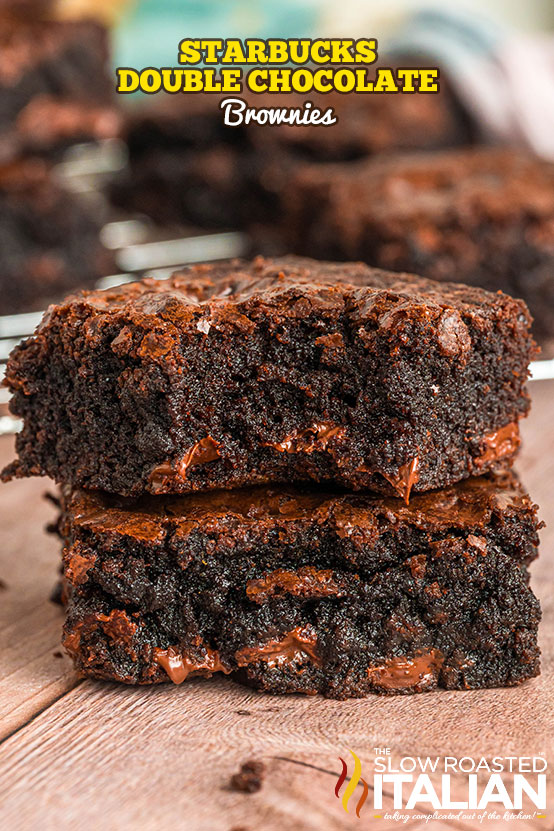
Who loves fudgy brownies? Me, me, me! I’m also a chocolate lover and a huge fan of the texture of chewy brownies, so I am so happy to share this fabulous treat with you.
This is one of those easy Starbucks brownie recipes, that tastes way more complicated than it is. And yes – it really does taste just like it came straight from the Starbucks menu.
It’s not only a delicious sweet treat, but it really does have the best fudgy texture. If you left me unsupervised, I’d easily eat the whole batch.
Now is the perfect time to make these copycat brownies for a fraction of the price of what you’d buy them for – and from the comfort of your own home!
I always make a cup of coffee to enjoy with this chocolate brownie recipe, but it’s totally up to you!
Check out the recipe card below for all the simple steps to make this easy copycat Starbucks brownies recipe.
Starbucks Brownie
Move over lemon bars, there’s a new bake sale favorite!
This copycat brownie recipe from Starbucks will have everyone asking for more, so be sure to have plenty to pass around.
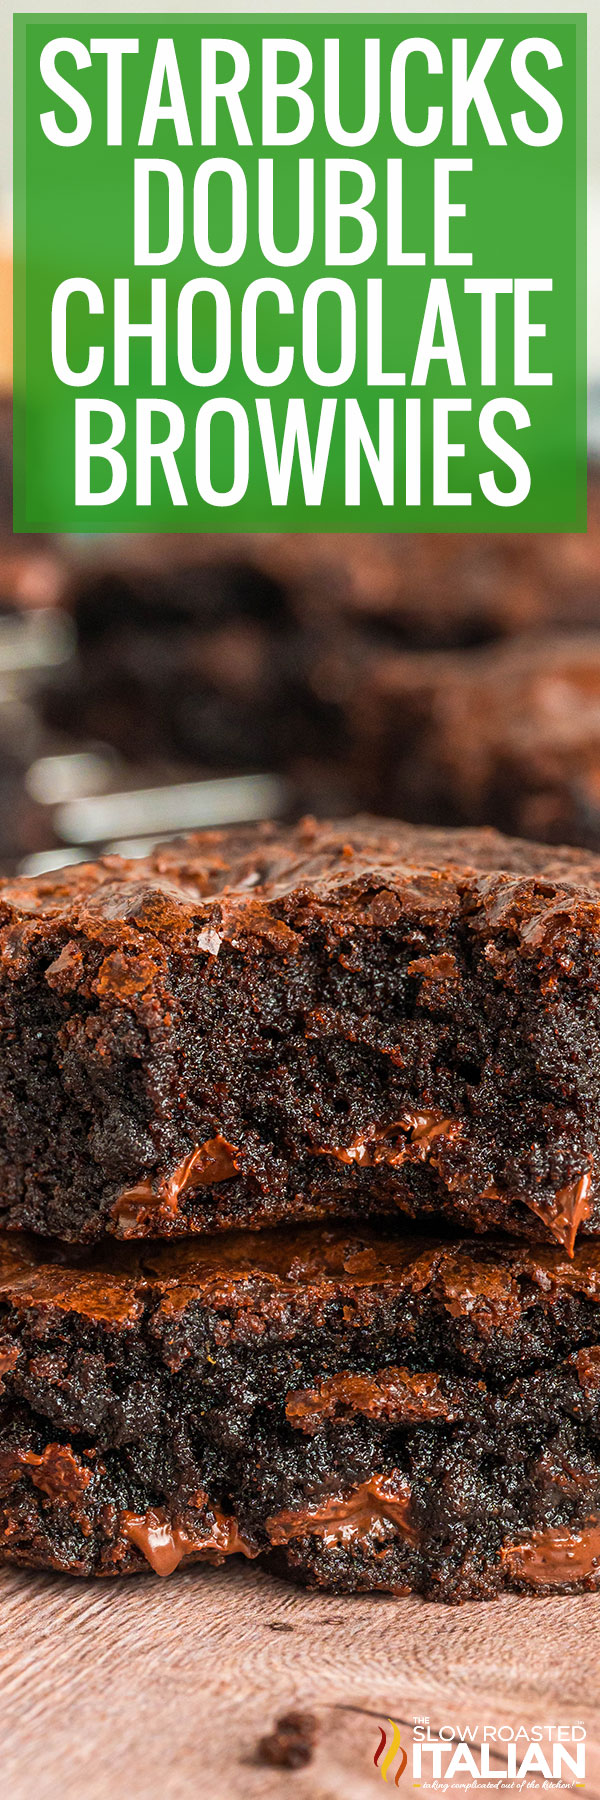
These have everything you could ever want from a brownie — a soft and chewy texture with loads of chocolate flavor. Yum!!
I have to admit, it’s hard to resist a trip through the drive-thru…especially with kids begging for a cake pop from the backseat. But those bakery prices are no joke!
That’s why I’m so excited to share more and more copycat recipes with you.
It’s a great way for families to enjoy their favorites while keeping some extra money in their wallets.
You can’t go wrong with double chocolate desserts, and my Double Chocolate Thumbprint Cookies are the perfect fudgy & quick dessert!
Copycat chocolate desserts are always a hit, and our Copycat Hostess Cupcakes are a nostalgic treat you’ll love making at home!
And don’t miss our Cookie Dough Brownies that is topped with edible cookie dough to make the dessert of your kid selves dreams!
Ingredient Notes and Substitutions
- Unsalted Butter – While you could technically swap this for oil, I do not recommend it.
Melted butter guarantees the chewiest, gooiest results in a homemade Starbucks brownie. If you need to use salted sticks, omit the additional salt in the batter. - Cocoa Powder – I get the best results from high-quality brands like Ghirardelli, but feel free to use what you have.
Natural unsweetened cocoa will taste more like milk chocolate, while Dutch (like Hershey’s Special Dark) will have a deeper, richer flavor. - Eggs – Let these sit on the counter for at least 30 minutes before starting this recipe — but an hour is better!
You can speed up by placing the eggs in a bowl of warm water until they are no longer cool to the touch. Or, crack eggs into a bowl and cover until you’re ready to use them. - Chocolate Chunks – This shape blends a little more seamlessly into the squares, but chocolate chips will work too.
I’m using semi-sweet, but experiment with dark or milk varieties if you’d like!
Tips and Tricks to Make Homemade Starbucks Brownies
- Start with the best batter.
Bring eggs to room temperature before getting started! This makes it easier to mix them with the other ingredients, and you’ll get a more even distribution as well.
That will also keep you from overmixing the batter, which is a major no-no.
Stir in the dry ingredients just until there are no more streaks of flour or your Starbucks brownies will come out tough and dry.
- Always sift dry ingredients first.
Yes, that includes the cocoa powder! Dry ingredients tend to clump, and those clumps don’t always get broken up with mixing.
Sifting ensures the best consistency and, again, a more even distribution in your batter.
There’s nothing worse than biting into a gooey Starbucks brownie and tasting a dry, powdery clump!
- Get creative with your mix-ins!
Along with the chocolate chunks, try adding chopped nuts or different types of chocolate for a unique flavor and texture.
Candies can make this Starbucks brownie recipe extra unique, whether mixed in or sprinkled over the top of the batter.
Whatever you choose, keep the total amount of mix-ins at or under 1 ½ cups total.
Prep Ahead
- Bring eggs to room temp
- Preheat oven to 350°F
- Grease baking pan
Kitchen Tools You Will Need
- 9×9 Pan – Keep in mind that glass and dark metal pans bake hotter. So, you may want to lower your oven temperature by 25 degrees if using one of these.
- Mixing Bowls – I like to have a variety of sizes on hand, and this set has them all.
- A sturdy silicone spatula can be used for scraping, stirring, and smoothing and is easy to clean too!
- Wire Rack – Great for cooling all kinds of baked goods.
Serving Suggestions
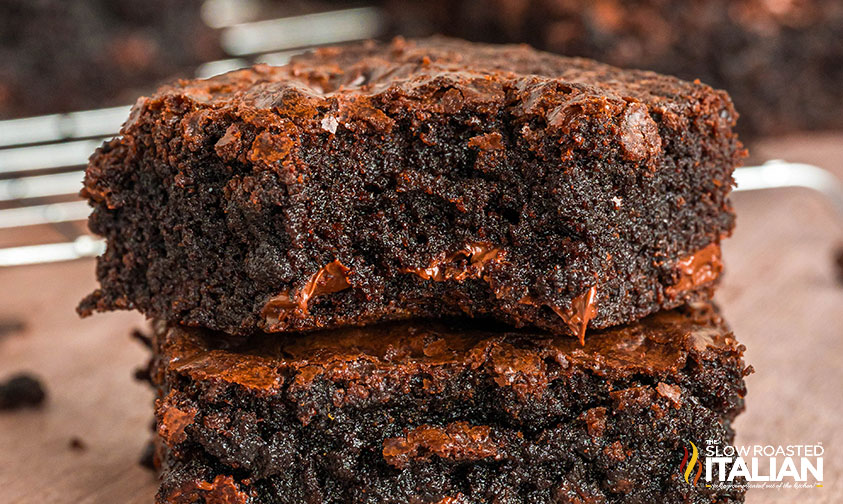
Enjoy a warm Starbucks brownie with a scoop of vanilla ice cream or a drizzle of chocolate syrup — or both!
For something even more decadent, try cheesecake ice cream with some homemade caramel instead.
Of course, the best way to recreate the coffeehouse experience is with your favorite hot or iced coffee. I also have a Pink Drink recipe if you’re staying away from caffeine.
You can even use this brownie recipe from Starbucks as the base for all kinds of toppings.
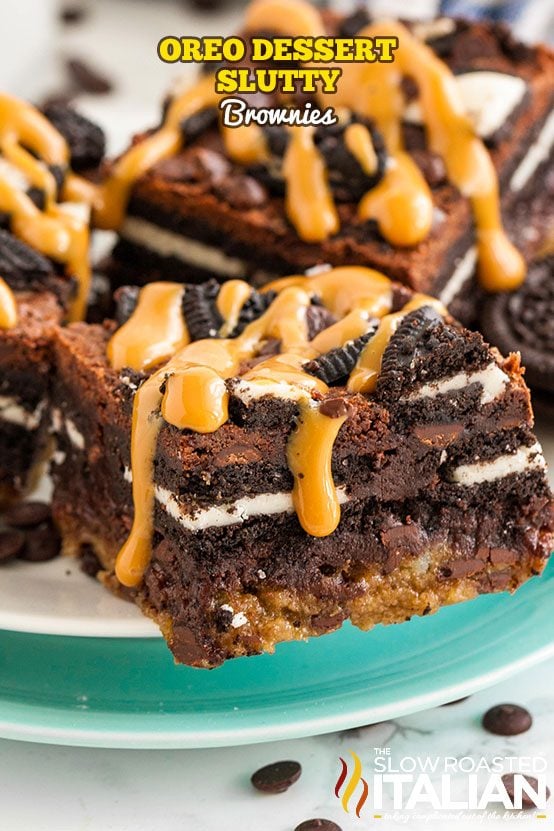
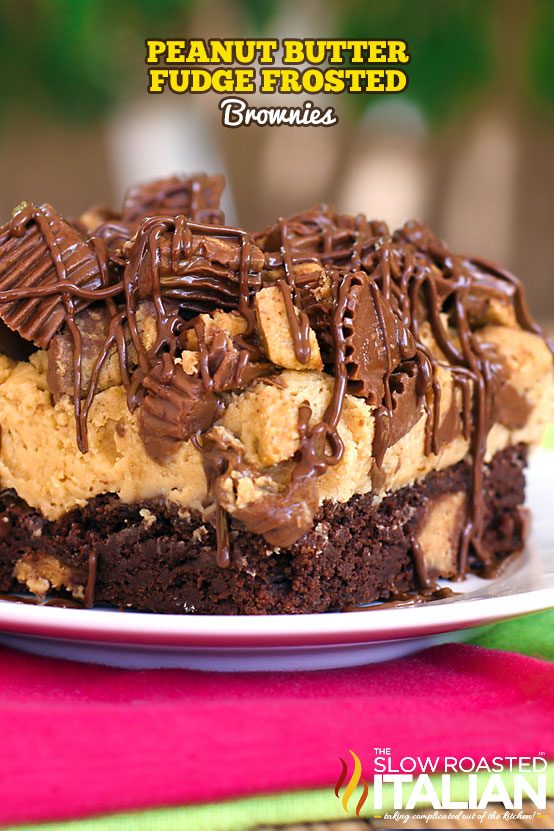
Try sweet orange icing, s’mores marshmallows, or even peanut butter frosting and Reese’s cups!
Storing and Freezing Double Chocolate Brownies
Once cooled, transfer copycat Starbucks brownies to an airtight container. They will keep for 3-4 days at room temperature or up to a week in the refrigerator.
You can also freeze brownies for 2-3 months! Wrap each square tightly in plastic wrap, then place in a freezer-safe container or bag.
When you have a craving, simply thaw a frozen brownie in the refrigerator before eating.
Starbucks Brownie Recipe FAQ
The toothpick test is the best way to tell if brownies are done. Insert a clean toothpick into the center of the pan — it should come out clean with a few moist crumbs. Just be sure not to stick it through a chocolate chunk!
If it’s coated in batter, pop the pan back into the oven for 5 minutes and test again in a different spot.
You can also play with baking times to get just the right texture. Underbake by 5 minutes if you like them extra gooey, or leave them in a few minutes longer to get a chewy center with crispy edges.
And remember, brownies will continue baking slightly as they cool.
Yes, simply double the ingredient amounts and bake the brownie batter in a 9×13-inch pan. No change to the baking time or oven temperature.
According to their website, Starbucks brownies feature rich cocoa, dark chocolate, and chocolate chunks. It appears that the chocolate chunks are semi-sweet based on the ingredient list.
Note that the cafe’s recipe is plant-based, while this copycat recipe is not!
Enjoy!
With love, from our simple kitchen to yours.
Don’t miss a thing! Follow us on
Facebook| X | Pinterest| Instagram

🍔 Copycat Creations Vol 1
Craving your favorite restaurant meals at home? This exclusive ebook has the boldest, most requested copycat recipes — from fast food faves to sit-down classics.
👉 Buy your copy now and start cooking the meals you love!
Starbucks Double Chocolate Brownie Copycat Recipe
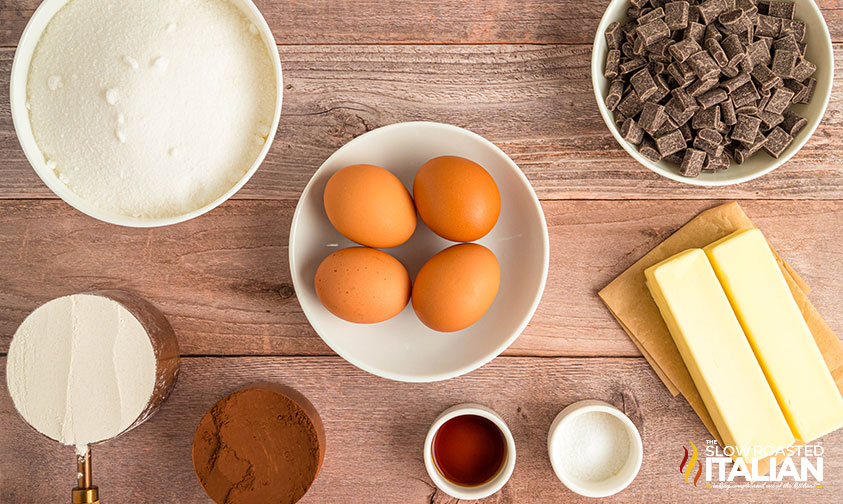
Ingredients
- 1 cup unsalted butter, melted (2 sticks)
- 2 cups granulated sugar
- 4 large eggs, room temperature
- 2 teaspoons pure vanilla extract, or vanilla bean paste
- 1 cup all-purpose flour
- 1/2 cup unsweetened cocoa powder
- 1/2 teaspoon kosher salt
- 1 cup semi-sweet chocolate chunks, plus more for topping if you like
Instructions
- PREHEAT THE OVEN AND PREP THE PAN: Preheat your oven to 350 degrees F (175 degrees C). Grease a 9×9-inch baking pan with butter or nonstick spray and set it aside. While the oven heats, set your 4 large eggs in a bowl of warm tap water for about 5 minutes. They are ready when the shells no longer feel cool against your fingers. Room temperature eggs blend into the batter smoothly.
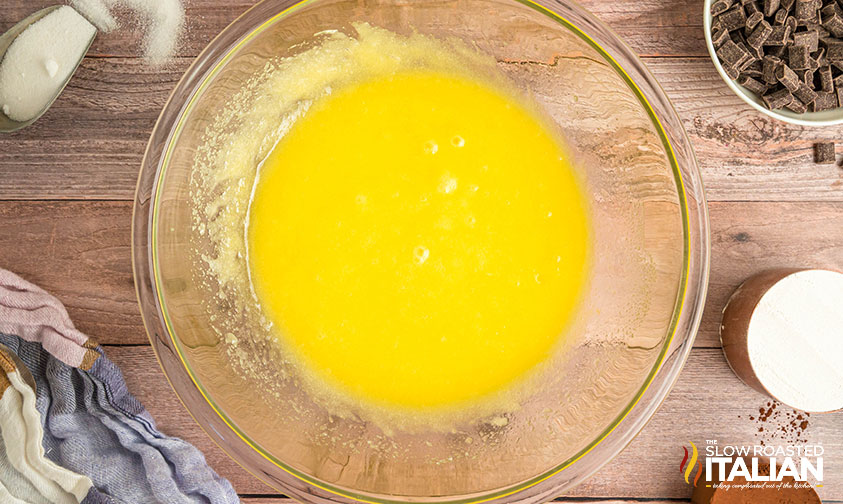
- MELT THE BUTTER: Place 1 cup unsalted butter in a microwave-safe bowl. Microwave in 30-second bursts, stirring between each, until the butter is fully liquid and golden, about 60 to 90 seconds total. You can also melt it in a saucepan over low heat, stirring until the last solid piece disappears. Let the melted butter sit for 2 to 3 minutes so it is warm, with the outside of the bowl comfortable to touch, before the next step.
- MIX THE BUTTER AND SUGAR: Pour the melted butter into a large bowl and add 2 cups granulated sugar. Stir with a whisk or sturdy spoon for about 1 minute, until the mixture looks glossy and thick, like wet sand. The sugar will still feel slightly gritty against the side of the bowl, and that is exactly right.
- ADD THE EGGS: Crack the 4 large eggs into the bowl one at a time, stirring well after each one until the yellow streaks completely disappear before adding the next. After the last egg, the batter will look smooth, shiny, and pale, about 2 minutes of total stirring.
- STIR IN THE VANILLA: Add 2 teaspoons pure vanilla extract (or vanilla bean paste) and stir for about 10 seconds.
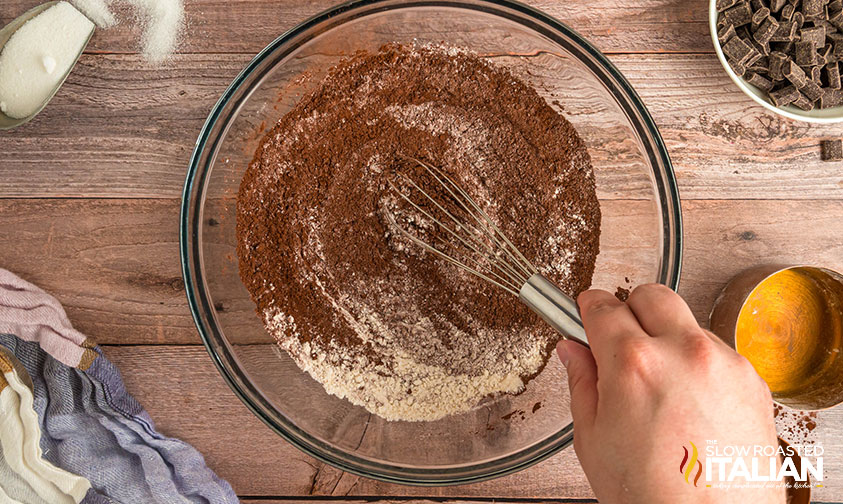
- WHISK THE DRY INGREDIENTS: In a separate medium bowl, sift together 1 cup all-purpose flour, 1/2 cup unsweetened cocoa powder, and 1/2 teaspoon kosher salt. Sifting takes about 1 minute and breaks up the little cocoa clumps, so the mixture looks like one even, soft brown powder.
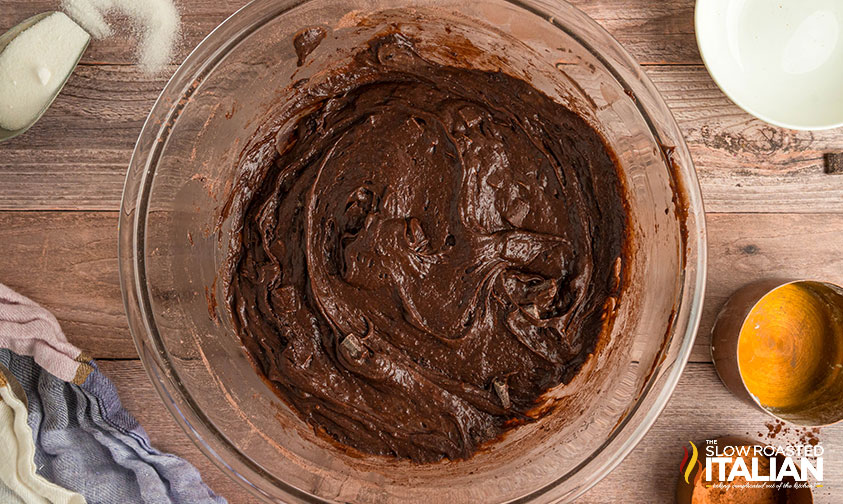
- COMBINE THE WET AND DRY: Add the dry ingredients to the wet batter in 2 or 3 additions, stirring gently after each one. Stop stirring as soon as the last streak of dry flour disappears, about 30 seconds of total mixing. The batter will look thick, dark, and glossy, like chocolate frosting. Gentle, brief mixing keeps the brownies fudgy.
- FOLD IN THE CHOCOLATE CHUNKS: Add 1 cup semi-sweet chocolate chunks to the batter. Use a rubber spatula to fold them in with slow scoop-and-turn motions, about 5 or 6 turns, until you see chunks spread evenly through the thick batter.
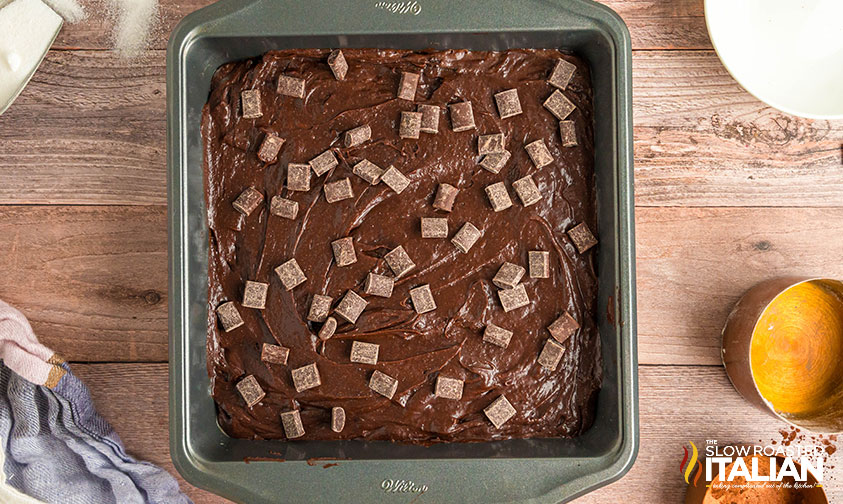
- FILL THE PAN: Pour the batter into the greased 9×9-inch pan. The batter is heavy, so use your spatula to scrape the bowl clean and push the batter into the corners until the top looks level. If you like, sprinkle a small handful of extra chocolate chunks over the top so every square gets melty pockets of chocolate.
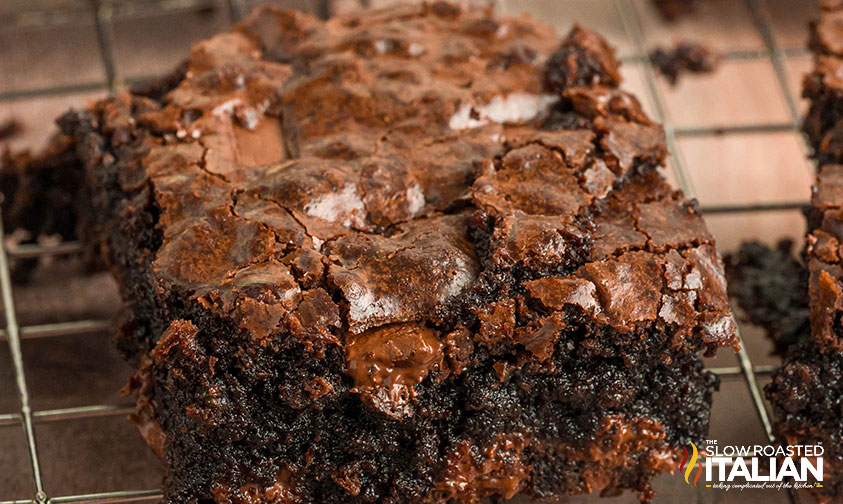
- BAKE THE BROWNIES: Bake for 30 to 35 minutes. The brownies are done when the kitchen fills with a rich chocolate aroma, the top looks set and slightly crackled, and a toothpick poked into the center comes out with a few moist crumbs clinging to it. If your toothpick hits a melted chocolate chunk, it will look wet and shiny, so test again in a fresh spot an inch away. If the toothpick comes out coated in liquid batter, bake 5 more minutes and test a new spot. Pulling them out with moist crumbs keeps the centers fudgy.
- COOL THE BROWNIES: Place the pan on a wire rack and let the brownies cool completely in the pan, about 1 to 2 hours. The pan is ready when it feels cool to the touch all over. Cooling fully lets the centers set, so the squares slice clean.
- CUT AND SERVE: Cut the cooled brownies into 16 squares with a plastic picnic knife, wiping the blade with a paper towel between cuts for clean edges. Serve and enjoy every fudgy, chocolate-packed bite.
Donna’s Notes
Nutrition
All nutritional information is based on third party calculations and is only an estimate. Each recipe’s nutritional value will vary depending on the ingredients used, measuring methods, and portion sizes.
Originally published March 2024, updated and republished March 2025
Disclosure: Posts may contain affiliate links. If you purchase a product through an affiliate link your price will remain the same and The Slow Roasted Italian will automatically receive a small commission. Thank you for supporting us, it helps us keep creating new recipes.


Welcome!
We’re Donna and Chad, the dream team behind The Slow Roasted Italian. Our focus is on taking complicated OUT of the kitchen. Life is busy enough, making meals should be fast and easy, to help make your life as simple as possible. Read More >>







I’m surprised that something from Starbucks didn’t have coffee in it lol
This recipe from The Slow Roasted Italian is absolutely divine! the instructions were clear and easy to follow, and the end result was mouthwateringly delicious.
Hi Finley!
We’re so glad that you enjoyed the recipe.
TSRI Team Member,
Devlyn
Yummy gooey chocolate heaven. I added 1Tbs of espresso powder, for extra richness
Hi Jaye!
So glad you enjoyed the recipe.
TSRI Team Member,
Devlyn
Absolutely delicious and by far the best recipe I have come across. I will definitely continue to use this recipe. Adding the room temperature eggs in one by one was a new trick I learned and will keep using.
Hi Hailey!
Yes, room temperature eggs added one by one is a game changer. So glad you learned something new and will be sticking with it!
TSRI Team Member,
Devlyn