

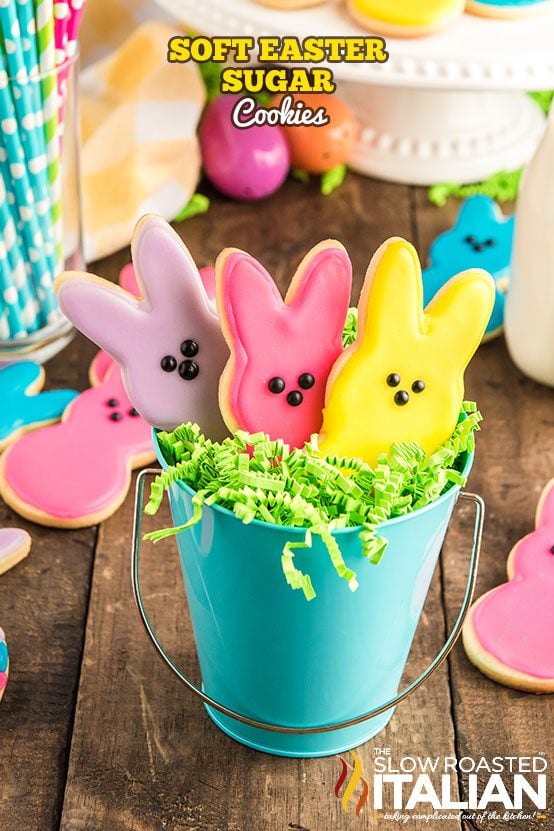
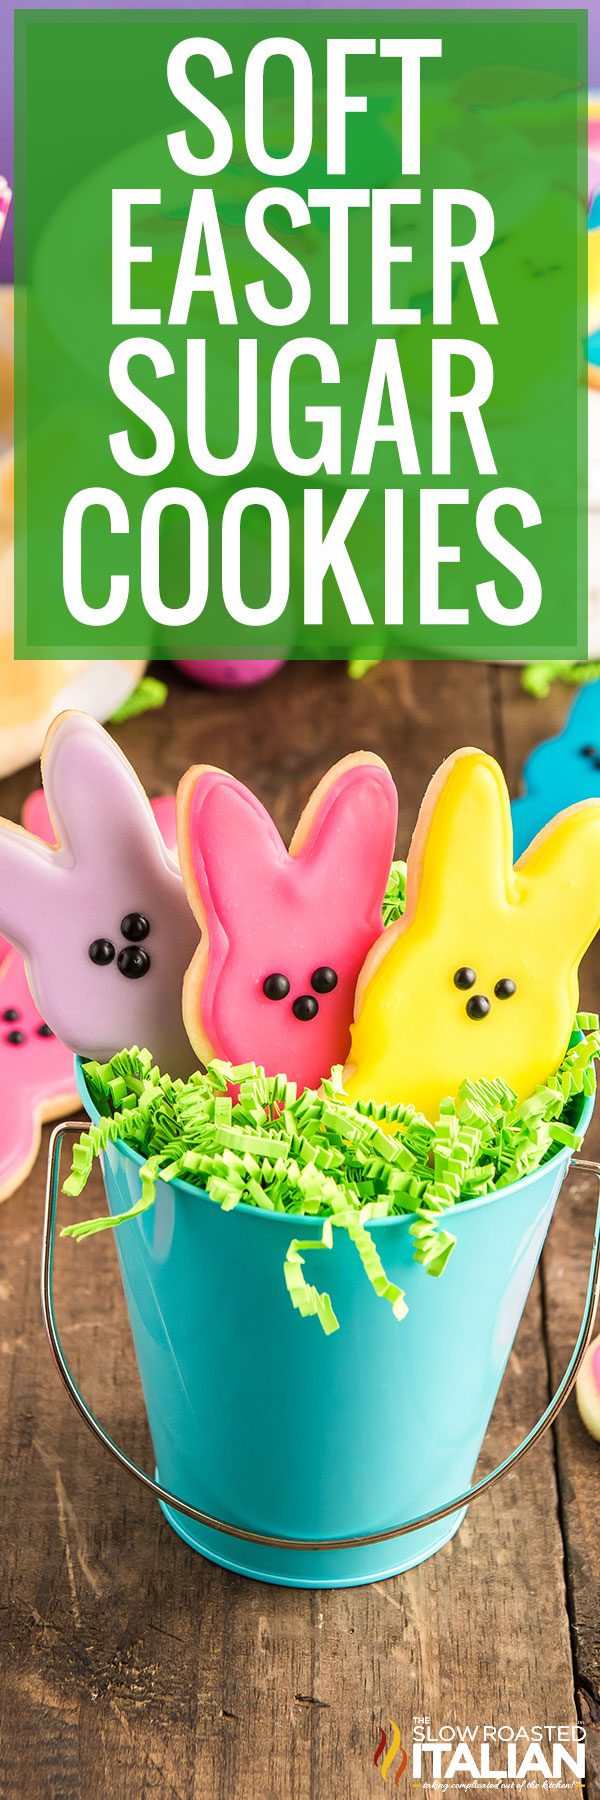
Soft Easter Sugar Cookies (Decorated Peep Cookie)
Soft Easter Sugar Cookies are my favorite treat. Make these Easter Cookies today with best tasting sugar cookie icing for a gorgeous springtime cookie. I love making them in all different colors! These chewy cookies are the perfect treat to have on your dessert table or to place inside Easter baskets!
This decorated Easter sugar cookies recipe is one that I use for several different holidays. Did you have a chance to make my Christmas sugar cookies yet?
Each of these Easter bunny sugar cookies uses my sugar cookie icing to create the designs on top.
The icing dries hard but melts in your mouth as soon as you take a bite. It’s one of my favorite parts of these delicious cookies!
I make sure that I always make them for our Easter celebrations – as these cute Easter sugar cookies are always a hit.
Forget about decorating Easter eggs for an Egg hunt this year, and put these sugar cookies on your radar instead!
Easter Sugar Cookies
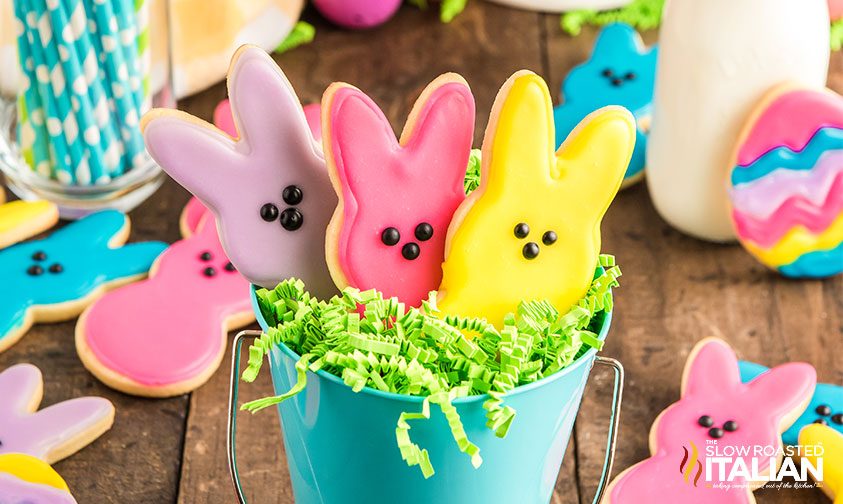
These Easter cookies make a gorgeous display when you serve them. And, they are definitely deserving of center stage at any Easter holiday celebration.
You’ll want to keep some for yourself if you are giving these as a gift.
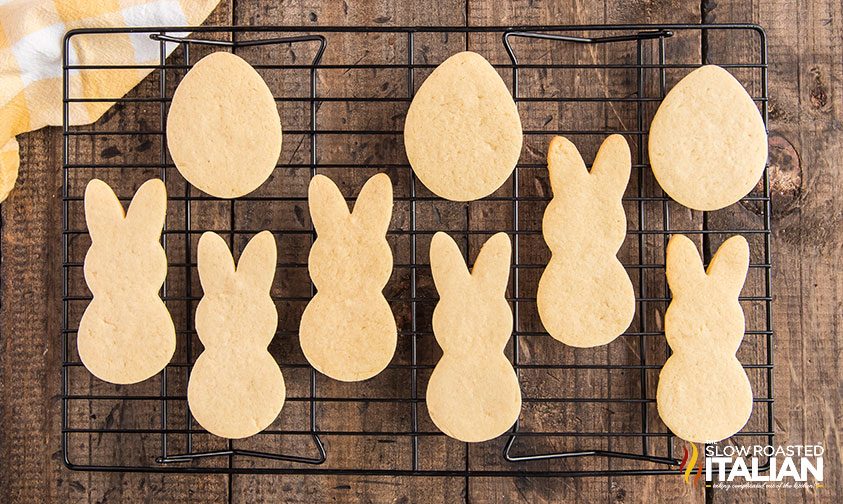
The base for these cookies is my traditional sugar cookie dough. It creates a soft, thick cookie that is perfect for icing.
You can easily alter the shape and the icing design to create sugar cookies for any holiday.
These St. Patrick’s Day cookies use the same basic recipe and were a huge hit when I made them last time.
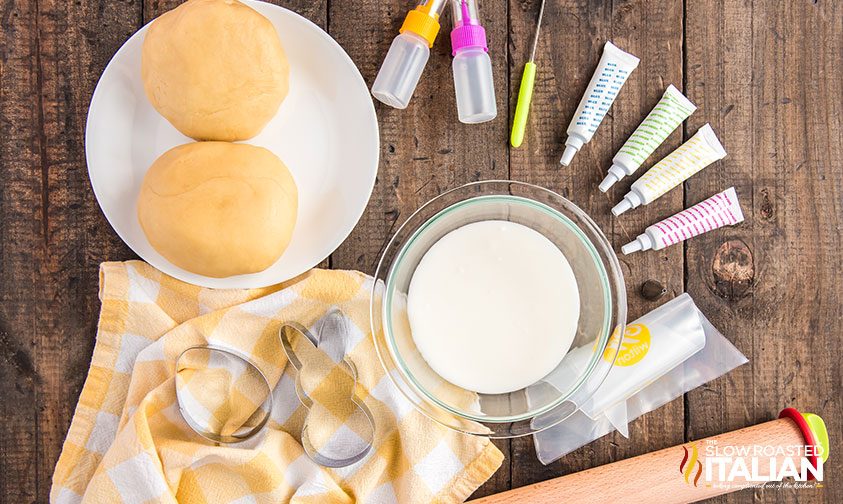
How To Make Soft Sugar Cookies
Just follow these simple directions to make the cookie dough and the icing, then decorate your cookies! This bunny cookie cutter is our favorite.
- Make the sugar cookies according to my Christmas sugar cookie dough.
- Make the icing according to my sugar cookie icing recipe.
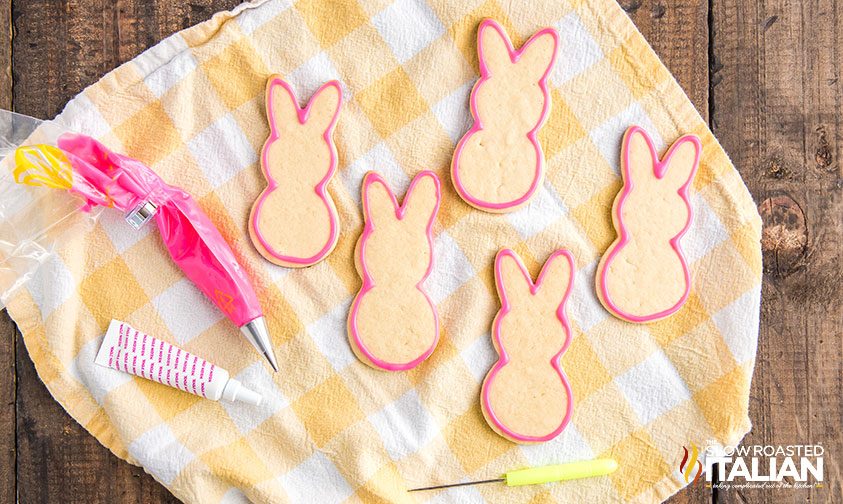
- Create your first icing color and add it to your piping bag.
- Working slowly around the edge, use the icing to make your outline.
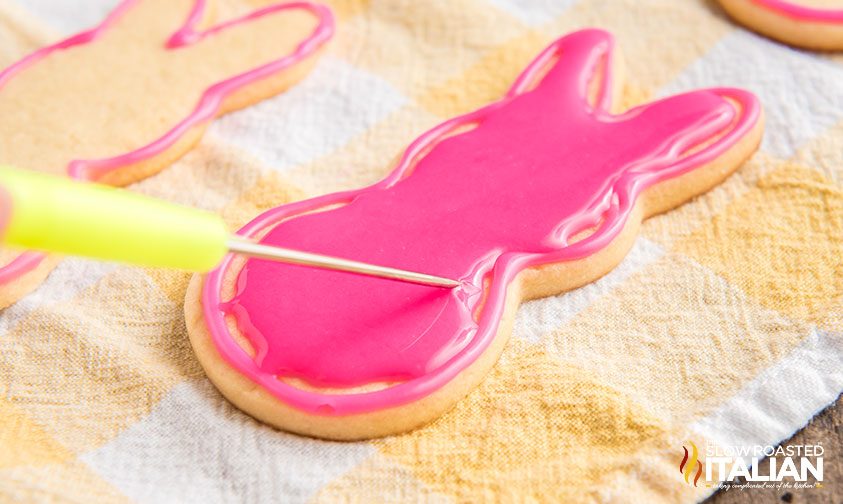
- Add a small amount of milk to a portion of your icing. This will create the flood icing for the main color on your cookie.
- Place these cookies on a cookie sheet for the icing to dry.
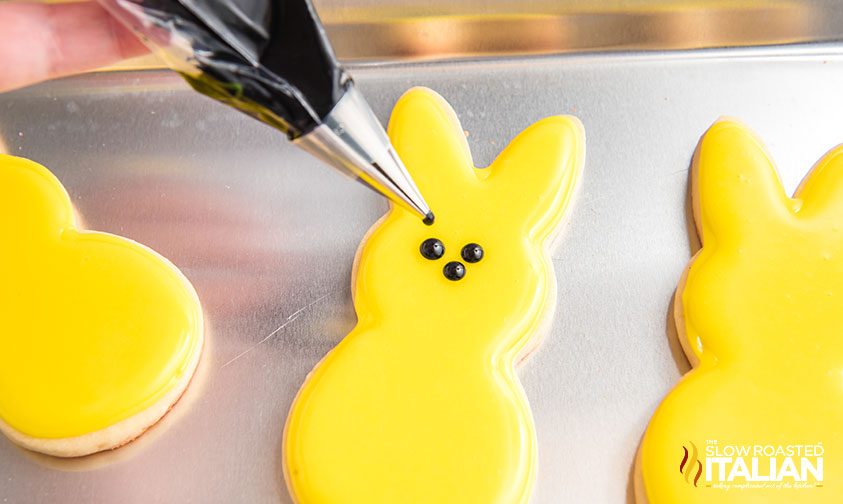
- Create black icing for the nose and eyes.
- Allow them to dry again and wrap in cello bags.
You will follow this same basic process for any shape of soft sugar cookies.
Easter Cookies Tips & Tricks
- Keep the icing soft. Make sure you are covering your icing tightly with plastic wrap or a damp towel as you are working so that it doesn’t dry out and harden.
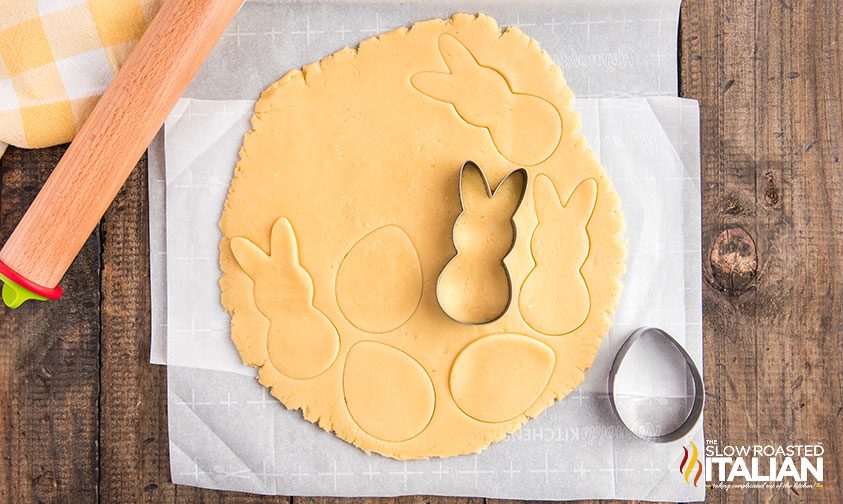
- Chill the dough. After rolling the Easter cookies out, I recommend chilling them in the refrigerator for 10-15 minutes before cutting with the cookie cutter.
- Don’t rush it. Allow the cookies plenty of time to dry after decorating them. We recommend at least 8 hours, but overnight is even better.
The key to making perfectly soft sugar cookies is to pay attention to the directions on the recipe card below.
You just need a few simple ingredients and you’ll be ready to create these simple cookies in no time at all.
Forget about Cadbury eggs and Easter egg cookies, and let this easy recipe be the star of your Easter table.
I’m a huge fan of the original recipe as it’s written, but you can always change the consistency of the icing or even opt to use cream cheese frosting instead.
Decorated Easter Sugar Cookies Recipe FAQs
Once the Easter bunny sugar cookies have completely dried, they can be placed in an airtight container and frozen for 2 to 3 months.
Store them at room temperature in cello bags and/or an airtight container for about 3 to 4 weeks. This Easter sugar cookies recipe is great if you want to make them ahead.
No, you can store the decorated Easter sugar cookies at room temperature. For longer storage, be sure that you’re using an airtight container to keep the cookies soft and delicious. This is a key factor for keeping the cookies fresh and delicious and so that they don’t get stale.
If they do harden a bit, just warm them for a few short seconds in the microwave – but not too much or the frosting well melt off!
Yes, once the Easter bunny sugar cookies dry, they will harden so you can stack them easily. This takes several hours.
There are so many different types of Easter sugar cookie cutters. You can really get anything you want.
Here are a few that will work for this holiday:
Oval or Easter egg
Rabbit
Chick
Lamb
Carrots
Bunny butts
Making these easy Easter sugar cookies should be a family affair! The cut-out cookies are not only fun to make, but they’re super simple to do, too. Let the family know that you’re going to create a festive Easter cookie decorating day where everyone takes part in making delicious recipes like this.
The fun thing about letting the family help make this Easter sugar cookie recipe is that it’s a great way to have everyone decorate their own cute cookies. And once they get done decorating, they get to enjoy eating these adorable Easter sugar cookies right away!
When you’re part of the creation process for this simple sugar cookie recipe, there’s no need to wait until Easter Sunday to eat them. These Easter treats topped with beautiful pastel colors can be enjoyed and eaten anytime!
More Sugar Cookie Recipes
This sugar cookie frosting is light, creamy, and has the perfect amount of sweetness! Make this recipe for your sugar cookie decorating.
Extreme Sprinkle Sugar Cookie Milkshake is a rich and creamy dessert that is like a taste of heaven. Perfectly sweet and utterly delicious!
This simple recipe comes together with just 5 ingredients and is a must-try.
Cookie bites are tiny versions of our best sugar cookie recipe that are just as soft and tender. Make these mini sugar cookies today in just 30 minutes!
Easter Pinwheel Cookies are soft and chewy sugar cookies with a festive Easter spin. They’re incredibly easy to make.
This simple recipe will have you enjoying these tasty treats in no time
Enjoy!
With love, from our simple kitchen to yours.
Don’t miss a thing! Follow us on
Facebook| X | Pinterest| Instagram


Soft Easter Sugar Cookies (Decorated Peep Cookie)
Equipment
Ingredients
- 1 batch Christmas sugar cookie dough
- 1 batch sugar cookie icing, covered with plastic wrap or a damp towel
- Food coloring: Betty Crocker: yellow, neon purple, neon pink; Wilton icing color in sky blue and black
Instructions
- Roll out cookie dough and bake according to directions in the recipe. Allow cookies to cool completely on a cooling rack.
- Starting with your first color, take ¼ of the icing out of the main bowl and place it into a smaller bowl. Stir in the food coloring and cover.
- Cut your piping bag and insert your piping tip. Transfer half of the colored icing in the small bowl to the piping bag with the tip.(This is your outline icing) Twist the opposite end of the piping bag and squeeze as you begin to ice around the edge of your cookie, making sure not to get too close to the edge or the icing will fall off of the cookie.
- When you get back to your starting point, release the pressure you have on the piping bag, dip down to the surface of the cookie, and then release as you move upward. Repeat for all cookies of that same color. (Don’t move to another color just yet)
- Next, stir in a small amount of milk to your remaining colored icing. (This is the flood icing) Transfer the flood icing to an icing bottle or piping bag with the tip cut off. Fill the interior of the cookie, keeping with the icing lines you just made with the outline icing. Use your stir needle or toothpick to push the icing to fill in any gaps or air bubbles.
- Place iced cookies on a cookie sheet to dry. Repeat steps 2-6 for each icing color, saving about 2 tablespoons of icing in a small covered bowl.
- Next, mix black food coloring into the remaining 2 tablespoons of icing and transfer it to a piping bag with Wilton tip #3. (You will use this to make the eyes and nose of the bunnies) Starting with the first cookies you decorated, make a nose shape by gently touching the black icing down in the center of the bunny’s head. Lift straight up, and the icing will fall into a perfect circle. Then make two eyes right above the nose. Repeat for all cookies.
- Allow cookies to dry on a cookie sheet tented with foil, at room temperature for 8 hours to overnight. Once completely dry, you can serve promptly, package in cello bags, store in an airtight container, or freeze. Enjoy your sweet Easter treat!
Donna’s Notes
Nutrition
All nutritional information is based on third party calculations and is only an estimate. Each recipe’s nutritional value will vary depending on the ingredients used, measuring methods, and portion sizes.
Originally published March 2021, updated and republished February 2025
Disclosure: Posts may contain affiliate links. If you purchase a product through an affiliate link your price will remain the same and The Slow Roasted Italian will automatically receive a small commission. Thank you for supporting us, it helps us keep creating new recipes.


Welcome!
We’re Donna and Chad, the dream team behind The Slow Roasted Italian. Our focus is on taking complicated OUT of the kitchen. Life is busy enough, making meals should be fast and easy, to help make your life as simple as possible. Read More >>


Those are so cute! Do you have sticks on the back of them to hold them up or is the paper grass holding them up?
These are so cute! I use your sugar cookie recipe anytime I make cookies, they always come out perfect!
These cookies are absolutely delightful! so easy to make and they turned out beautifully. Donna always has the best recipes on her site!
Hi Brielle!
We’re so glad that you enjoyed!
TSRI Team Member,
Devlyn