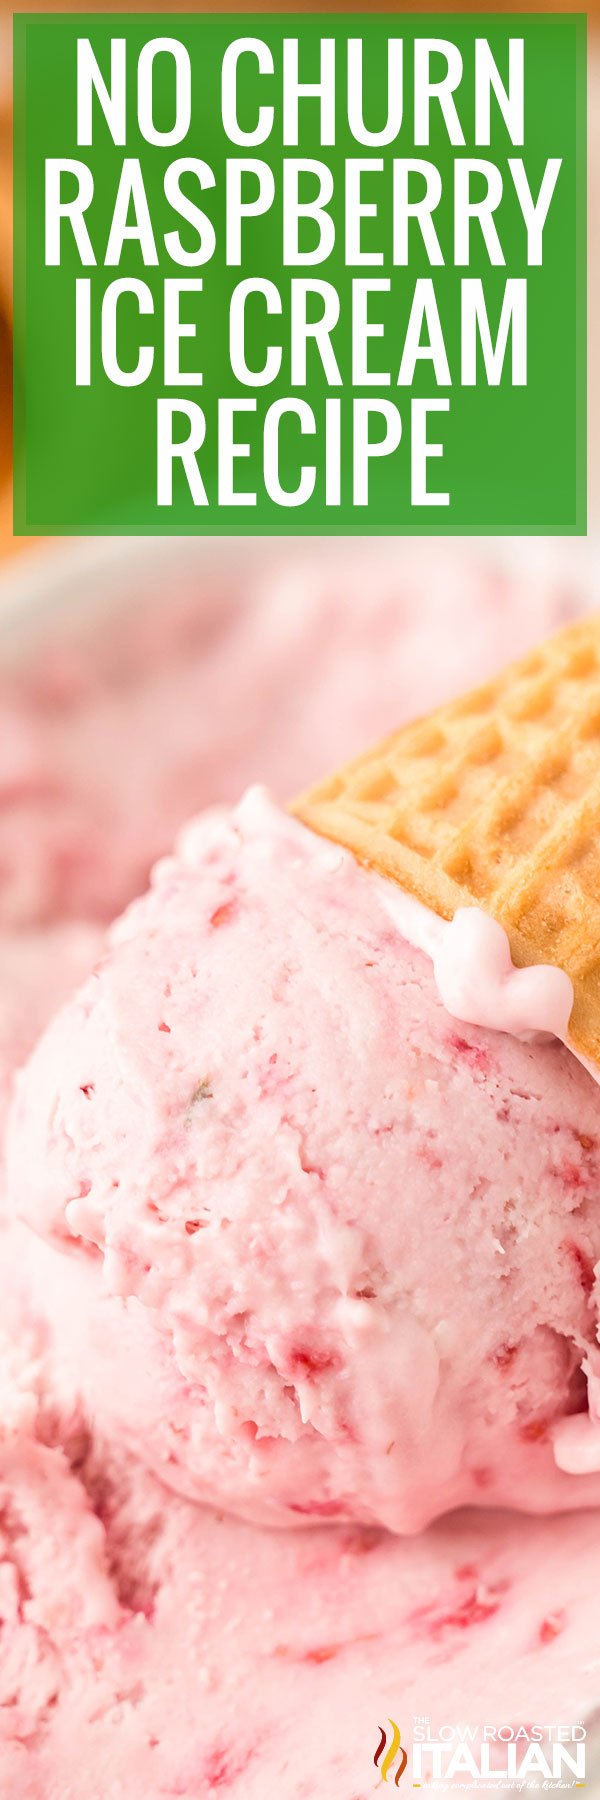
Easy Raspberry Ice Cream (No Churn!)
This post may contain affiliate links. Please read my disclosure policy.

This Raspberry Ice Cream is as indulgent as it is easy to make, and you don’t even need any fancy equipment. Whip up a real fruit ice cream base in minutes, then let it freeze. Every spoonful delivers smooth sweetness balanced by the tart burst of real raspberries!
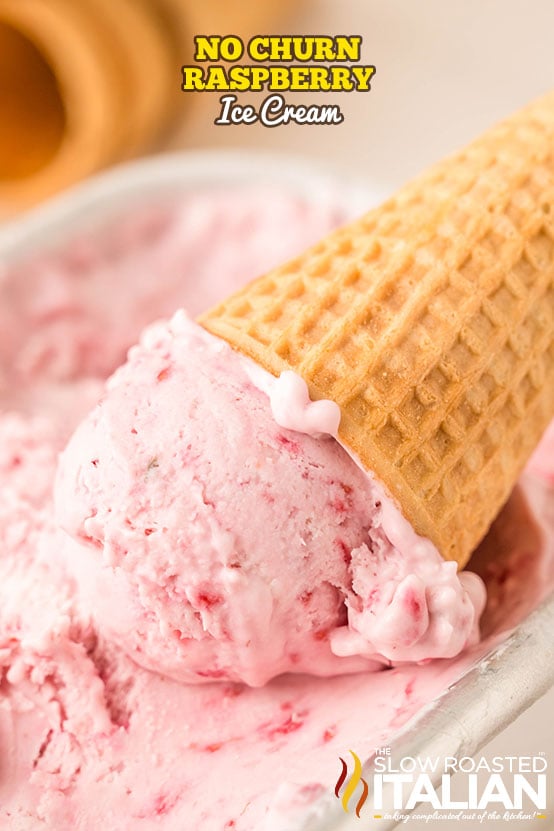
Table of Contents
Raspberry Ice Cream
Over here, we’ve made more batches of no-churn ice cream than I’d care to admit (I mean… can someone check my freezer stash?).
And this one’s a keeper. We are officially obsessed with the raspberry swirl!
This recipe gives you that perfect sweet-tart burst from real berries swirled into the creamiest, dreamiest vanilla base.
We love a crunchy add-in around here, but this raspberry and cream ice cream? She shines solo. Although, if you do happen to toss in a handful of chocolate chips… we won’t judge.
Also, if you’re not straining out the seeds, just go ahead and call it rustic. It’s all good. Just don’t skip that chill time. And definitely don’t skip the licking of the spatula.
If you love the sweet-tart perfection of raspberries as much as we do, try them in cookies, ice pops, and pound cake next!
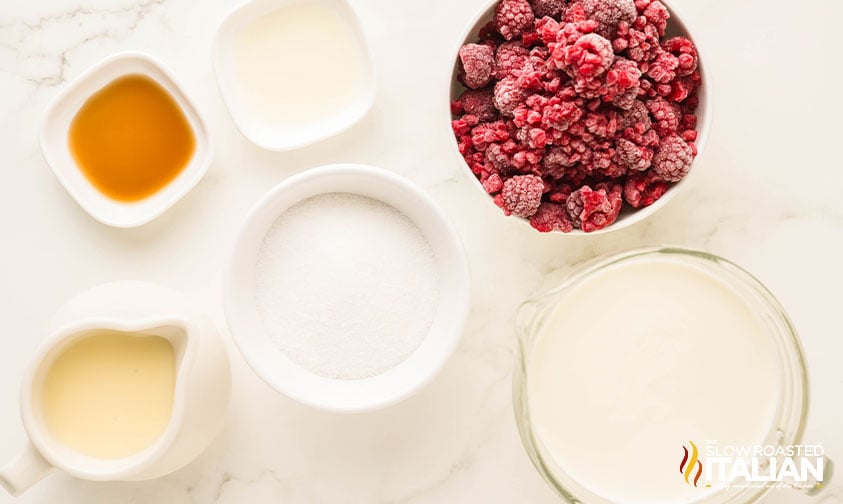
Ingredient Notes and Substitutions
- Frozen Raspberries – Using frozen raspberries ensures the best taste and means you can make this year-round without sacrificing flavor.
If you prefer to use fresh berries, clean them well before cooking down and cooling the same way. - Granulated Sugar – Raspberries are naturally a bit tart, so simmering them with sugar will help sweeten them up! It also helps the syrup thicken a bit so it’s not too watery.
- Lemon Juice – Just a touch for brightness. In a pinch, freshly squeezed lime or orange juice will work too.
- Heavy Cream – Keep this in the refrigerator until it’s time to whip. And yes, you must use full-fat heavy cream for this raspberry ice cream recipe… half-and-half won’t cut it!
- Sweetened Condensed Milk – The key ingredient in any no churn ice cream. It makes the texture extra smooth and velvety.
- Vanilla Extract – Quality makes a big difference in flavor, so skip the imitation stuff.
How to Make Raspberry and Cream Ice Cream
There are a couple of different components to this recipe that you’ll have to make from scratch, but neither of them takes too long.
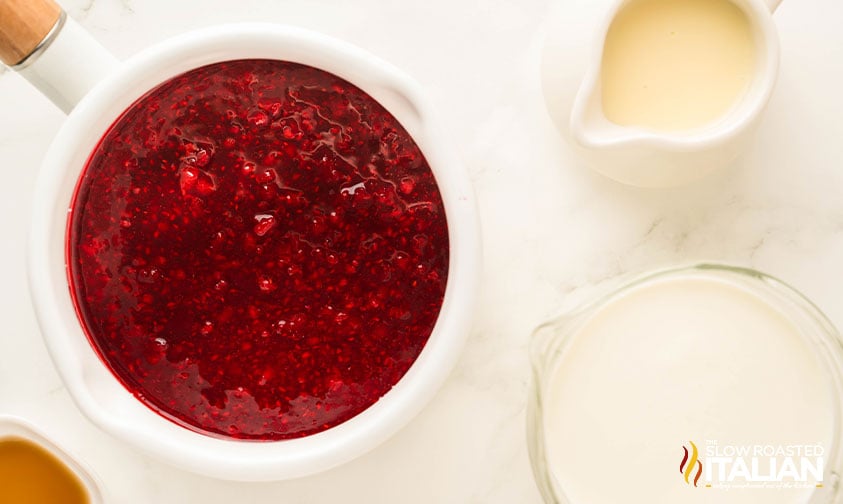
Start by simmering the frozen raspberries with sugar and lemon juice in a saucepan on the stove. You’ll need to stir the entire time, until the berries have fully thawed and start to break apart.
Once you’ve got a thick syrup, turn off the heat and allow the mixture to cool to room temperature so it doesn’t melt the ice cream base.
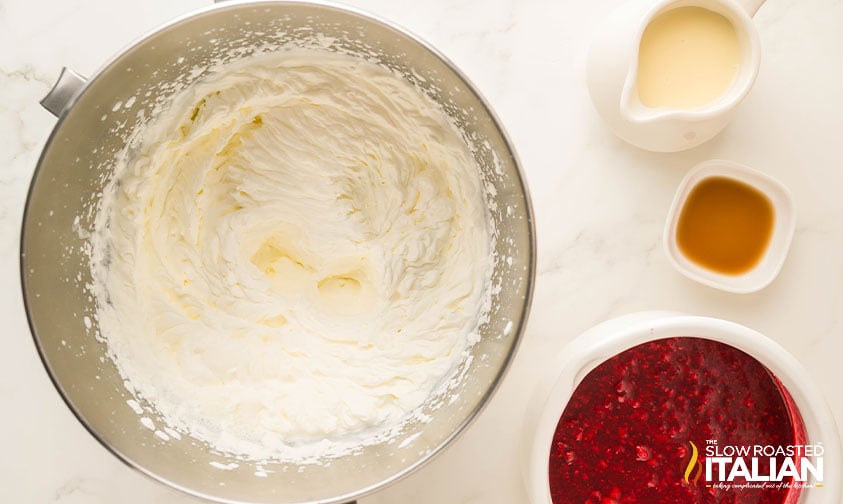
The next step is whipping the heavy cream. Chill your mixing bowl (stainless steel is best) and beaters first for the best volume. Even 5 minutes in the freezer will do the trick!
Whip until stiff peaks form. The easiest way to test this is by lifting the beaters out of the bowl.
There should be tiny “mountain peaks” in the whipped cream, and when you flip the mixer upside down, the cream should remain upright without drooping over.
Gently add the remaining ingredients to the bowl, along with the cooled fruit syrup. Beat again until combined and thickened.
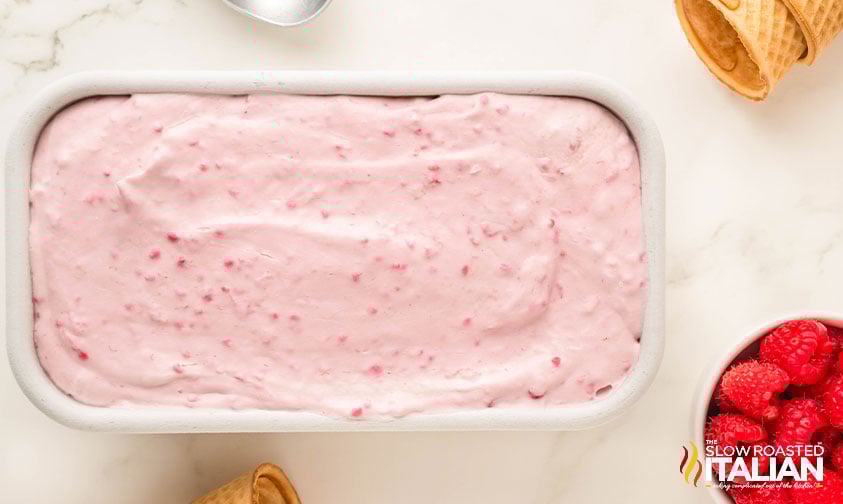
Pour the mixture into a metal loaf pan or ice cream container, then smooth the top with a spatula. Freeze for at least 6 hours or until solid. I usually leave it overnight.
Prep Ahead
- Make berry syrup
- Chill mixing bowl and beaters
Over the years of testing and re-testing recipes (and let’s be honest, making more no-churn ice cream than most people will in a lifetime), I’ve learned exactly what makes a freezer dessert you’ll want to make again and again.
First, the berries need to be cooked down. That concentrates the flavor and keeps your ice cream from turning into a rock-solid fruit block.
Second, whipping the cream until it just hits those firm peaks (but not past) is the difference between fluffy and flat. And yes… your heavy cream really does need to be cold-cold.
Not “oh, I took this out a few minutes ago” cold.
Room temp cream cheese? Essential. Sweetened condensed milk? Game changer.
Chilling the loaf pan? Worth it. Even after all these years, it still amazes me how a few small steps can completely change a recipe’s texture and scoopability.
And finally, straining the puree if you’re not a fan of seeds. That’s one of those little moves that turns a great ice cream into a go-to summer treat for everyone.
Donna’s Pro Tips
- Strain the raspberry puree to eliminate seeds if you prefer a smoother texture.
- Do not overwhip the cream after adding the condensed milk or raspberry puree. Beat just until thickened.
- Chill the loaf pan before filling for a quicker freeze.
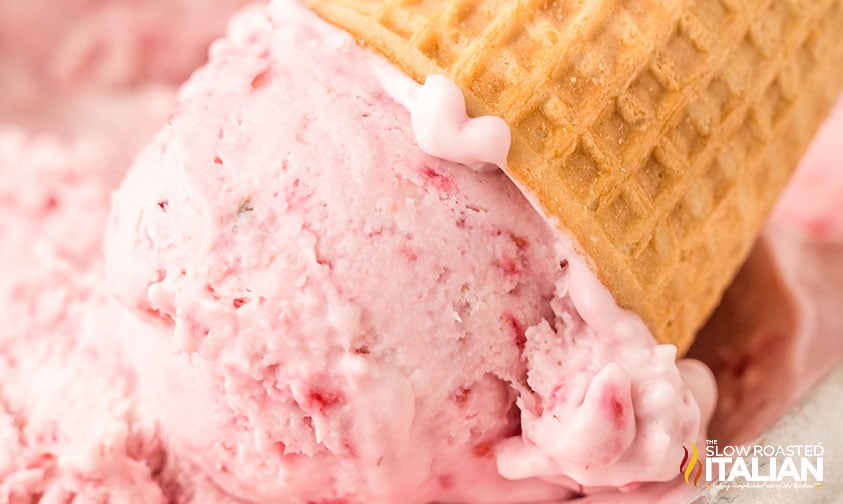
- Use a warm scoop to serve easily after removing the ice cream from the freezer.
- Want a layered look? Reserve a little raspberry puree and swirl it into the top of the pan before freezing.

Toppings and Flavor Variations
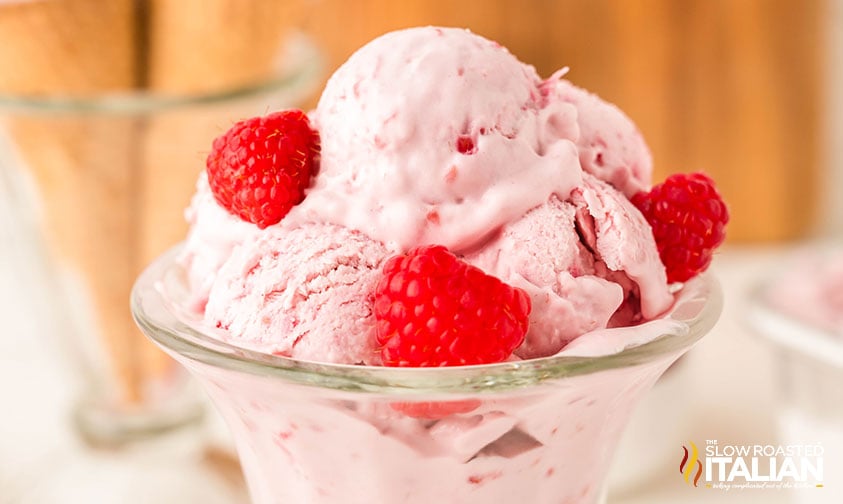
During the summer, I like to add a few fresh berries to my bowl, especially if we go berry picking.
And if I’ve just made a batch of lemon curd, I might add a drizzle of that on top… or swirl it right in.
There are a few more ways to make this raspberry ice cream recipe your own, so try a different version each time you make it!
- Lemon Raspberry Ice Cream: Replace the vanilla extract with 1 teaspoon lemon extract.
- Raspberry Chocolate Ice Cream: Stir in ½ cup mini chocolate chips before freezing.
- Nutty Raspberry Ice Cream: Add ¼ cup toasted almonds or pecans.
- Raspberry Swirl Ice Cream: Swirl the raspberry puree into the ice cream base (instead of fully mixing it in) for a marbled look.
Storing No Churn Raspberry Ice Cream
This raspberry and cream ice cream will keep for up to 2 months in the freezer, which means you can make it ahead of time too!
Store it in a well-sealed container to prevent ice crystals, and keep it in the coldest part of your freezer (usually towards the back).
Before serving, let the frozen dessert soften on the counter for a few minutes so it’s easier to scoop.
Raspberry Ice Cream Recipe FAQ
The simplest way is to make a slightly larger batch of the raspberry syrup but reduce it down more to concentrate the flavor. Sometimes, a pinch of salt can help too.
You can also mix or swirl some seedless raspberry jam into the ice cream base for more depth.
You’re welcome to use a frozen mixed berries blend in place of just the raspberries.
But if you’re wanting a completely different flavor, try my no churn strawberry and blueberry ice cream recipes instead.
The toothpick test works just as well on frozen treats as it does baked ones! Insert it into the very center and pull it back out.
If it’s clean, the treat is ready to scoop. If it’s still wet, freeze for a couple more hours and try again.
Enjoy!
With love, from our simple kitchen to yours.
Don’t miss a thing! Follow us on
Facebook | Twitter | Pinterest | Instagram

🔥 TSRI’s Sizzlin’ Summer Ebook
Ready to level up your summer cooking? This exclusive collection of 30 reader-favorite recipes is packed with potluck legends, no-bake treats, and BBQ showstoppers.
👉 Snag your copy today and bring the heat to your summer table!

Easy Raspberry Ice Cream (No Churn!)
Ingredients
- 2 cups frozen raspberries
- 1/2 cup granulated sugar
- 1 teaspoon lemon juice
- 2 cups heavy cream
- 14 ounce can sweetened condensed milk
- 1 teaspoon pure vanilla extract
Instructions
- Cook the Raspberries: In a saucepan over medium-low heat, combine 2 cups frozen raspberries, 1/2 cup granulated sugar, and 1 teaspoon lemon juice. Stir constantly until raspberries are fully melted and begin to separate. Remove from heat and cool completely.
- Whip the Cream: In a large mixing bowl, use a handheld mixer to beat 2 cups heavy cream until firm peaks form.
- Combine the Ingredients: Add the cooled raspberry mixture, 14 ounce can sweetened condensed milk, and 1 teaspoon pure vanilla extract to the whipped cream. Beat until the mixture thickens again, though it will not be as stiff as before.
- Freeze the Ice Cream: Pour the mixture into a 9 x 5-inch loaf pan. Cover and freeze for at least 6 hours or until completely frozen.
- Serve: Let the ice cream sit at room temperature for 5 to 10 minutes before scooping. Enjoy!
Donna’s Notes
Nutrition
All nutritional information is based on third party calculations and is only an estimate. Each recipe’s nutritional value will vary depending on the ingredients used, measuring methods, and portion sizes.
Originally published August 2025
Disclosure: Posts may contain affiliate links. If you purchase a product through an affiliate link your price will remain the same and The Slow Roasted Italian will automatically receive a small commission. Thank you for supporting us, it helps us keep creating new recipes.


Welcome!
We’re Donna and Chad, the dream team behind The Slow Roasted Italian. Our focus is on taking complicated OUT of the kitchen. Life is busy enough, making meals should be fast and easy, to help make your life as simple as possible. Read More >>