Old Fashioned Cream Puffs
This post may contain affiliate links. Please read my disclosure policy.
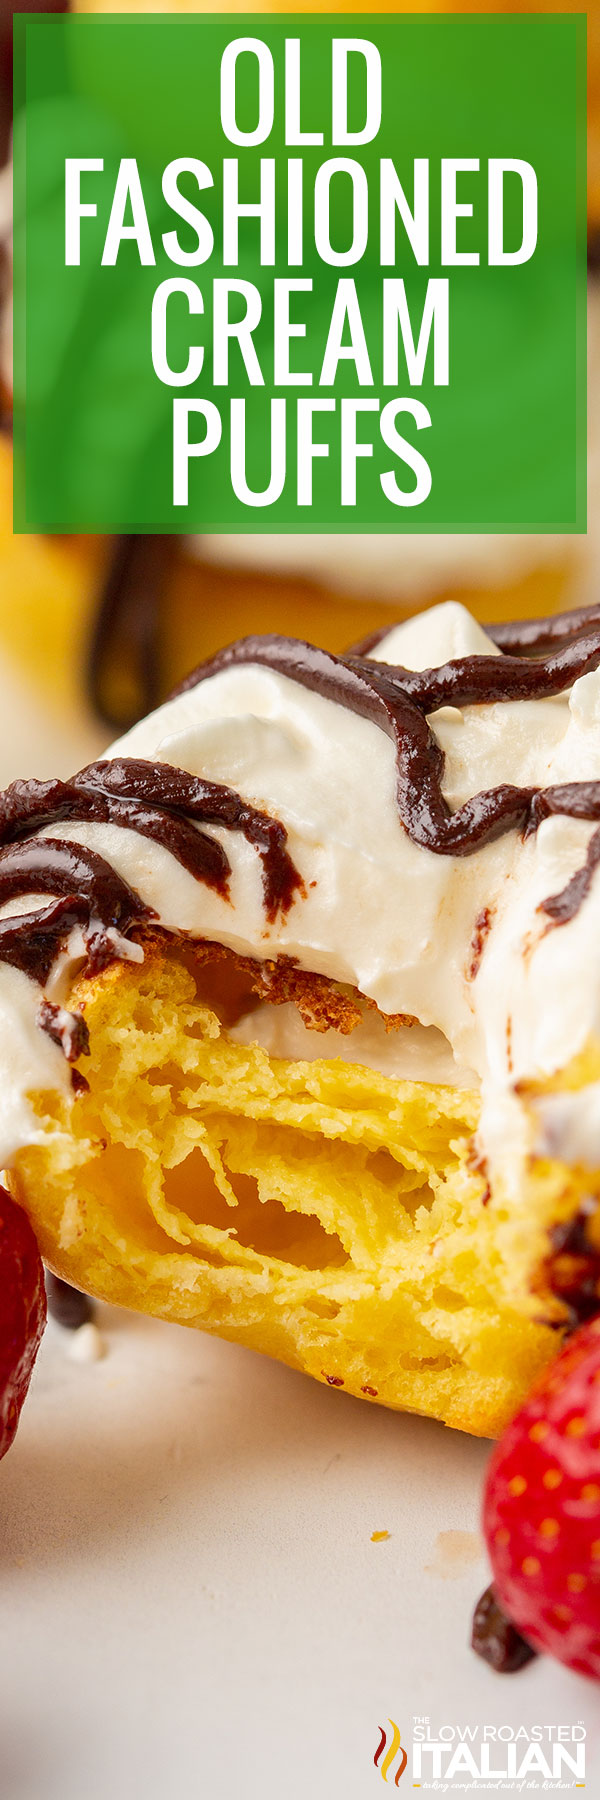
Old Fashioned Creams Puffs are a no frills dessert – you see exactly what you’re going to get! Pillowy filling, fluffy pastry, and whatever you feel like piling on top! Yet, that delicate, delicious flavor will keep you coming back for more and more.
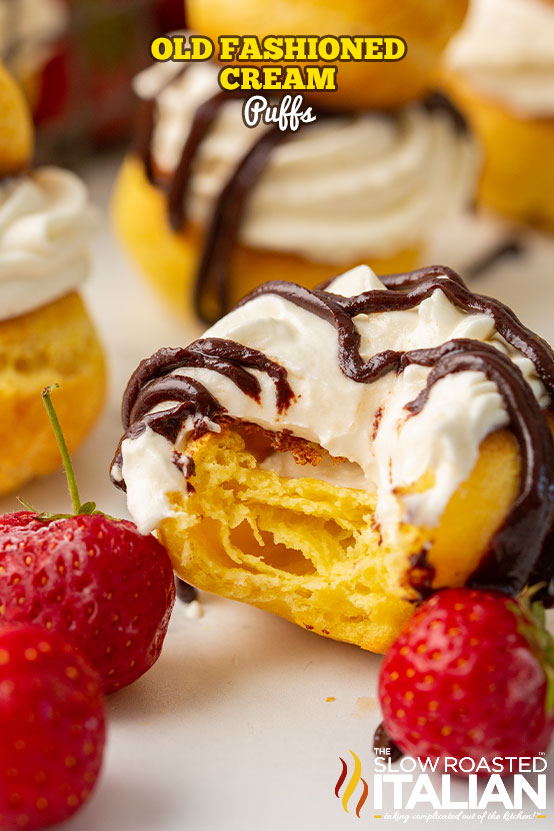
Don’t worry – with my easy cream puff recipe, you get 20 old fashioned cream puffs in less than an hour, so seconds aren’t far behind!
Old Fashioned Cream Puffs
You really can’t beat the classics.
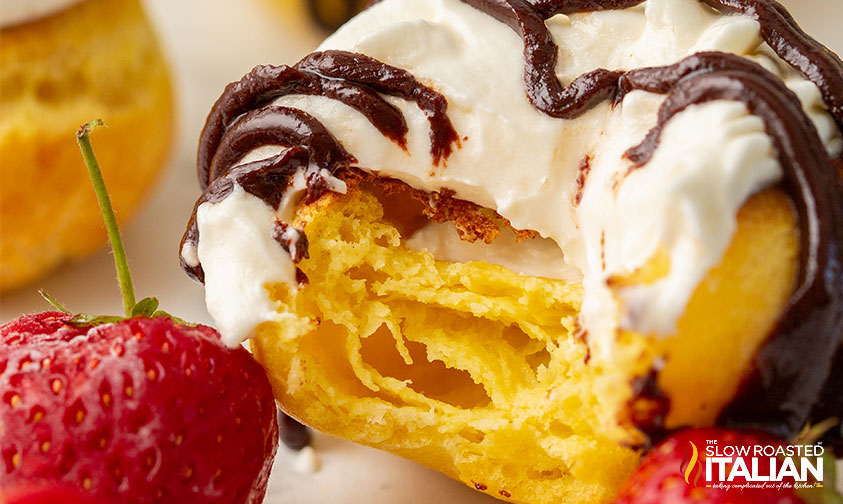
A simple choux pastry dough, golden brown and fantastically fluffy, and a lovely airy whipped filling come together for a homemade dessert that looks and tastes like it came straight from a fairytale!
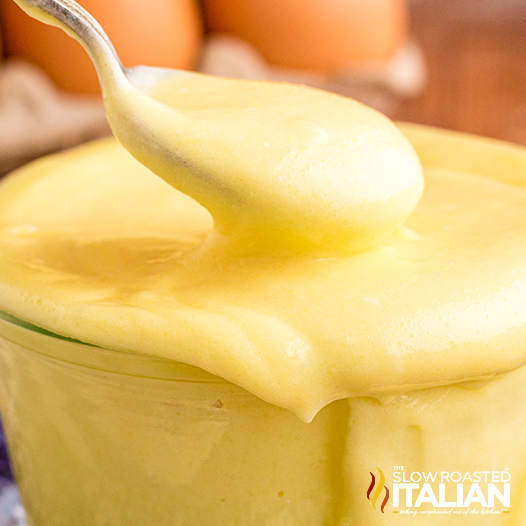
This recipe is a step further from your average homemade whipped cream, and is great to use in any recipe that needs Cool Whip!
My layered Oreo dessert, for example, would be even dreamier with this stabilized whipped cream.
Cream Puff Ingredients & Substitutions
- All Purpose Flour – Don’t skip sifting the flour! You definitely want to break up any and all lumps that might mess with the pastry texture.
Bread flour works really well for choux pastry, too, if you have it! - Heavy Whipping Cream – If you’re looking for substitutions, try half and half or milk with a bit of melted butter. You can also use coconut cream!
- Cornstarch – This is what stabilizes the whipped filling, keeping its height and fluffiness even after settling.
Other possible stabilizers include unflavored gelatin and agar agar. - Powdered Sugar – I really recommend using powdered sugar in your cream filling to avoid potential grainy texture from granulated sugar.
Any liquid sweeteners, too, would make the filling too runny – so please stick with the powdered sugar for this one!
How to Make This Easy Cream Puff Recipe Even Easier (And Tastier!)
- Flavor The Filling – Replace the vanilla extract with your flavor of choice: almond, orange, etc.
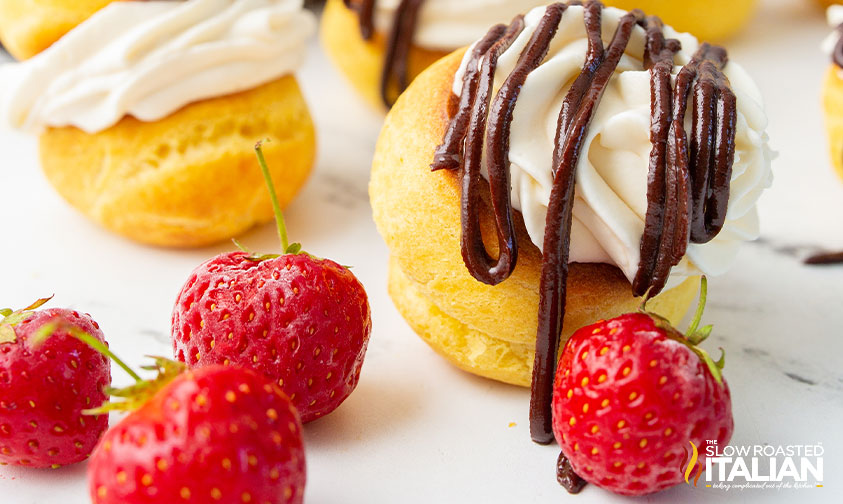
Spices like cinnamon and nutmeg can be added with no real substitutions required (though you might want a bit more sugar!), and syrups (like strawberry or chocolate) can be stirred in in small amounts. - Gorgeous Garnishes – A bit of extra powdered sugar or a decadent chocolate ganache would make for a beautiful presentation and be the ultimate cherry on top – or, use actual cherries and strawberries!
- Get Whipped Cream Fast! Stick the bowl of your stand mixer or the large bowl you plan to use for mixing into the freezer, and keep it there until you’re ready to whip that cream.
It’ll stabilize so much faster that way!
Serving, Storing, and Freezing Old Fashioned Cream Puffs
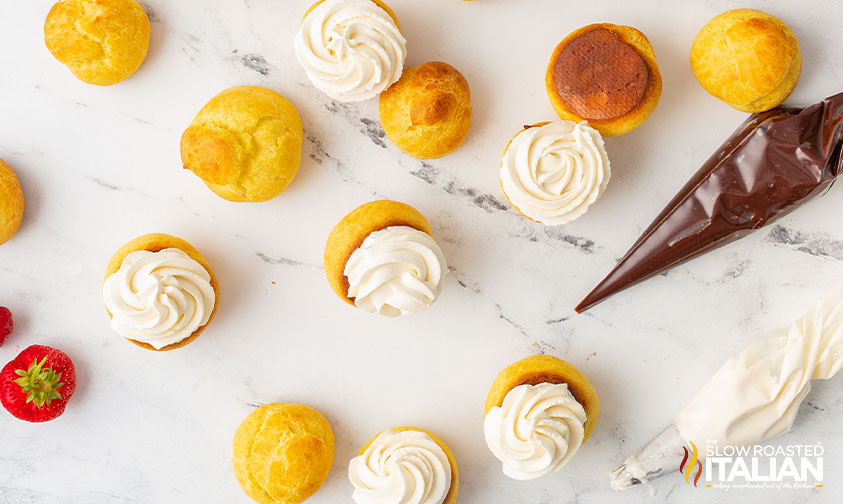
I like to pipe the filling right on top of the cream puff shells and sandwich two together, but you can also slice the top off of one to use as a topper on a pile of filling!
To make this easy cream puff recipe ahead of time, the most important thing to consider is the filling!
Keep it refrigerated if serving within 4 days or freeze for up to 3 months.
The pastries themselves are good at room temperature for a couple of days or frozen for a couple of months.
Frozen cream puffs should be thawed in the fridge before adding the filling!
Kitchen Tools You Will Need
- Use a stand mixer or an electric hand mixer to make the cream puff filling. You can do it by hand, but it’s pretty exhausting and takes much longer.
- A couple of piping bags and decorating piping tips (both star and round). If you don’t have a piping bag, simply snip off a corner of a Ziploc bag and use that instead!
- A silicone spatula to get the very last bit out of the bowl, and a silpat mat to make the whole process cleaner and easier!
Old Fashioned Cream Puffs FAQ
These two desserts are actually pretty different!
Eclairs are long and cylindrical, or rectangular, and filled with a custard. Old fashioned cream puffs, on the other hand, are round and covered with a light whipped cream.
Can you believe that something so tasty is actually incredibly simple?
All you need is cream, sugar, vanilla extract, and cornstarch. That’s all! It’s a stabilized whipped cream that’ll keep its cloud-like texture and volume even after sitting, helping your old fashioned cream puffs stay perfectly puffy!
The most common mistake made in choux pastry is leaving too much moisture in the dough. After adding the flour to the boiled butter and water, keep stirring until the dough forms and the excess liquid evaporates. You also need to be sure to totally mix in the eggs.
Finally… no peeking!! Don’t open the oven until the pastry shells have browned. We don’t have any leaveners in the dough, so the heat is crucial for giving the dough its characteristic “puff”!
Enjoy!
With love, from our simple kitchen to yours.
Don’t miss a thing! Follow us on
Facebook | Twitter | Pinterest | Instagram
Other Easy Dessert Recipes

Old Fashioned Cream Puffs
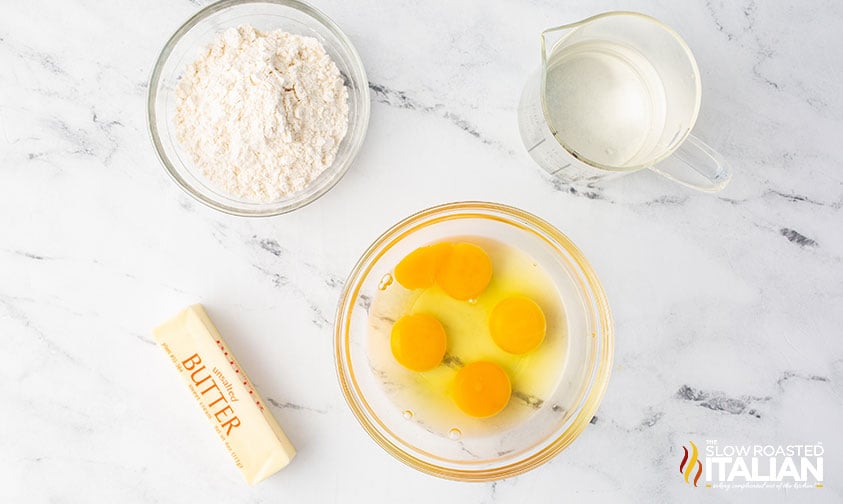
Ingredients
Cream Puff Shells
- 1 cup water
- 1/2 cup butter, cut into 1 tablespoon pieces
- 1 cup all-purpose flour, sifted
- 4 large eggs
Cream Puff Filling
- 1 1/2 cups heavy whipping cream
- 1 cup powdered sugar
- 1 tablespoon cornstarch
- 2 teaspoons vanilla extract
Instructions
For Choux Pastry Shells
- Prepare two piping bags by fitting one with a coupler and medium round tip and the other with a coupler and large star tip. Line a cookie sheet with a silicone baking mat. Set everything aside.
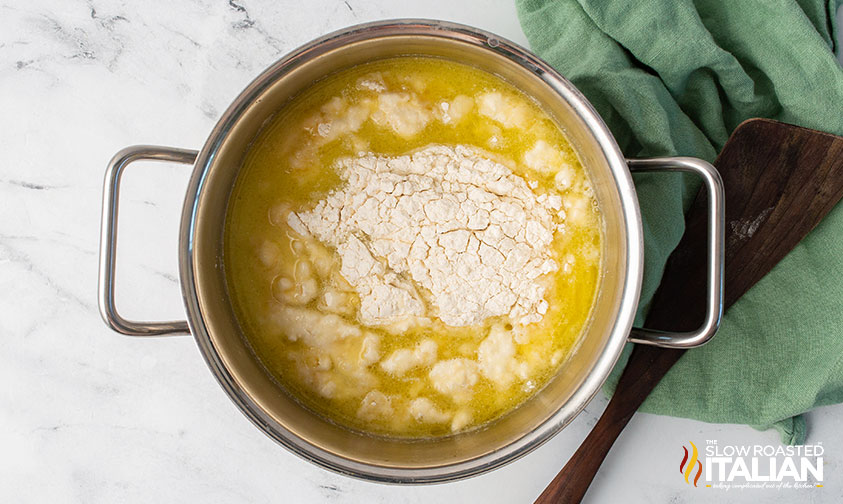
- To a 2-quart saucepan set over high heat, add the water and butter. Bring to a boil and cook until butter melts.
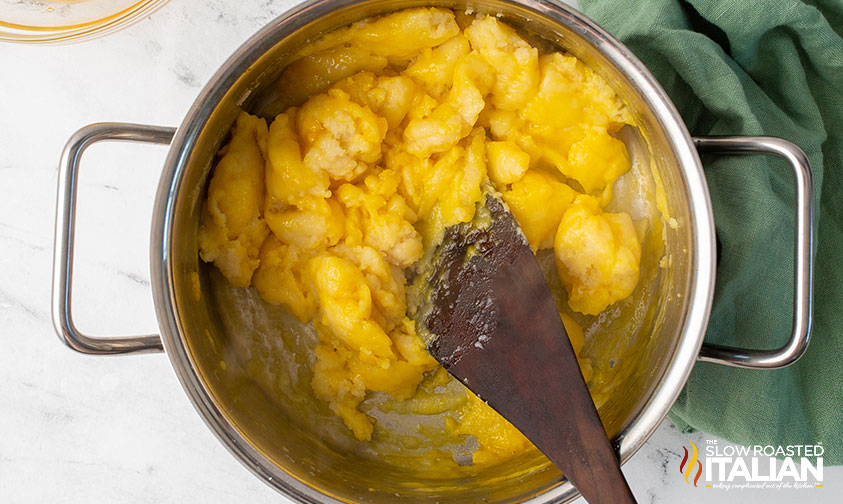
- Remove the saucepan from the heat. Add flour to the pan and stir vigorously with a wooden spoon or rubber spatula until a large ball of dough forms.
- Add one egg to the dough and stir until fully incorporated. One at a time, continue adding and incorporating the eggs. The choux dough will be loose at first, then thicken and stiffen as more egg is incorporated.
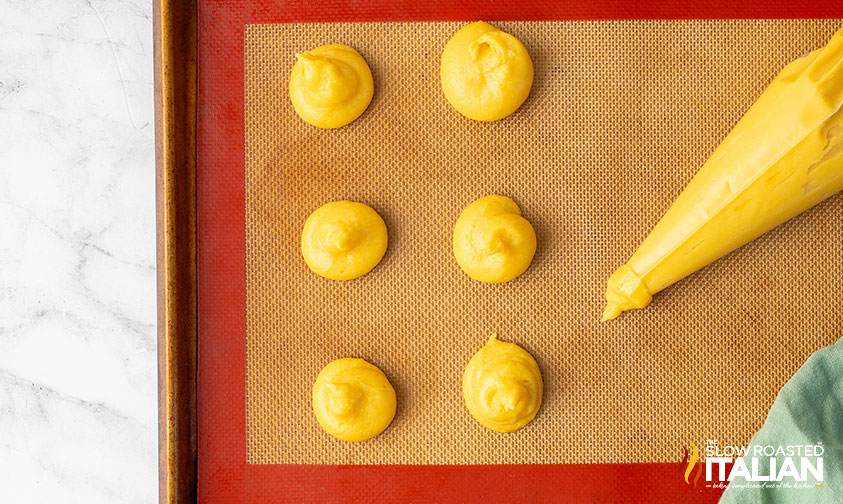
- Using a large spoon, transfer the dough into the prepared piping bag. Close the bag, then pipe mounds of batter, 1 to 2 inches wide and 2 inches apart, onto the prepared baking sheet.
- Bake at 400°F. for 35 minutes. Important: Do not open the oven door until the shells are golden brown. There are no leaveners in the dough – it needs heat to help it rise and “puff up”.
- Remove pastry shells from the oven and transfer them to a wire cooling rack. Let them cool completely before adding whipped cream. Meanwhile, make the cream puff filling.
For Stabilized Whipped Cream
- Pour heavy whipping cream into a large metal mixing bowl. Using a handheld mixer fitted with whisk attachments, beat the whipping cream at high speed until soft peaks form.
- Add the powdered sugar, cornstarch, and vanilla extract. Continue mixing on high speed until stiff peaks form.
- Refrigerate the filling for at least 30 minutes before transferring it to a piping bag fitted with a star tip.
- Pipe whipped cream onto puffs and refrigerate or freeze until ready to serve.
Donna’s Notes
Nutrition
All nutritional information is based on third party calculations and is only an estimate. Each recipe’s nutritional value will vary depending on the ingredients used, measuring methods, and portion sizes.
Originally published December 2022
Disclosure: Posts may contain affiliate links. If you purchase a product through an affiliate link your price will remain the same and The Slow Roasted Italian will automatically receive a small commission. Thank you for supporting us, it helps us keep creating new recipes.


These are so easy and quick to make! A nice little dessert for during the week
wow! these cream puffs are absolutely divine! Donna and Chad never disappoint with their amazing recipes from The Slow Roasted Italian.
Hi Avery!
We’re so glad you enjoyed!!
TSRI Team Member,
Devlyn
Donna’s cream puffs are divine! I added a dash of almond extract to the filling for a unique twist. It turned out fantastic! 5 stars!