Easy Homemade Rocky Road Fudge (6-Ingredient Recipe)
This post may contain affiliate links. Please read my disclosure policy.
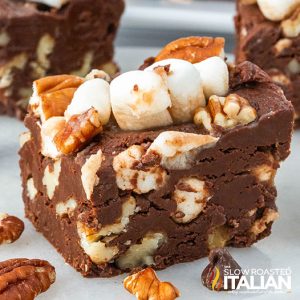
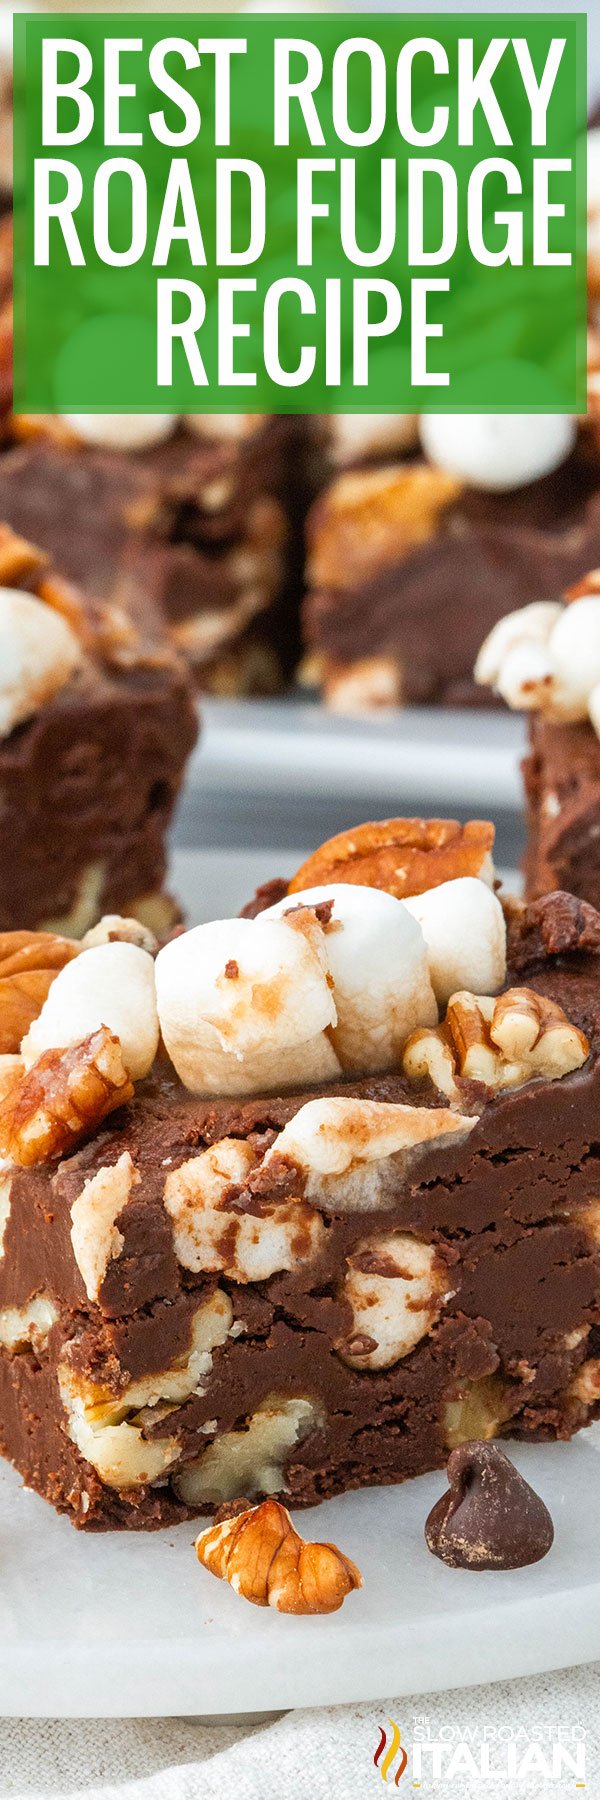
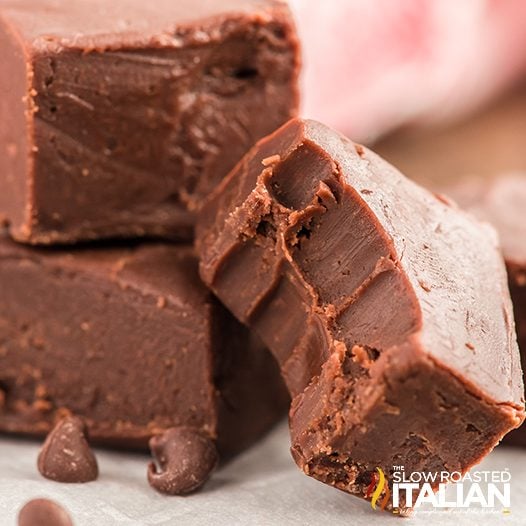
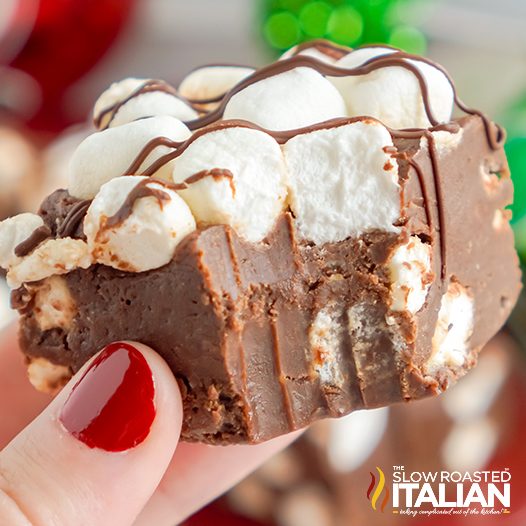
Rocky Road Fudge has everything you love — creamy, sweet chocolate, pillowy mini marshmallows, and a little bit of crunch from chopped nuts. Not only is this the best rocky road fudge recipe, but it’s so easy to make too! Whip up a large batch for holidays and dessert tables — or whenever you’re craving a sweet treat.
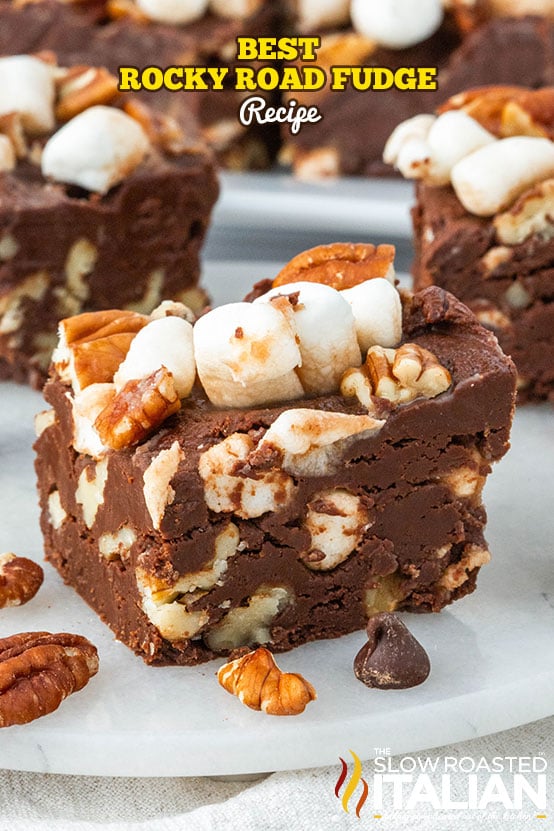
If you’re a fan of Rocky Road Ice cream, you’re going to want to make this easy, creamy chocolate fudge. Not only is it perfect for the holiday season, but it’s a rich chocolate fudge recipe that makes a great gift, too.
I’ve literally made this homemade fudge recipe for years, and it’s the best way to create an easy fudge recipe to share with family and friends.
All you need are a few simple ingredients to make this decadent dessert, and you’ll get the best results the first time that you make it!
Good fudge recipes like this are a crowd pleaser and such a great way to make a holiday batch of fudge. It has that classic ice cream flavor, with the sweet flavor and texture of warm fudge.
Check out the full recipe below on the recipe card – you’re about to see why this is easily one of my favorite fudge recipes!
Make sure that you cut even squares of fudge for this treat – because everyone is going to be wanting to be sure that they get a fair share of this easy rocky road fudge recipe!
Rocky Road Fudge
Crunchy, sweet rocky road fudge is a delightful homemade gift.
Bundle up a few squares in cellophane with a colorful ribbon or pack them into decorative boxes and jars.
Since our best rocky road fudge recipe makes 32 servings, you won’t have to spend too much time in the kitchen to check everyone off your list!
I can never get enough of a chocolate and marshmallow combination. If you’re the same, check out my Marshmallow S’mores Cake or Outrageous Oreo Fluff.
If you enjoy this fudge recipe, I’d also suggest my Snickers Fudge Recipe, it only requires 3 ingredients and is ready in under an hour!
And for a more subtle flavor in a chocolate marshmallow candy, try your hand at these no bake Avalanche Cookies.
Ingredient Notes and Substitutions
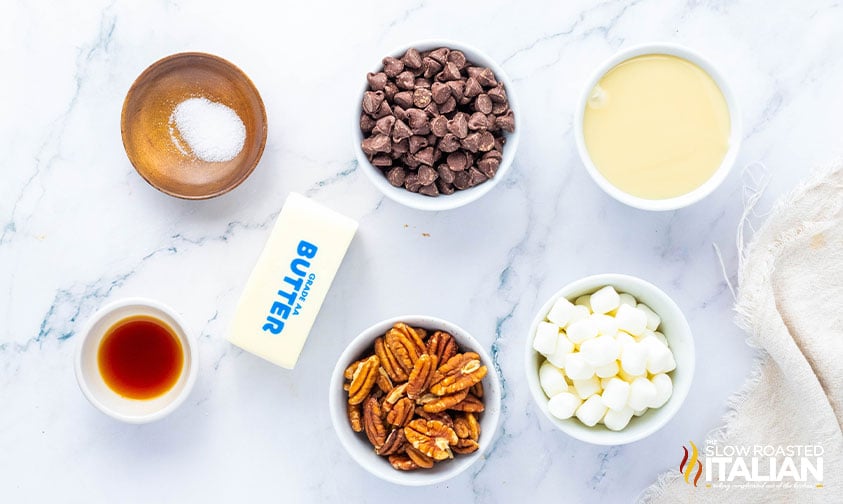
- Chocolate Chips – Semisweet chips strike the perfect balance of rich, chocolate flavor and sweetness.
If you prefer a milder, sweeter chocolate flavor, swap in milk chocolate chips instead. - Sweetened Condensed Milk – There is no good substitute for this — it’s what gives this easy rocky road fudge it’s creamy texture and helps it set.
- Unsalted Butter – Every brand contains a different amount of salt, so it’s best to add your own.
If you only have salted butter on hand, reduce the amount of added salt by half. - Chopped Nuts – Pecans or walnuts are the common choices for fudge, but feel free to experiment with more of your favorites klike almonds, cashews, or hazelnuts!
- Marshmallows – We’re using miniature marshmallows for this homemade rocky road fudge recipe.
If you crave more of that ooey gooey texture, add an extra handful of the fluffy marshmallows on top of this easy recipe before it goes in the fridge to chill. Candy recipes like this are versatile!
Easy Rocky Road Fudge Variations
Add a unique twist to this rocky road fudge recipe with different type of chocolate chips.
Mix some dark chocolate or white chocolate morsels in with the semisweet, or use a combination of all three!
You can also play around with the nuts — try pistachios or macadamia nuts — or include dried fruits and coconut flakes for extra texture.
Want to really elevate this easy rocky road fudge? Drizzle squares with melted white chocolate or sprinkle crushed candy canes over the top for some holiday flair.
Tips for Making the Best Rocky Road Fudge
- Acheive perfectly smooth melted chocolate.
Microwave the condensed milk, butter, and morsel mixture in 30-second bursts, stirring well in between each.
This ensures that the heat is evenly distributed and prevents the chocolate from overheating and becoming chalky or crumbly.
Stop heating as soon as the chocolate chips are mostly melted. Then, continue to stir and the heat from the mixture will smooth out those last few bits.
- Use a fine grain salt if you can.
The smaller the grain, the more easily it will dissolve — and be evenly distributed throughout your fudge mixture.
Kosher salt is the best choice, and it often comes packaged in a fine grain for baking. Avoid table salt if at all possible as the salty flavor is much stronger.
- Create picture perfect rocky road fudge squares.
Grab a large, sharp knife (think chef’s knife) and run it under hot water for about a minute.
Meanwhile, lift the slab of fudge straight out of the pan and transfer to a cutting board.
Dry the knife thoroughly, then press straight down into the slab.
The metal blade will retain the heat from the water, allowing it to glide smoothly and efficiently through the fudge.
Be sure to wipe the blade clean between each slice as well!
Storage and Freezing
Keep rocky road fudge in an airtight container to prevent it from drying out.
It’s safe at room temperature for a few days, but keep it in the refrigerator if you want to store it longer.
If your kitchen is particularly warm, keep this dessert in the fridge from the start so it doesn’t get too soft.
You can also freeze the squares for up to 2 months!
Wrap tightly in several layers of plastic wrap, then place in a storage bag or container. Thaw in the refrigerator or on the counter.
Kitchen Tools You Will Need
- 8×8 Pan or 9×9 Pan
- Heavy Duty Aluminum Foil – This is thicker and sturdier than regular foil, meaning it won’t tear as easily.
- Microwave-Safe Bowl – Not only does it make melting chocolate easier, but you can use it to quickly steam vegetables too!
- A sturdy silicone spatula can be used for scraping, stirring, and smoothing and is easy to clean too!
Rocky Road Fudge Recipe FAQ
The chocolate mixture will cool a bit as you stir in the vanilla and salt, enough that it shouldn’t be an issue.
Gently fold the marshmallows into the chocolate (with the nuts) to keep them intact, then press extra into the top to ensure there are at least a few tiny pillows throughout.
You bet! It’s a great make ahead treat, especially around the holidays. Make a few batches, slice into squares, and store them in the refrigerator for up to 2 weeks.
This way, you can package up gifts as needed or always have something sweet on hand for guests.
This is called sugar bloom — when the moisture from chocolate evaporates, the dissolved sugar crystals harden again and appear on the surface of the chocolate.
It’s perfectly safe to eat but will likely affect the texture of your fudge.
To prevent this from happening, avoid sudden drastic temperature changes.
Bring chocolate chips to room temperature before melting and chill your fudge in the refrigerator, not the freezer.
Enjoy!
With love, from our simple kitchen to yours.
Don’t miss a thing! Follow us on
Facebook | Twitter | Pinterest | Instagram
Other Easy Fudge Recipes
Easy Homemade Rocky Road Fudge (6-Ingredient Recipe)
Ingredients
- 3 cups semisweet chocolate chips
- 14 ounce can sweetened condensed milk
- 1/4 cup unsalted Butter
- 1 teaspoon vanilla extract
- 1/4 teaspoon salt
- 1 1/2 cups mini marshmallows, divided
- 1 1/4 cups toasted pecans or walnuts, coarsely chopped; divided
Instructions
- STEP 1: Prepare the Pan: Line a small square pan (8 x 8 or 9 x 9) with aluminum foil and coat it with cooking spray.
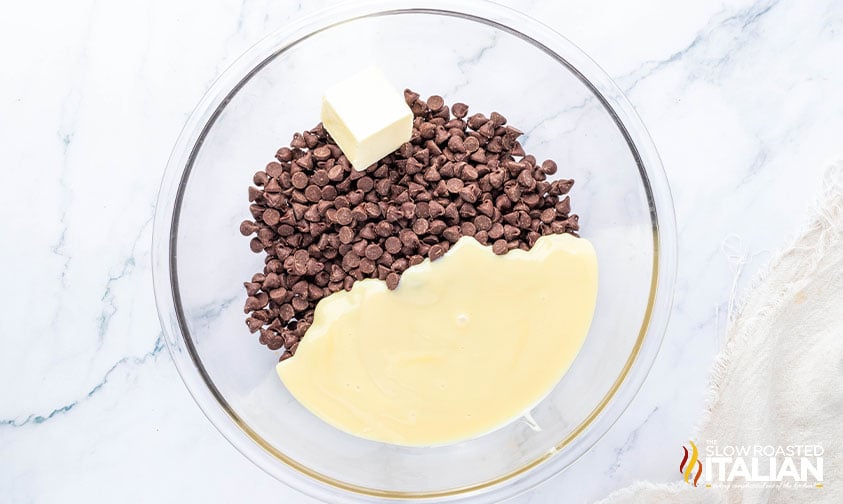
- STEP 2: Melt the Chocolate Mixture: In a microwave-safe bowl, combine Chocolate Chips, Sweetened Condensed Milk, and Butter. Microwave in 30-second bursts, stirring each time, until fully melted. This should take about 2 to 3 minutes.
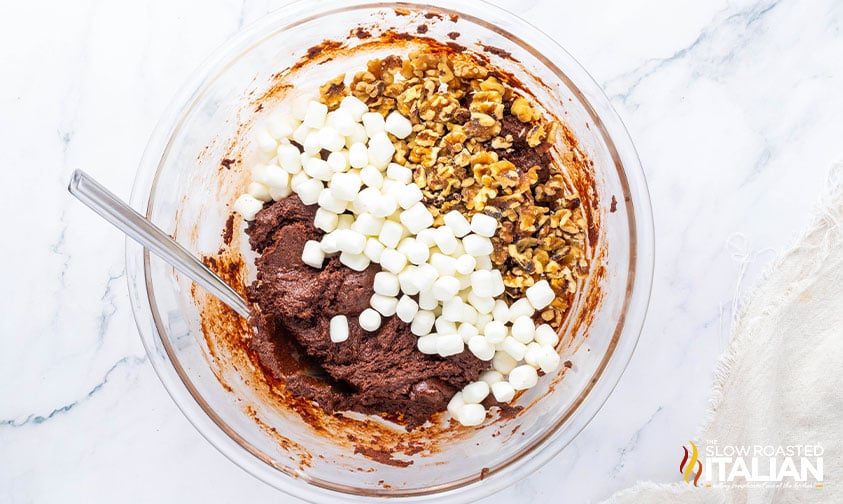
- STEP 3: Add Flavor and Mix: Stir the melted chocolate mixture to ensure it's smooth. Add Vanilla extract and Salt. Stir until everything is well blended. Toss in 1 cup of Marshmallows and 1 cup of Nuts. Stir until they're evenly distributed.
- STEP 4: Pour and Smooth: Pour the fudge mixture into the prepared pan, spreading it out evenly.
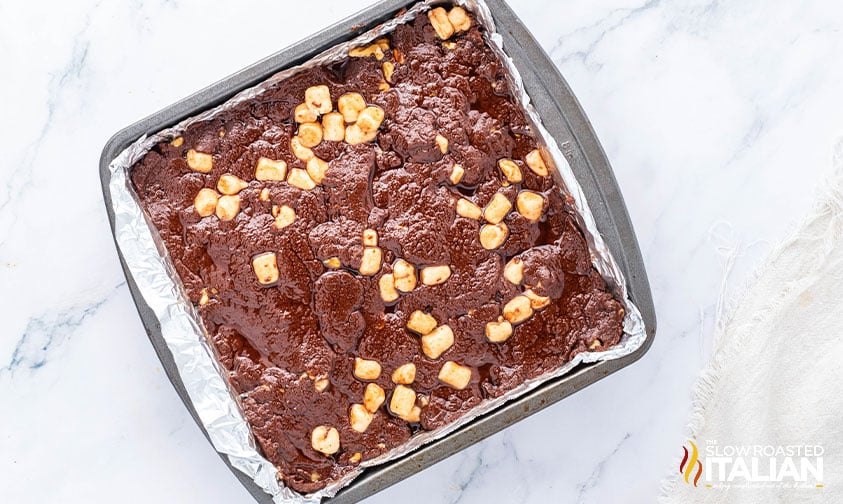
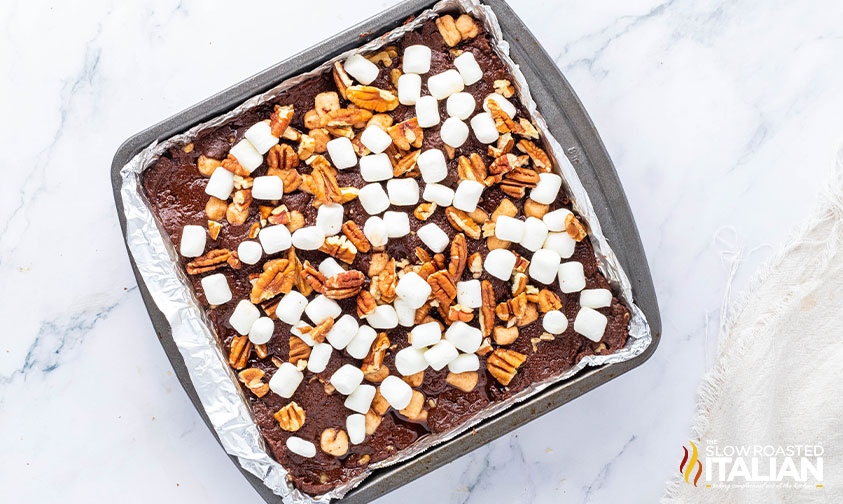
- STEP 5: Top with Marshmallows and Nuts: Sprinkle the remaining Marshmallows and Nuts on top of the fudge. Gently press them into the surface.
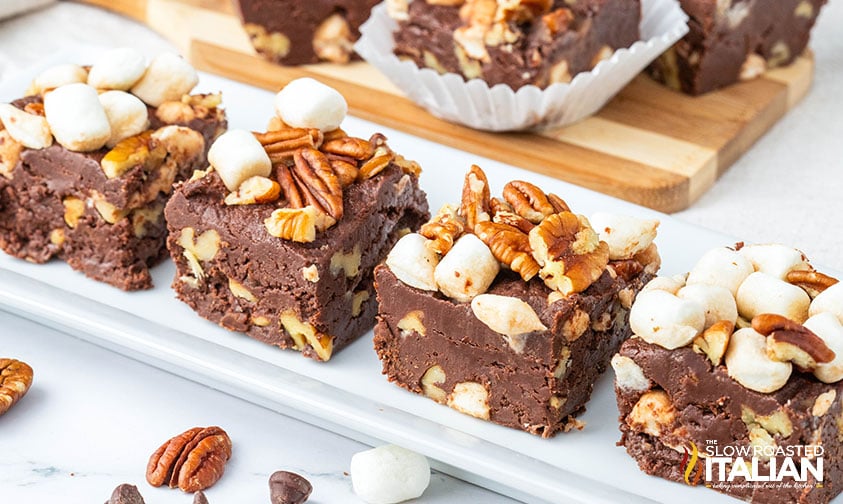
- STEP 6: Chill and Serve: Place the fudge in the refrigerator and allow it to set for 2 hours. Once set, cut it into 1-inch squares and serve them at room temperature. Enjoy your homemade Rocky Road Fudge!
Donna’s Notes
Nutrition
All nutritional information is based on third party calculations and is only an estimate. Each recipe’s nutritional value will vary depending on the ingredients used, measuring methods, and portion sizes.
Originally published November 2023, updated and republished November 2024
Disclosure: Posts may contain affiliate links. If you purchase a product through an affiliate link your price will remain the same and The Slow Roasted Italian will automatically receive a small commission. Thank you for supporting us, it helps us keep creating new recipes.


the perfect ice cream in fudge form!! absolutely delicious!!
Sooo good! 😋 Donna and Chad’s Rocky Road Fudge is a winner! Easy and delicious, just the way I like it.
Hi Sage!
We’re so glad you enjoyed this recipe.
TSRI Team Member,
Devlyn