Homemade Maple Cream
This post may contain affiliate links. Please read my disclosure policy.
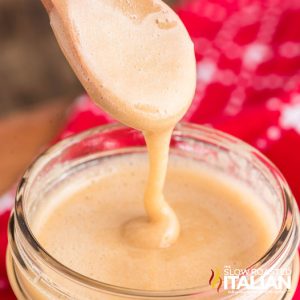
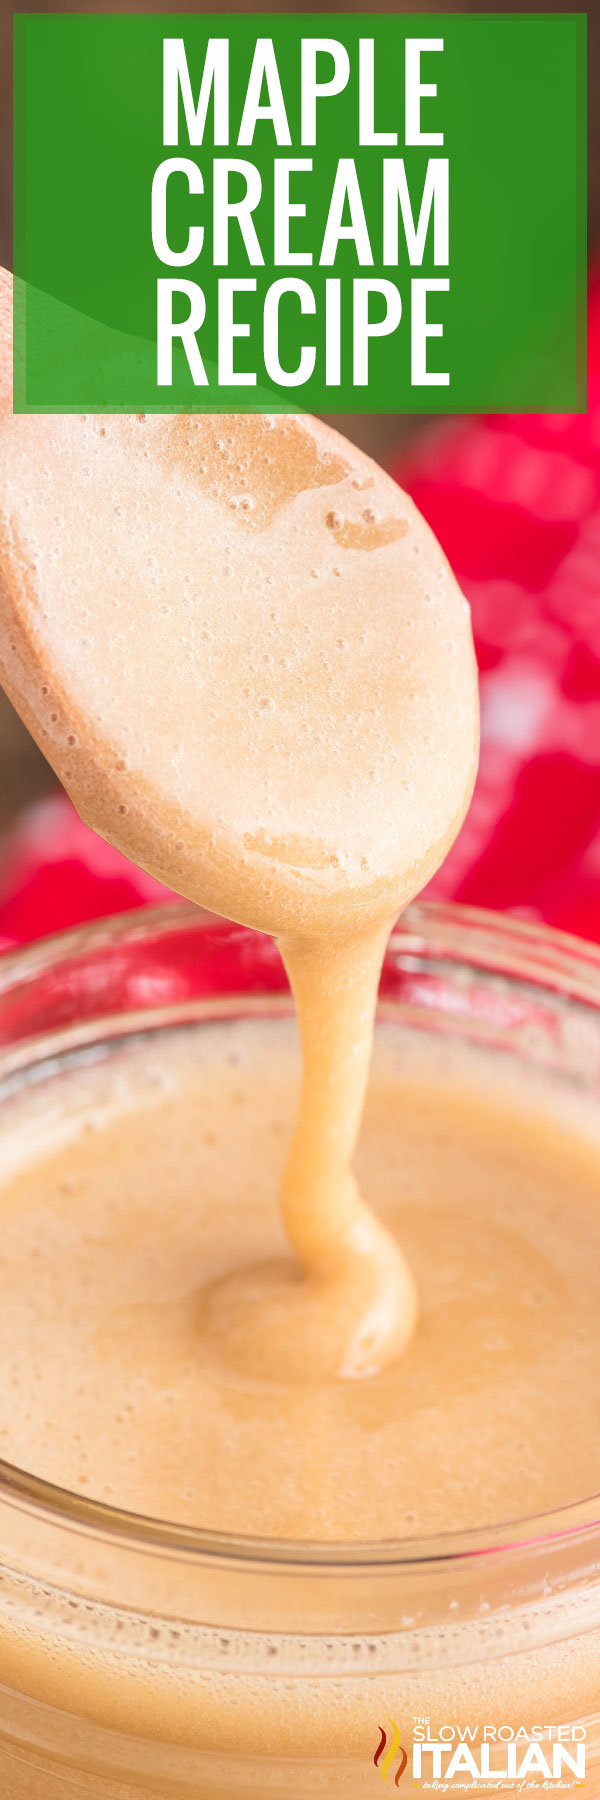
Maple Cream has the most luscious, velvety texture and is so simple to make. It does require a bit of effort, but you can share your labor of love with family and friends — or enjoy it all yourself! Learn how to make maple cream using the hand-stirred method or with an electric mixer.
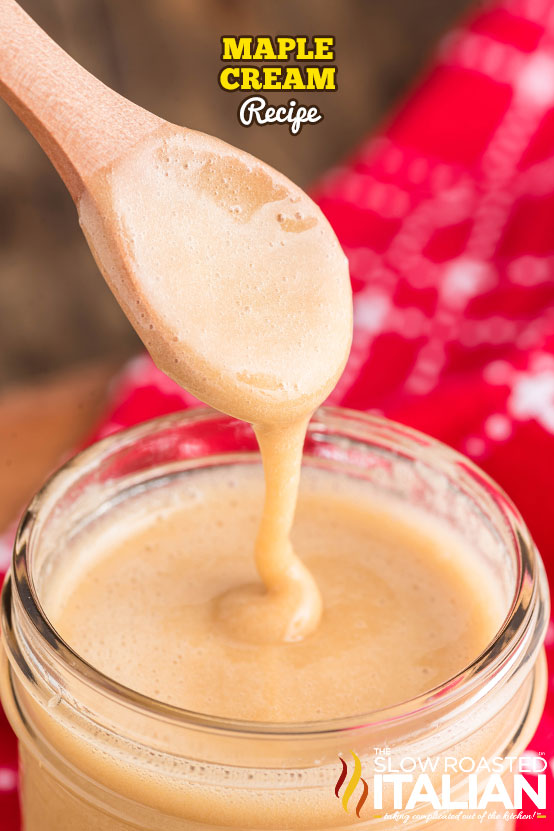
Table of Contents
Maple Cream
There are so many things that could use a touch of maple flavor, but things can get tricky (and sticky!) when you’re dealing with syrup.
So, I was thrilled to learn that you could make a thick, concentrated topping with just a little extra effort.
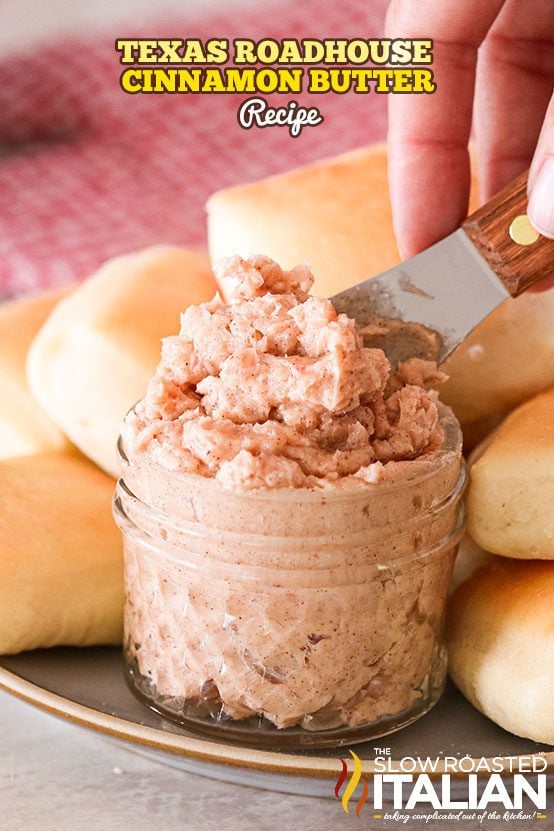
Not to be confused with maple whipped cream, this is a sweet, creamy spread sometimes known as maple butter.
It’s much thicker than cinnamon butter, especially once it fully sets, so I’m excited to find all the different ways to use it — and I’m sure you will too.
Maybe I’ll make a big batch during the holidays to give as gifts. Since it’s already stored in glass jars, all it would need is a pretty ribbon and a name tag!

Ingredient Notes and Substitutions
- Maple Syrup – Yep, that’s it! For the best flavor, use high-quality Grade A maple syrup. It needs to be 100% pure too — no additives, preservatives, or flavors.
And if you can get your hands on freshly tapped syrup, even better! - Oil or Butter (optional) – Add just the tiniest amount (¼ teaspoon) to the pot to keep the syrup from bubbling over.
I haven’t needed to do so when I make this recipe for maple cream, but I wanted to mention it just in case!
How to Make Maple Cream
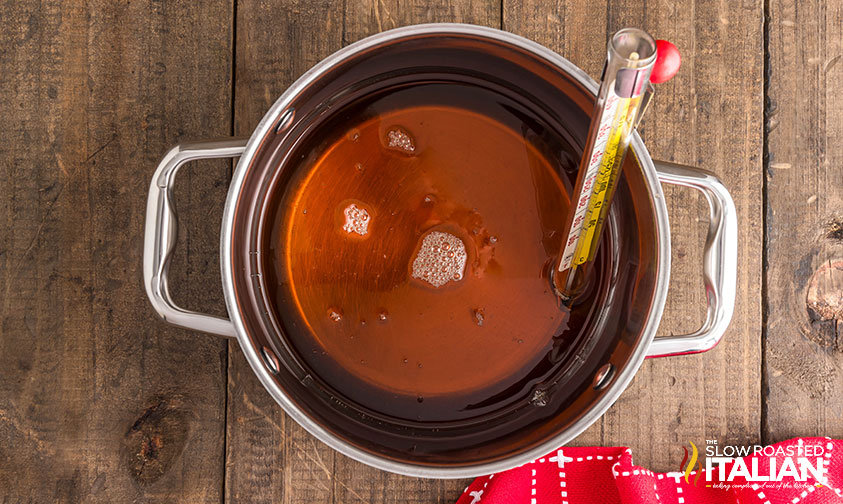
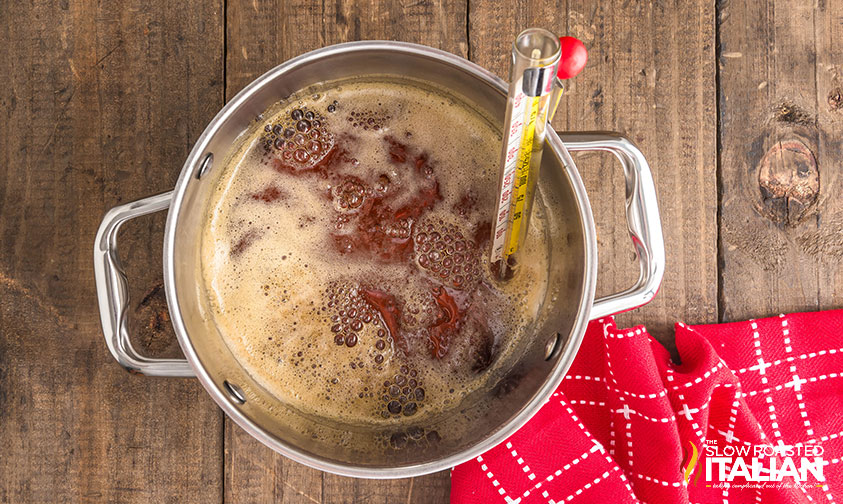
- Boil the syrup over medium heat.
It’s crucial that you use a candy thermometer to ensure the maple syrup reaches what’s known as the “soft-ball” stage — right at 235°F. Any hotter and you’ll end up with maple candy!
This can take about 18-20 minutes. If it doesn’t get hot enough, it won’t achieve the right texture when stirred.
You also don’t want to use too high of heat, or the syrup will scald on the bottom of the pan. Be patient… it’ll get there!
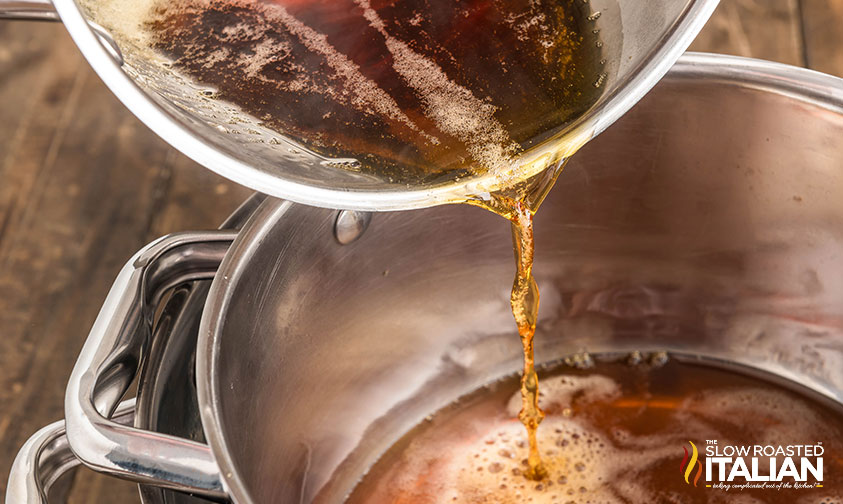
- Cool boiled syrup in an ice bath.
Do not place the hot saucepan in the pot of ice — you’ll shock your cookware and damage it, not to mention ruin the maple cream.
Instead, pour the syrup into a separate saucepan set inside a pot full of ice. You want it to drop to about 100°F before you start stirring to prevent large sugar crystals from forming.
Transfer the candy thermometer with the hot syrup too, as dipping it in and out will also cause large crystals.
Don’t have that many pans to work with? Make your ice bath with stainless steel bowls, or place a metal cake pan inside the pot of ice.
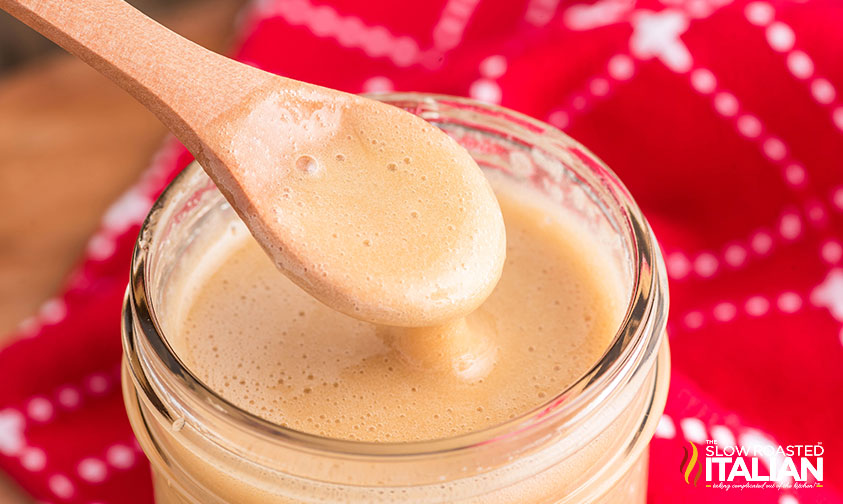
- Stir cooled syrup until it becomes a creamy spread.
A traditional maple cream recipe calls for hand stirring, but I’m all about making things easier! The key is for the stirring to be constant.
Feel free to use an electric mixer if needed. Opt for the regular beaters (not the whisk) and keep the speed on low so you don’t incorporate too much air.
However, know that this gets really thick and may burn out the motor. It doesn’t hurt to try it, or use the mixer to start and then switch to a spoon towards the end.
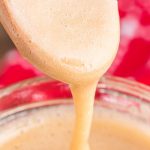
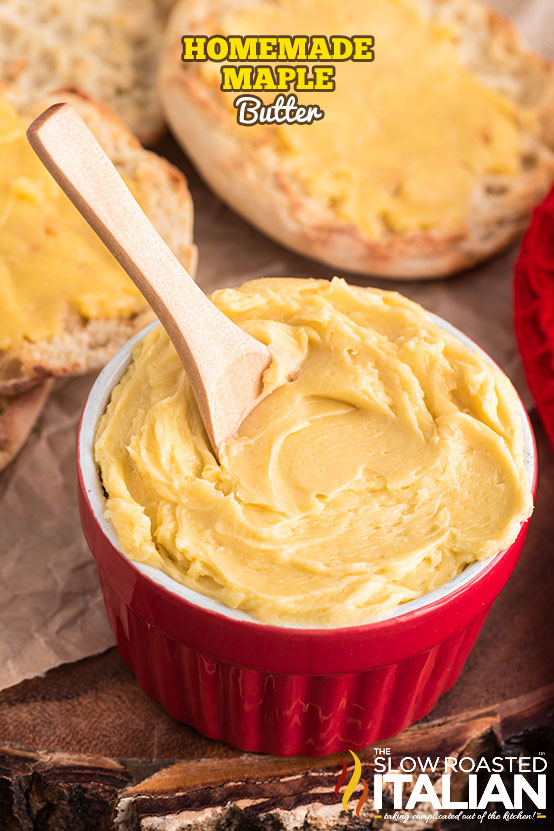
The maple mixture should resemble melted peanut butter when it’s done!
Kitchen Tools You Will Need
- Medium Saucepans – One to boil the syrup, plus another to place inside a Large Pot for the ice bath.
- Candy Thermometer – Accurately measures the temperature of the maple cream so you know if it’s ready or not.
- A Sturdy Wooden Spoon – For the hand-stirring method, or use an Electric Hand Mixer to save yourself some effort.
Serving Suggestions
The question is really what can’t you pair this maple cream recipe with — pancakes, waffles, english muffins, biscuits…
It would be delicious swirled into ice cream or yogurt, or used as a dip for apple slices too. Maybe I’ll figure out how to make maple cream cookies next!
But this spread isn’t just for sweets. Add a thin layer to savory sandwiches or whisk it into glazes and marinades.
Storing Maple Butter
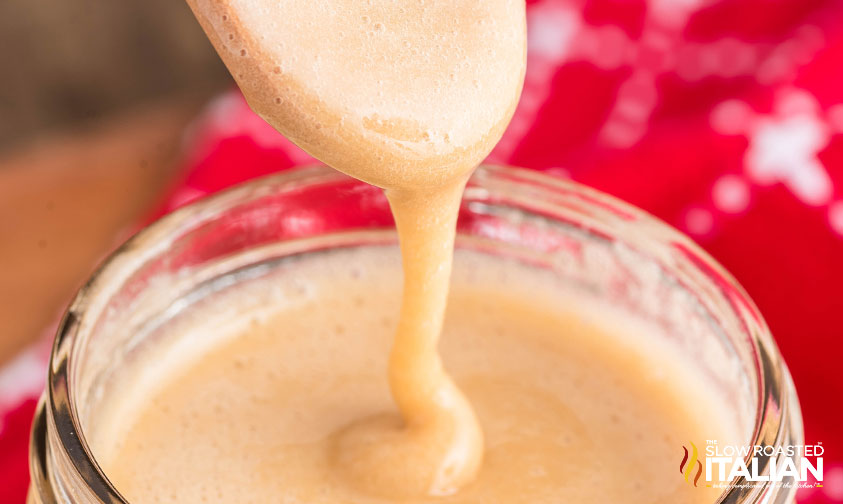
Once the syrup has lightened and reached a creamy consistency, pour it into clean glass jars (with lids) right away.
The longer it sits, the thicker it becomes — and it can be hard to transfer at that point!
Store the cooled spread in the refrigerator for up to a month.
Maple Cream Recipe FAQ
A tall enough saucepan should prevent overflow, but you can add a little neutral-flavored oil like vegetable or canola without affecting the flavor too much.
Keep a close eye on both the pan and the thermometer because the temperature will rise quickly once enough water evaporates.
You bet! After you heat the syrup, turn off the stove and stir in vanilla extract, cinnamon, or nutmeg for another layer of flavor. Then, stir as directed.
Experiment with different combinations when making this recipe for maple cream. And let us know in the comments if you came up with a flavor that isn’t listed!
You most likely didn’t heat it to a high enough temperature. If it’s too runny, gently reheat it to evaporate more water, then cool it again and resume stirring.
On the other hand, sometimes it comes out too thick! In that case, stir in a little bit of warmed maple syrup until it reaches the right consistency.
Enjoy!
With love, from our simple kitchen to yours.
Don’t miss a thing! Follow us on
Facebook | Twitter | Pinterest | Instagram
Homemade Maple Cream
Ingredients
- 2 cups pure maple syrup, Grade A
Instructions
- Heat the Syrup: Place the maple syrup in a medium saucepan over medium heat. Attach a candy thermometer to the side of the pan. Bring the syrup to a rolling boil and continue cooking without stirring until the temperature reaches 235°F (soft-ball stage), about 18-20 minutes.
- Prepare an Ice Bath: While the syrup is cooking, fill a large pot with ice and place a smaller clean pan inside, resting on top. Set aside.
- Cool the Syrup: Once the syrup reaches 235°F, immediately pour it into the clean pan over the ice bath. Let the syrup cool undisturbed until it reaches 100°F (about 10-15 minutes).
- Stir to Form the Cream: Remove the cooled syrup from the ice bath. Using a wooden spoon, stir the syrup continuously until it lightens in color and thickens to a creamy consistency (this takes 15-30 minutes). You can also use an electric mixer for this step.
- Transfer & Store: Quickly pour the maple cream into a glass jar. Allow it to cool completely, then cover and store in the refrigerator.
Donna’s Notes
Nutrition
All nutritional information is based on third party calculations and is only an estimate. Each recipe’s nutritional value will vary depending on the ingredients used, measuring methods, and portion sizes.
Originally published May 2025
Disclosure: Posts may contain affiliate links. If you purchase a product through an affiliate link your price will remain the same and The Slow Roasted Italian will automatically receive a small commission. Thank you for supporting us, it helps us keep creating new recipes.


Welcome!
We’re Donna and Chad, the dream team behind The Slow Roasted Italian. Our focus is on taking complicated OUT of the kitchen. Life is busy enough, making meals should be fast and easy, to help make your life as simple as possible. Read More >>