Soft and Chewy Christmas Sugar Cookie Bars Recipe
This post may contain affiliate links. Please read my disclosure policy.
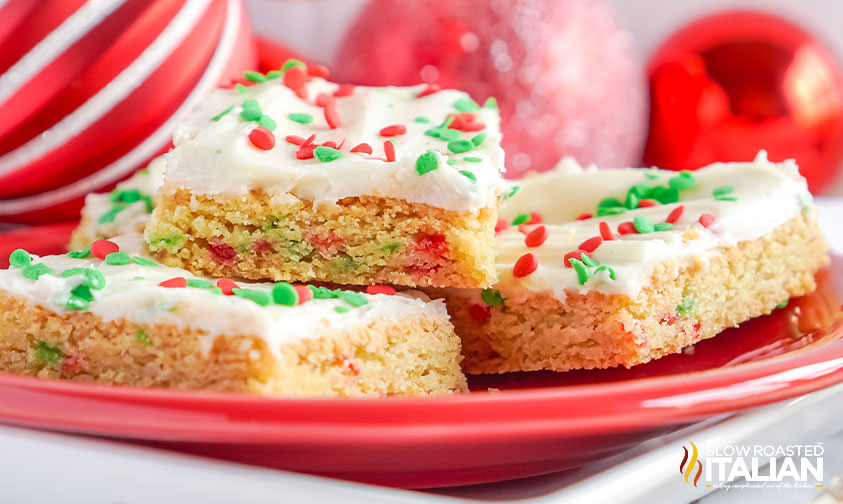
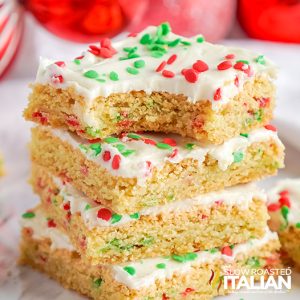
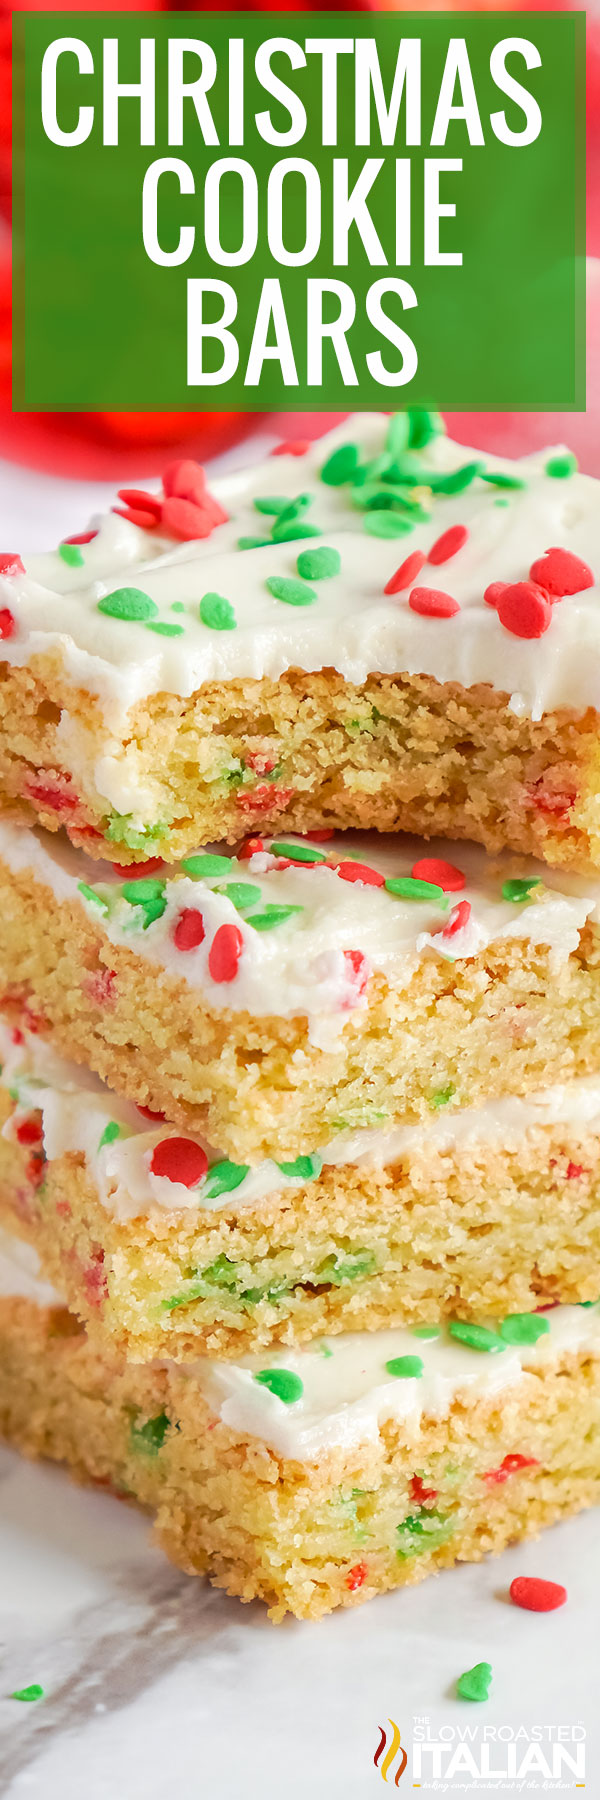
Christmas Cookie Bars are the quintessential holiday treat! Sweet and soft with a tender center, there’s no one young or old that can resist these colorful little frosted sugar cookie bars! They’re a must make this holiday season.
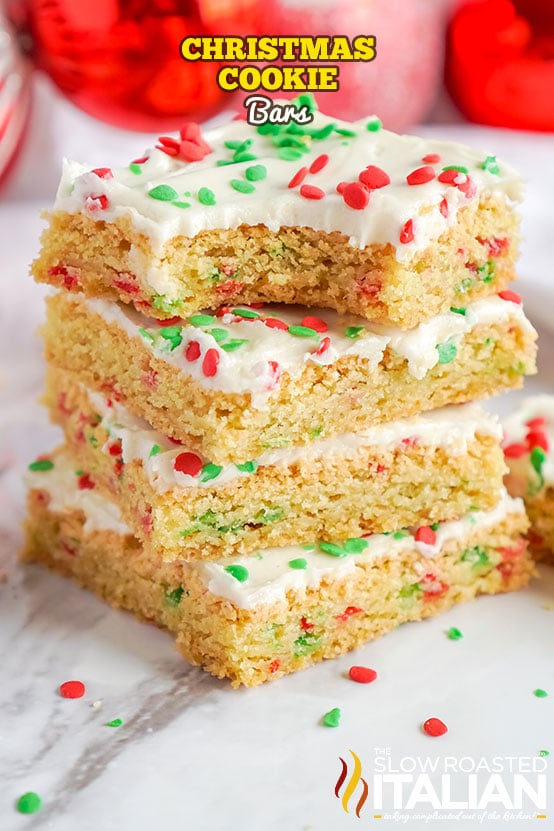
The sprinkles are fun and festive, while the cookie itself is beyond decadent and fudgy as can be. And I really do mean it – no one will be disappointed to see this one on the dessert table!!
I make these Christmas sugar cookie bars every single year. These sweet treats are one of my favorite holiday desserts to make, and I’ll even make and take them to any holiday party, too.
That’s because no one can deny this adorably festive Christmas cookie bar dessert!
They’re the perfect treat because it’s like making a big batch of cookies that you can cut up, serve, and walk around and eat.
Each bite of these Christmas cookie bars is loaded with amazing flavor – making it the perfect treat for the holiday dessert table or for a holiday cookie exchange.
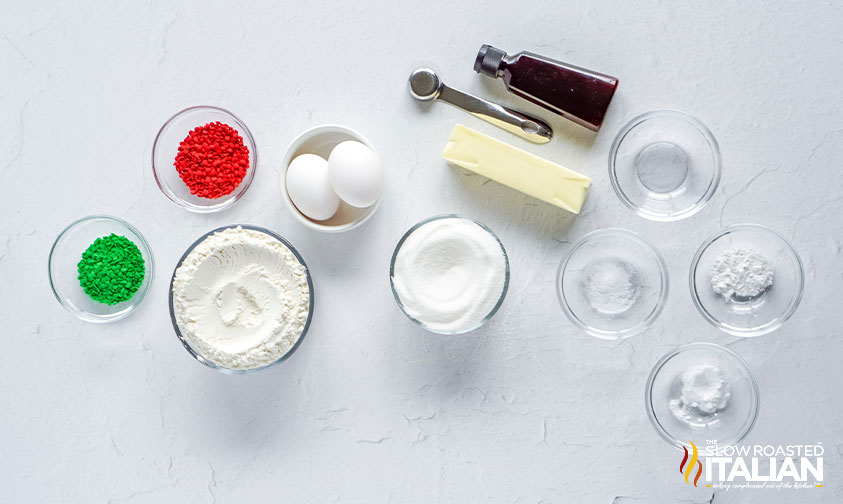
Table of Contents
Christmas Cookie Bars
I know how stressful it can be to plan meal after meal, dessert after dessert during the holidays. Sometimes you just need a break!!
Rest assured – these frosted sugar cookie bars are incredibly easy to prepare, come together in less than an hour, and will put a smile on everyone’s face!!
I love Christmas desserts that incorporate color and holiday cheer!
Monster cookies are great for the kids this time of year, too – use just the red and green M&Ms to stay on-theme. Or try our turtle bars, or smores bars. And for a healther option try these keto brownie bites.
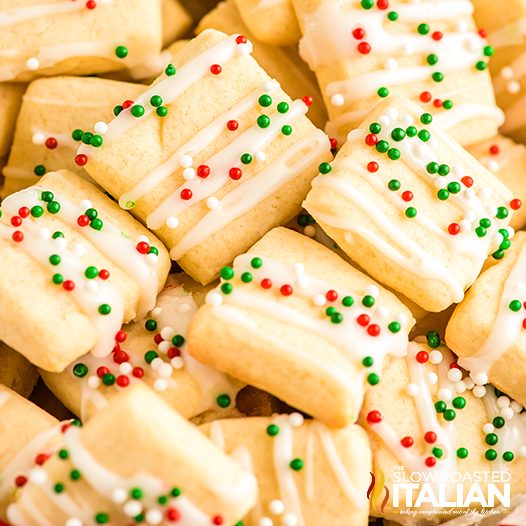
And for another fun sugar cookie recipe, try these sweet little cookie bites!
Ingredient Notes & Substitutions
- Eggs – We’re using a little extra egg yolk for particularly fudgy Christmas cookie bars!
Those who prefer a cakier texture can use two full eggs rather than one egg and one egg yolk. - Vanilla & Almond Extract – If you need to, you can use entirely almond or entirely vanilla extract to make frosted sugar cookie bars.
But I definitely recommend using almond extract to some degree! It adds a very full, rich flavor you won’t get from vanilla alone. - Red & Green Sprinkles – The go-to color scheme for Christmas desserts!
These colors can be replaced to suit the season: pink and red for Valentine’s Day, orange and black for Halloween, and so on!
Not feeling festive? Just use chocolate chips or candy chunks! You can even top with red and green m&m candies! - Granulated Sugar – You can replace the white granulated sugar with brown sugar for crazy chewy, extra moist Christmas bars.
Use half white and half brown sugar if you want to fall somewhere in the middle!
How To Make Super Soft & Delicious Christmas Bars
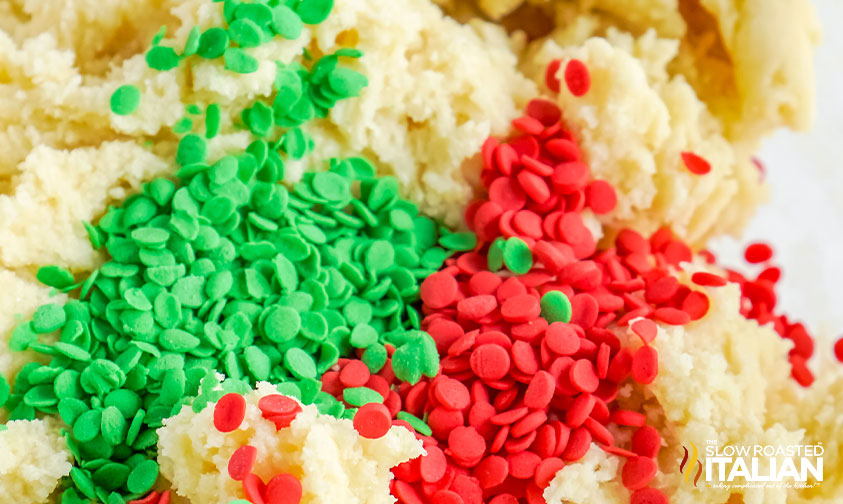
- Use The Right Sprinkles – Believe it or not, there are best practices for sprinkles! For example, you don’t want to use so many that you weigh down the dough.
Small sprinkles like jimmies (my favorite!) or even mini M&Ms are great!
Avoid colored sugar sprinkles that may melt and bleed while baking, discoloring your whole batch. - Use Parchment Paper – When you take the time to line your dish with parchment paper, you can simply lift the whole thing out once it’s cooled!
Then both slicing and cleaning up are a breeze. You can thank me later! - Use Precise Measurements – Too much flour will dry out the dough in no time, leaving you with Christmas cookie bars that are crumbly and not at all chewy.
Use a knife to level, not pack down, the flour as you measure.
Freezing & Prep Ahead Instructions
You can freeze these to your heart’s content – as long as you’re planning on eating them within 6 months.
I like to slice, freeze for just a little while, and then wrap up my individual Christmas cookie bars to thaw one at a time.
I actually love to freeze the dough to bake at my leisure. It keeps for up to 3 months, thaws easily in the fridge, and the freezing doesn’t affect its texture!
Speaking of prep ahead, the frosting keeps really well, too! You can refrigerate for a month or so and freeze for up to 3, just like the dough.
Christmas Cookie Bars FAQ
This can be a tricky one, especially with sugar cookie bars. Because frosted sugar cookie bars harden as they cool, it can be hard to know just when to pull them out of the oven!
Here’s a good rule of thumb: once the edges begin to brown and pull away from the dish, your bars are likely close to done. The center may still look gooey, but don’t let appearances deceive you!
If you’re using an especially large pan, this may not always be the case, so you can also try the toothpick method! Only a few crumbs should stick to the toothpick when inserted into the center.
It’s basically a cookie made in a baking dish. Rather than scooping and baking individual cookies, you make the whole lump of dough at once and then slice afterward.
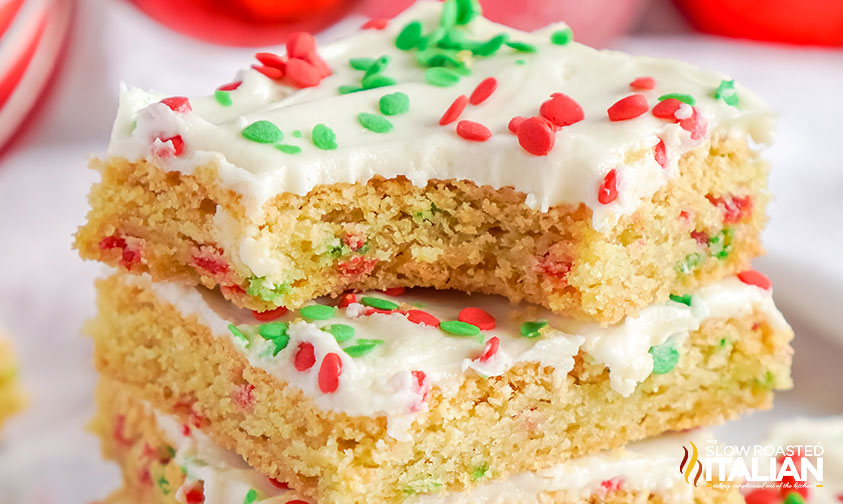
The result is moist and deliciously decadent – you’re guaranteed a tasty, chewy mouthful with each bite!
They don’t have to be, no. But they’ll stay moist and soft for longer if you keep them refrigerated! If you store leftover Christmas bars on the countertop, be prepared for them to dry out within a couple of days.
You can always add a bit more life to them by microwaving them – if they’ve become especially dry, you can drape a slightly damp paper towel over them before microwaving in a last-ditch effort.
Sure – why not? You can add semi-sweet chocolate chips to the top of the cookies – or even top with peanut butter chips. I think that these holiday cookie bars would be yummy with white chocolate chips or milk chocolate chips on top, too.
Even adding crushed candy canes or other Christmas candies could be a super fun flavor and texture to add on top. Just be careful, as you need to be sure that they’re crushed well so that they’re not a choking hazard.
And if you don’t want to add anything else on top of these buttery cookies bars, you can let the thick layer or buttery sweet frosting speak for itself! Any topping that you’re craving sounds like a great way to add fun flavor to the top of the cookie bars!
Enjoy!
With love, from our simple kitchen to yours.
Don’t miss a thing! Follow us on
Facebook | Twitter | Pinterest | Instagram
Other Christmas Cookie Recipes
Soft and Chewy Christmas Sugar Cookie Bars Recipe
Equipment
- red jimmies
- green jimmies
Ingredients
For the Bars
- 1/2 cup unsalted butter, softened (but still cold)
- 1 cup granulated sugar
- 1 egg
- 1 egg yolk
- 1 teaspoon vanilla extract
- 1/4 teaspoon almond extract
- 1 1/2 cups unbleached flour
- 1 teaspoon baking powder
- 1/2 teaspoon baking soda
- 1/4 teaspoon salt
- 2 tablespoons red jimmies, divided
- 2 tablespoons green jimmies, divided
For the Frosting
- 1/2 cup unsalted butter, softened (but still cold)
- 1 teaspoon vanilla extract
- 1/4 teaspoon salt
- 1 1/2 cups powdered sugar
Instructions
- Preheat the oven to 350°F.
- Prepare a 9 x 13-inch baking pan by lining with parchment paper.Leave some paper hanging over the sides, to hold when removing the bars from the pan. Set aside.
- To the bowl of a stand mixer fitted with a paddle attachment (or a large mixing bowl and electric hand mixer), add butter and sugar. Set the mixer to medium-high power and mix until creamy and well combined. Add whole egg, egg yolk, and both extracts, and mix again to combine.
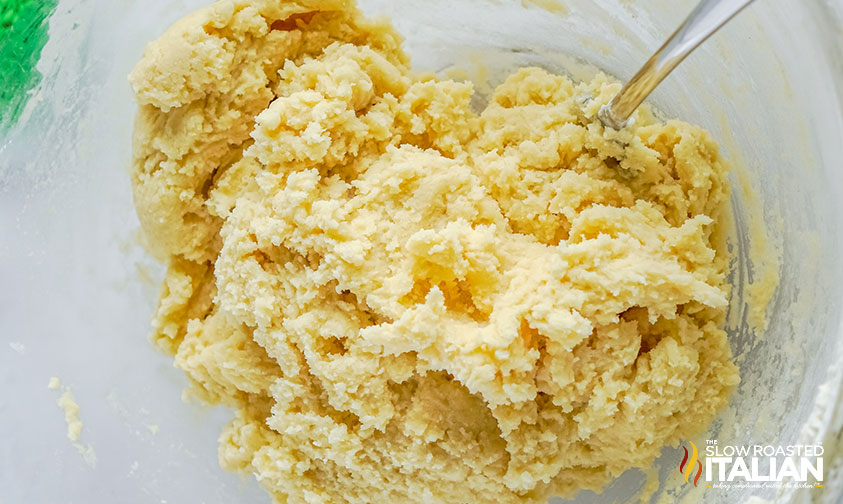
- With the mixer running on low power, slowly incorporate flour, baking powder, baking soda, and salt.
- Once a cohesive dough forms, mix in 1 tablespoon red jimmies and 1 tablespoon green jimmies. Reserve the rest for garnishing.
- Press dough into the prepared baking dish.Bake for 23-25 minutes, or until edges begin to look golden brown.
- Remove from the oven and let the cookie bars cool completely in the baking dish, so they finish baking and the center sets up. Meanwhile, prepare the frosting, following the directions shown below.
Frosting
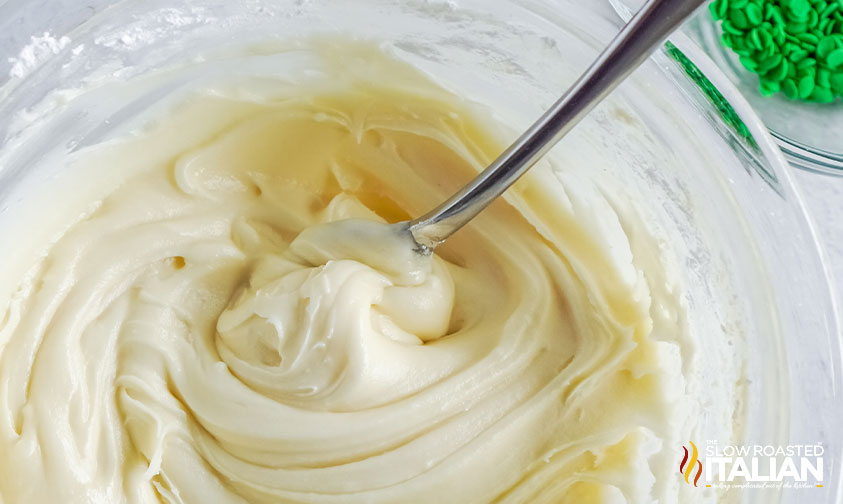
- Add softened butter to a medium mixing bowl. Using a mixing spatula or electric hand mixer, beat well to get rid of any lumps.
- To the bowl, add vanilla and salt, and beat again to combine.
- Slowly incorporate powdered sugar, mixing very well to thoroughly combine and remove any lumps.
Decorating Cookie Bars
- Once bars are cool, use your hands to hold two sides of parchment paper and lift the cookie out of the baking dish. Transfer to a large cutting board.
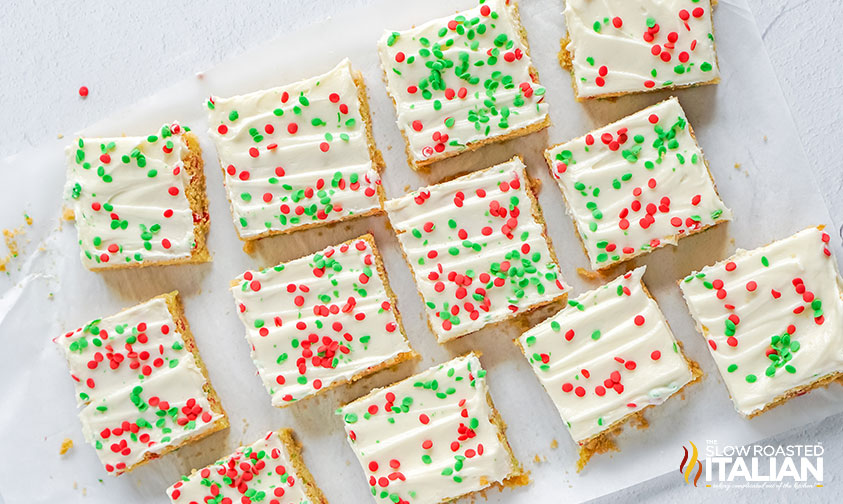
- Using an offset spatula, spread an even layer of frosting over the cookie. Garnish with remaining red and green jimmies.
- If desired, use a sharp knife to cut off the edges, then cut the remaining cookie into 12 squares.
Nutrition
All nutritional information is based on third party calculations and is only an estimate. Each recipe’s nutritional value will vary depending on the ingredients used, measuring methods, and portion sizes.
Originally published November 2022, updated and republished November 2024
Disclosure: Posts may contain affiliate links. If you purchase a product through an affiliate link your price will remain the same and The Slow Roasted Italian will automatically receive a small commission. Thank you for supporting us, it helps us keep creating new recipes.





Cookie bars are so easy and always come out amazing
what are jimmies?
Hi Pat!
Jimmies are what the sprinkles are called. I hope this helps!
TSRI Team Member,
Devlyn