

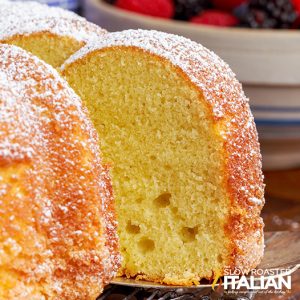
Vanilla Buttermilk Cake (Moist and Tender Recipe)
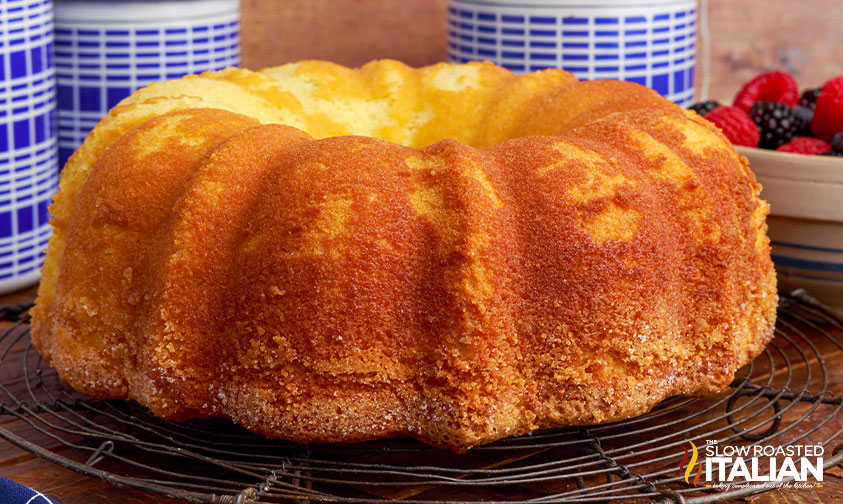
Buttermilk Cake is tender and moist, with a crackly exterior from a coating of granulated sugar. Enjoy a slice with or without a simple glaze! I love the flavor and texture of the cake – and the fact that it’s such an easy recipe to make! It would be great for a birthday party or when you want to make a delicious cake to share with family and friends.
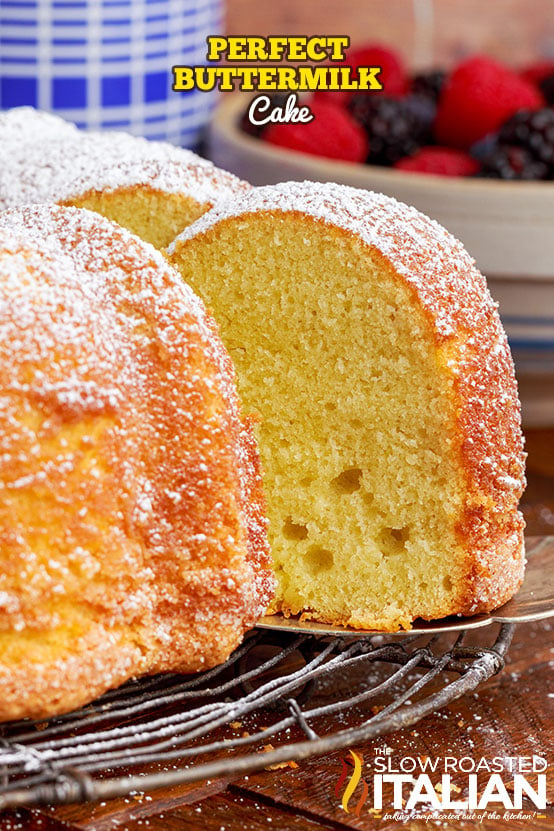
Buttermilk is the secret to achieving a tender, springy sponge with all the moisture that keeps you coming back for a second slice!
That is important to remember, because many bundt cakes are dense and a bit heavy, especially when made with richer flavors like chocolate or red velvet.
The simple steps on the printable recipe card showcase that this is the best cake with simple ingredients.
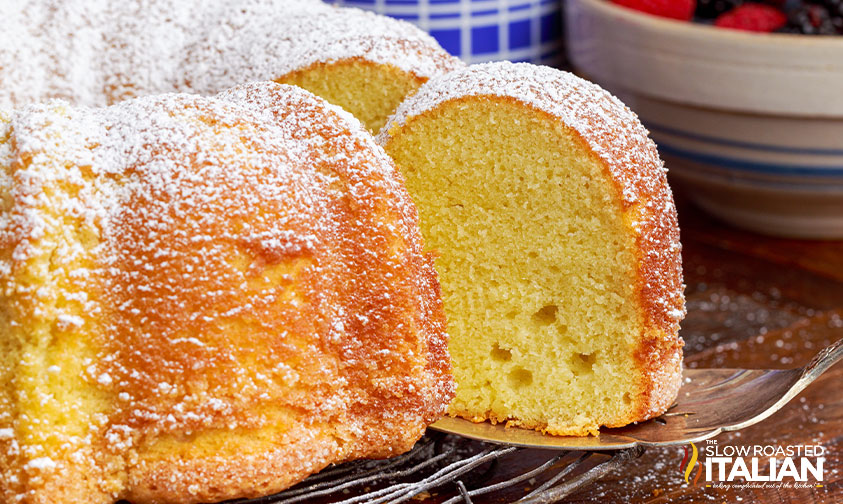
It’s a tender cake, with a buttery flavor and tender texture that creates the perfect moist cake.
And just consider this your warning – once you make this delicious buttermilk cake, you’re going to crave it all the time. It’s one of my absolute favorites!
Luckily, you can whip up this moist homemade cake anytime that you want! A good recipe like this deserves to be celebrated!
Buttermilk Cake Recipe
Tender and moist, with just the right amount of sweetness, this simple old fashioned buttermilk cake is sure to be a winner for any occasion.
What I love most about bundt cakes is that they allow you to enjoy thick, generous slices without any stacking or frosting needed!
You can keep the batter simple, like with this vanilla buttermilk cake recipe, or create intense flavors such as caramel glazed apple or death by chocolate.
Bundt pans aren’t just for cakes either! Use one to make this Cheesy Meatball Pull-Apart Bread or a Savory Monkey Bread for breakfast.
I love pairing this with pecan pie cheesecake bars, they make for an enticing dessert plate for Thanksgiving dinner!
Vanilla Buttermilk Cake Tips and Tricks
- Use room temperature ingredients. Batters, doughs, and even sauces come together much smoother when chilled ingredients are allowed to warm on the counter first!
Measure out the liquid, but keep eggs in the shell until you are ready to use them. - Don’t rush the process. Beating the butter and sugar for an extended period of time really allows them to cream together, creating an amazing texture in the buttermilk bundt cake.
- Add a glaze! Combine 1 cup powdered confectioner’s sugar with enough fresh lemon juice to create a mixture that is as thick as corn syrup.
Drizzle back and forth over the top of the cooled dessert so it drips down the sides and into the crevices. - Or keep the topping simple. Dust the top with powdered sugar or serve slices with whipped cream and fresh fruit. Edible flowers on the top of the cake would also be a super fun addition!
A dusting of cocoa powder adds a hint of chocolate flavoring, too! - Have fun with the extracts. Almond extracts, vanilla extract, and even lemon zest will make the flavors of this cake pop!
Just add a bit to the cake batter and see how the flavor changes! I’m all about a good vanilla cake, but cake recipes like this are fn to alter in terms of flavor.
My strawberry syrup would be an excellent choice as well!
Substitutes For Buttermilk In Cake
If you don’t have actual buttermilk on hand, you can make your own buttermilk with regular milk and either lemon juice or vinegar.
For this recipe, add 1 ½ tablespoon of white vinegar (or lemon juice) to a measuring cup. Then, fill to the 1 ½ cup line with whatever milk you have in your refrigerator.
Stir together and let it sit for 5 to 10 minutes, until thickened and curdled.
You can also replace this ingredient with an equal amount of Greek yogurt or sour cream instead.
Either will add plenty of moisture to your batter without losing that delicious tangy flavor.
Buttermilk Bundt Cake Kitchen Tools
- Bundt Pan – I love the elegance of this shape, but any kind will do.
- Stand mixer or large bowl with hand mixer
- A sturdy silicone spatula can be used for scraping, stirring, and smoothing and is easy to clean too!
- Wire Rack – A cooling rack helps the cake cool faster so that you can cut into individual slices and serve.
Old Fashioned Buttermilk Cake FAQ
First, it adds a pleasant tang to the sponge and helps to keep it moist. It also keeps the texture of the vanilla buttermilk cake tender and soft, even when the batter is baked in a deep pan.
This buttermilk bundt cake can be stored on the counter at room temperature for 4 to 5 days. Keep covered or in a sealed container, so it stays fresh and moist.
Yes, you can divide the batter between two 9×5 loaf pans if you prefer. Just keep a close eye on the baking time since it might not take as long.
The next time that you make this old-fashioned buttermilk cake, have fun with the toppings. You can add cream cheese frosting, powdered sugar, lemon glaze, or even fresh fruit and juicy blueberries.
The fluffy texture makes it a great pairing for any type of toppings. You can even pair it with strawberries to have a varied strawberry shortcake recipe!

Enjoy!
With love, from our simple kitchen to yours.
Don’t miss a thing! Follow us on
Facebook | Twitter | Pinterest | Instagram
Other Delicious Cake Recipes
Vanilla Buttermilk Cake (Moist and Tender Recipe)
Equipment
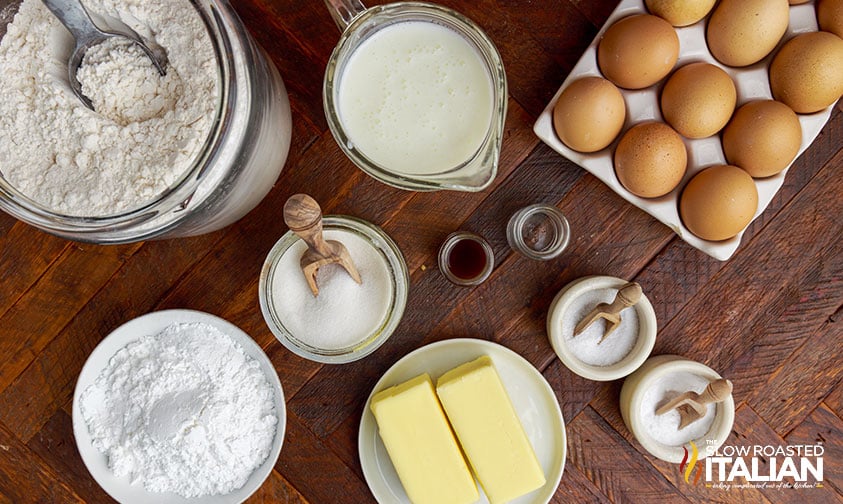
Ingredients
- 1 cup unsalted butter, room temperature (plus more for greasing the pan)
- 2 1/2 cups granulated sugar, plus 3 tablespoons for the pan
- 5 large eggs, room temperature
- 1 teaspoon almond extract
- 1 tablespoon pure vanilla extract
- 3 cups all-purpose flour
- 1/2 teaspoon baking soda
- 3/4 teaspoon kosher salt
- 1 1/2 cups buttermilk
Instructions
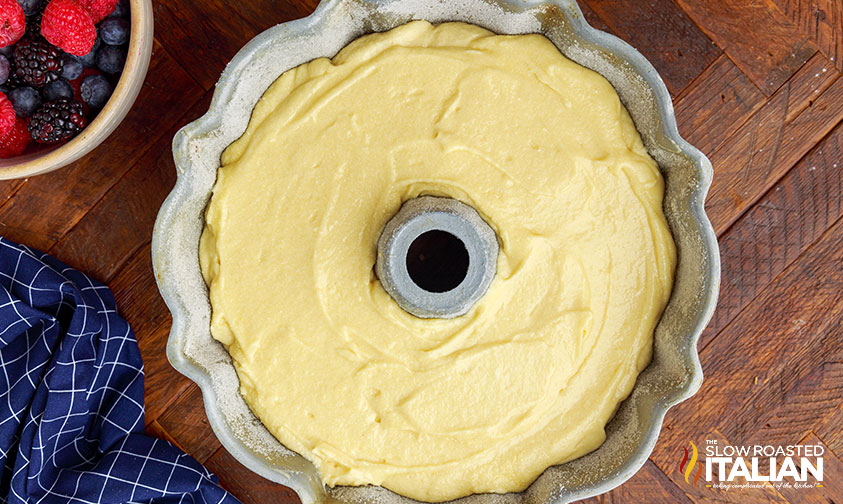
- Preheat the oven to 325°F. Grease a 9 or 10 inch bundt pan. Butter the inside of the bundt pan and then sprinkle granulated sugar around the pan. Be sure to grease the crevices well.
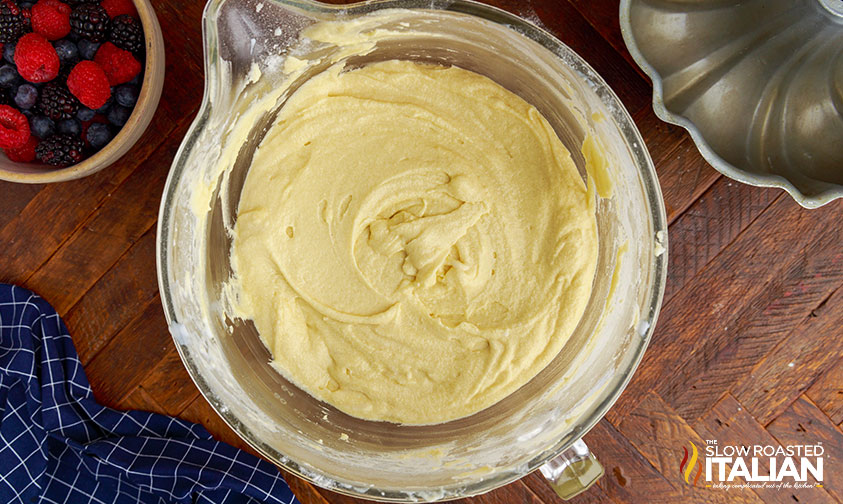
- In the bowl of a stand mixer combine the butter and sugar. Beat on medium for 7-8 minutes until light and fluffy. Add the eggs and extracts. Beat until combined.
- Mix together the flour, baking soda, and salt in a medium bowl. Set aside.
- Add half of the flour and mix until just combined (you can no longer see the flour). Then add 1/2 of the buttermilk. Repeat.
- Scoop or pour the cake batter into your prepared bundt pan.
- Bake the cake in your preheated oven until the cake starts to pull away from the side of the pan, 60-70 minutes. Be sure not to open the door until the cake is done.
- Allow the cake to cool in the pan for 10 minutes, then flip it onto a cooling rack and allow it to cool completely.
Donna’s Notes
Nutrition
All nutritional information is based on third party calculations and is only an estimate. Each recipe’s nutritional value will vary depending on the ingredients used, measuring methods, and portion sizes.
Originally published March 2022, updated and republished November 2025
Disclosure: Posts may contain affiliate links. If you purchase a product through an affiliate link your price will remain the same and The Slow Roasted Italian will automatically receive a small commission. Thank you for supporting us, it helps us keep creating new recipes.


Welcome!
We’re Donna and Chad, the dream team behind The Slow Roasted Italian. Our focus is on taking complicated OUT of the kitchen. Life is busy enough, making meals should be fast and easy, to help make your life as simple as possible. Read More >>


This is a nice simple cake and would go great with a variety of added fruits or flavors. I can’t wait to try it with lemon!
5 Stars!!! I have made this buttermilk cake several times and my guests rave about it, and ask for more. It’s a perfect treat with coffee. Important to beat the sugar and butter for a full 8 minutes, I set a timer, and this does make a difference to the texture of the cake. I also use my hand mixer instead of the stand mixer as it does a better job of mixing it altogether. And have the eggs and buttermilk at room temperature, that makes a difference too. Be sure and hang the cake upside down on a bottle, it gradually releases and drops down onto the plate…otherwise you’ve got a mess getting it out of the pan!
Hi Betty-Anne,
How do you “hang the cake upside down on a bottle” , and what kind of “bottle” is used? Thank you in advance for your speedy response.
I also made this cake for a small dinner party and it got rave reviews! I served it with fresh raspberries and whipped cream. Instead of using the almond extract, I added the zest of 4 large Meyer lemons to the sugar and stirred to combine. I did not coat the pan with sugar, but with butter and flour. I made a simple glaze as recommended with powdered sugar ( sifted!) and the meyer lemon juice, which I poured over the top of the cooled cake. Beautiful and INCREDIBLY delicious. I love that this is a cake for breakfast too. Thanks for the great recipe!
Hi Dana!
Those changes sound delicious! We’re glad you enjoyed!
TSRI Team Member,
Devlyn
This Buttermilk Cake recipe from The Slow Roasted Italian is an absolute winner! So easy to make and unbelievably delicious!
Hi Naomi!
We’re so glad you enjoyed!!
TSRI Team Member,
Devlyn
This Buttermilk Cake recipe is fantastic! I added a touch of lemon zest for a citrusy twist, and it turned out even more amazing. 5 stars!
Hi Kimberly!
I’m glad you enjoyed the recipe!!
TSRI Team Member,
Devlyn
I made this cake for my mother’s birthday and another celebration day at my significant others work. Both times it just came out fantastic! I flavored it with lemon and vanilla. Then I encased it in a thin lemon glaze that takes forever dry! It’s worth it though. The cake is so moist the crumb is excellent. I love it! Will continue using this recipe. I am baking another right now for a friend. Thank you!
Hi Erica!
We’re glad you enjoyed the recipe!
TSRI Team Member,
Devlyn