
Peppermint Cheesecake (No Bake Recipe)
This post may contain affiliate links. Please read my disclosure policy.
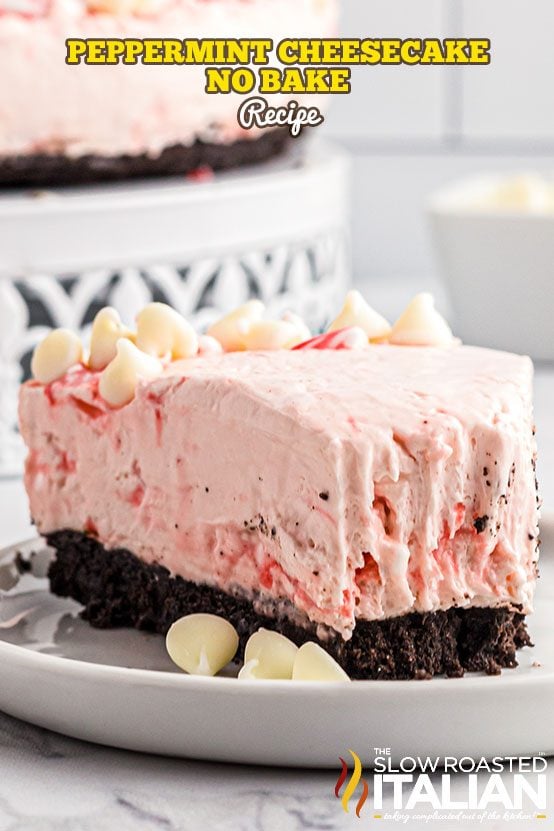
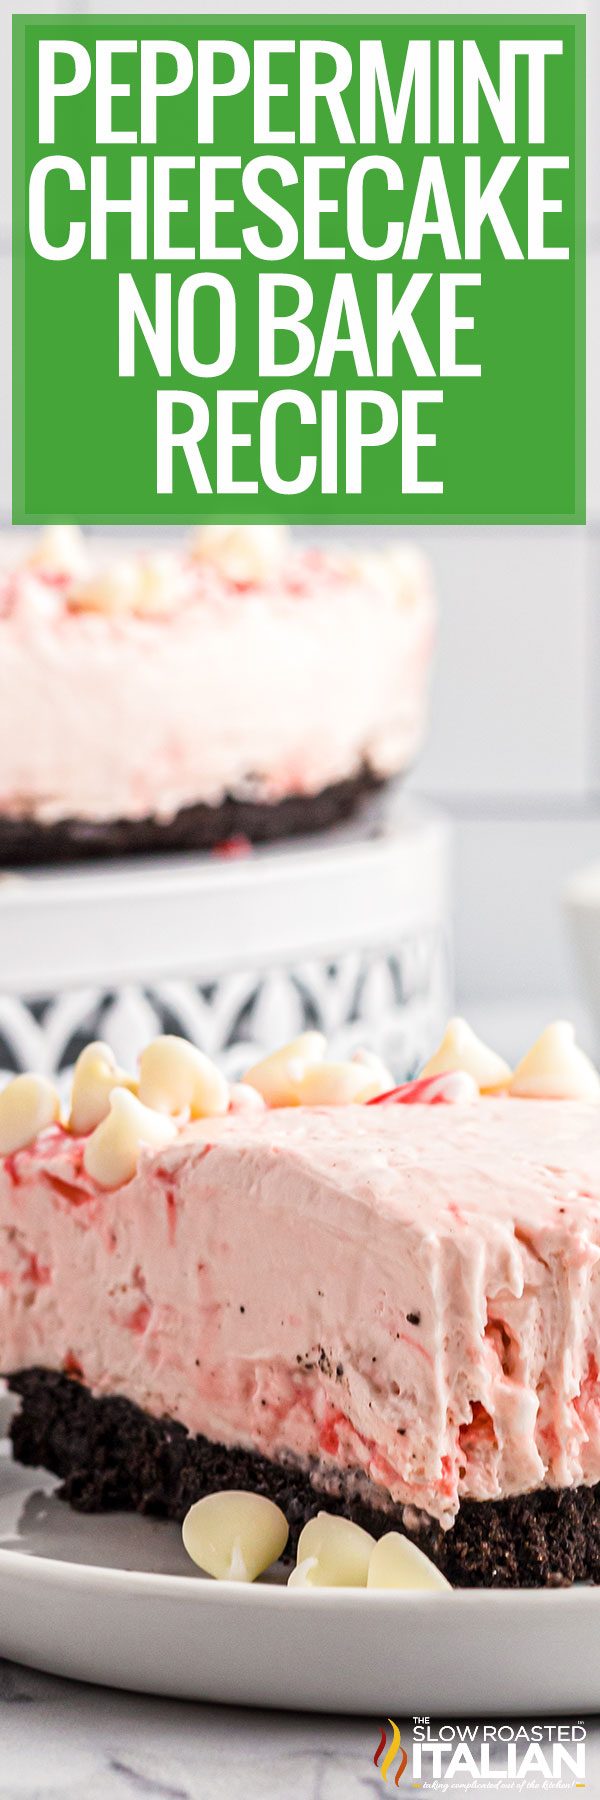
Peppermint cheesecake is rich, creamy, and simply refreshing. Make this no bake recipe for an easy dessert that’s sure to become a favorite!
Recipes like Peppermint Cheesecake
With all of the cooking and baking that typically happens during the
fall and winter months, it’s great to have a few dessert options that
don’t require the oven.
Not only will you save energy and keep your kitchen cool, but they can easily be made ahead of time!
My Reese’s Peanut Butter Pie and Chocolate Icebox Pie are two more no bake recipes that are perfect for any holiday dessert table.
Or, if you’re looking for more peppermint desserts, try my White Chocolate Peppermint Crockpot Candy or Peppermint Oreo Candy Bark.
Both are easy to make, and you only need a handful of ingredients! For even more peppermint flavor try our kiss cookies!
How To Make Peppermint Cheesecake
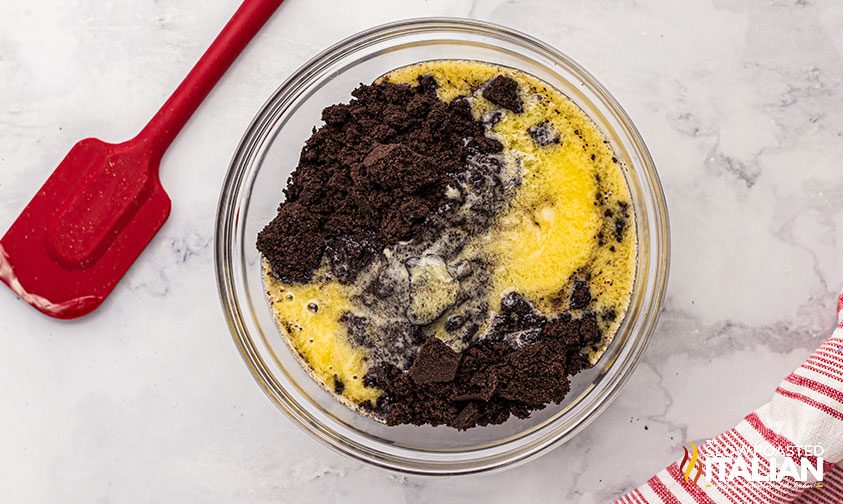
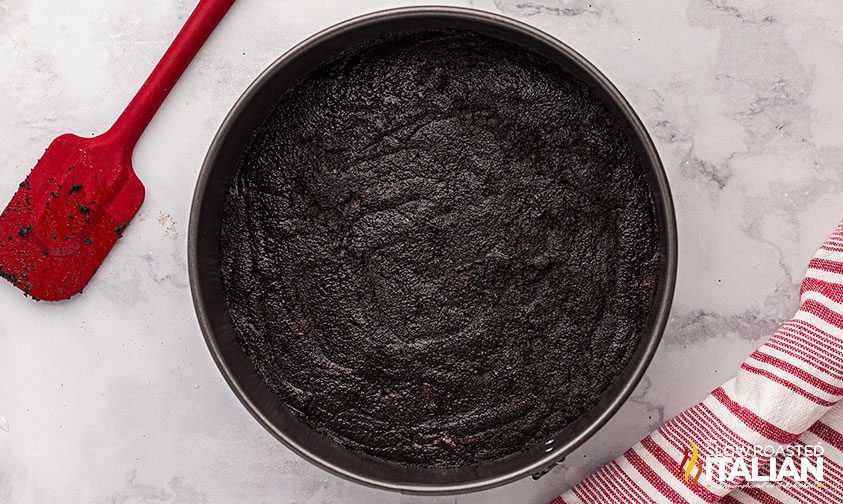
Start with a simple crust made with crushed chocolate cookies and butter. While that sets, whip up the filling and stir in the crushed candy.
Then, smooth into the crust and refrigerate until firm. It’s that simple!
Helpful Tips and Tricks
- Room Temperature Ingredients: Make sure the cream cheese is softened so it’s creamy when mixed.
- Smooth Out The Filling: Because the whipped topping is so light and fluffy, use a rubber spatula to press the mixture into the crust so there aren’t any pockets of air.
- Garnish Just Before Serving: Crushed peppermint candies will slowly dissolve in the refrigerator, so be sure to add them just before serving if you’ll be sprinkling some on top of the cheesecake.
- Using Flavoring: Peppermint flavoring is optional since having the crushed candies in the filling is nice by itself. We enjoy the coolness of the peppermint, so I’ve added as much as 1 teaspoon of flavoring for an extra burst of minty freshness.
- Food Coloring: This is optional as well. I think the pink color makes this peppermint dessert a little more festive, but it can be left white or even darkened to red if you prefer.
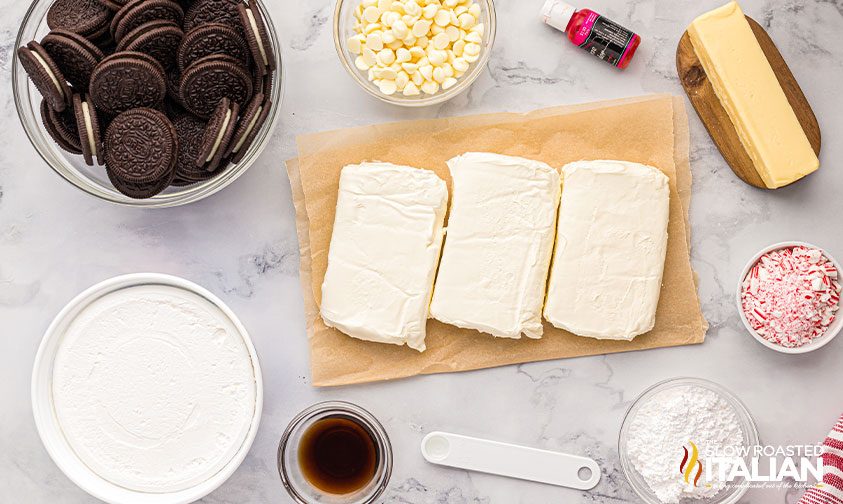
What You Will Need To Make No Bake Cheesecake
- Food processor – Guarantees a perfect crumb for the cookie crust.
- Microwave-Safe Bowl – Not only does it make melting chocolate easier, but you can use it to quickly steam vegetables too!
- Springform Pan – This is basically required for cheesecake. The ring sides pop off and make removing this peppermint dessert easy and clean.
- Peppermint Hard Candies – Stock up for the holiday season! Or, use red-and-white candy canes if needed.
FAQ – Common Recipe Questions
Can I substitute whipped cream for Cool Whip?
Yes and no. Regular homemade whipped cream doesn’t stay whipped for very long, and that’s what is needed to give this dessert its stability.
The best option is to make a stabilized whipped cream and use that in place of the Cool Whip.
Or, chill a can of full fat coconut milk and skim the solid cream off the top. Then, whip it with 1 teaspoon vanilla extract and 1 tablespoon powdered sugar until it’s light and fluffy.
Is it possible to double the recipe?
You can certainly make two or three pies at a time, but you may need to make the crust in batches depending on the size of your food processor.
Or, I have a separate recipe for peppermint dessert bars if you need to feed a crowd. It uses a graham cracker crust, but you could easily replace it with the Oreo crust from this recipe if you’d like.
Can this no bake cheesecake recipe be made in advance?
Absolutely! Since this takes about 2 hours to fully set, it may be helpful to make it a day or two before you need it.
Keep covered in the refrigerator and enjoy within 3 to 4 days for best results.
Or, wrap in a layer of plastic wrap and foil and freeze for up to 3 months. Thaw in the refrigerator before serving.
Enjoy!
With love from our simple kitchen to yours.
Don’t miss a thing! Follow us on Facebook | Twitter | Pinterest | Instagram ❤ ❤ ❤
Peppermint Cheesecake (No Bake)
Ingredients
- 14.3 ounces Oreos
- 1/2 cup butter, melted
- 8 oz cream cheese, softened
- 2 tsp vanilla extract
- 12 ounces Cool Whip
- 1/3 cup powdered sugar
- 1/3 cup candy cane, or peppermint candies, smashed
- 3/4 cup white chocolate chips
- 1/4 tsp peppermint extract
- Optional: Two drops of pink food coloring
Instructions
- Using a food processor, process cookies into crumbs. Transfer crumbs to a large bowl, add melted butter and stir to combine. Press crumbs into the bottom of a springform pan. Refrigerate the crust while preparing the filling.
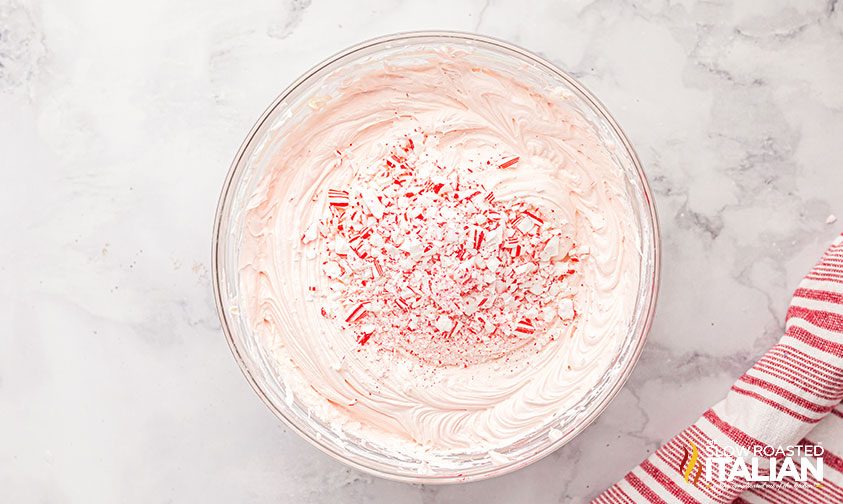
- In a large bowl, beat the cream cheese with vanilla and peppermint extracts, and powdered sugar. Add in whipped cream and two or three drops of pink food coloring (if using). Whisk or stir until batter is thick and smooth, and color is evenly mixed. Melt the white chocolate chips on high power in the microwave in 30 second increments, stirring between increments. (Mine took about 60 seconds to completely melt) Quickly add and stir to combine melted chocolate into the batter so it doesn’t harden in the cool cream cheese mixture. Stir in crushed peppermint candies until evenly combined.
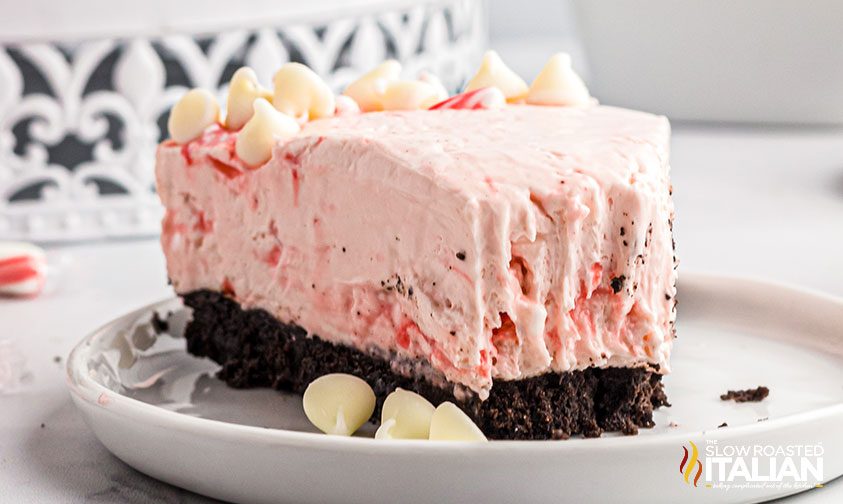
- Pour the cheesecake filling over the prepared crust and place in the refrigerator for at least two hours so filling can set.
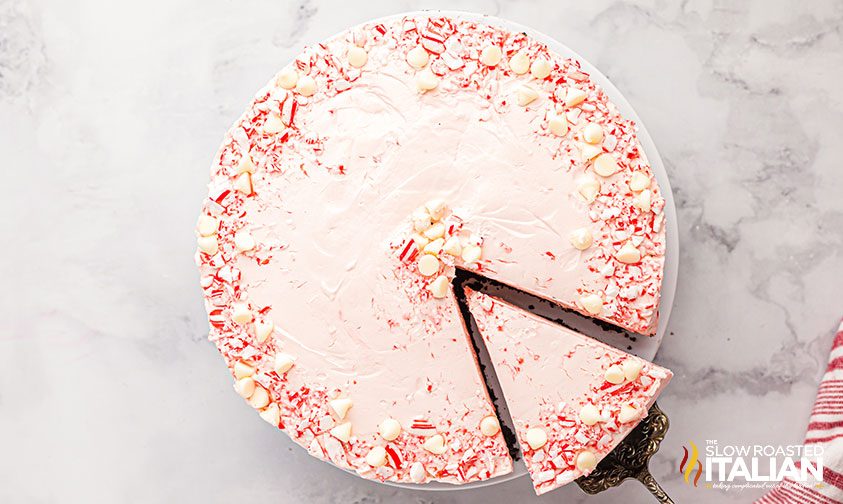
- Garnish with chocolate chips, cookie crumbs, or crushed peppermints if desired.
Donna’s Notes
- Peppermint flavoring is optional, and I have put in as much as 1 teaspoon, because we like the coolness of the peppermint. But having the crushed peppermint in the filling is nice by itself. I just like the “extra.”
- Food coloring is optional as well. I like the pink color, but it can be left white, or even made to be red.
- Make sure cream cheese is at room temperature so it is creamy when mixed. And with whipped cream, be sure to use a rubber spatula to press down into the crust so there aren’t air holes.
- If using peppermint to garnish, keep in mind, it will slowly dissolve in the refrigerator, so garnish just before serving.
Nutrition
All nutritional information is based on third party calculations and is only an estimate. Each recipe’s nutritional value will vary depending on the ingredients used, measuring methods, and portion sizes.
Originally published November 2020

Disclosure: Posts may contain affiliate links. If you purchase a product through an affiliate link your price will remain the same and The Slow Roasted Italian will automatically receive a small commission. Thank you for supporting us, it helps us keep creating new recipes.
Wow, this looks simply amazing! I only have a 6" and a 7" springform pan. Would this fit into a 7" springform pan? Thanks so much.
Looks so good and easy! But how much cream cheese. Photo shows 3blocks instructions say 1. Thank you
Who doesn’t love peppermint during the holidays. I made this as a test before making it for christmas and it came out amazing!